Have you ever wondered why Thai sweet chili sauce tastes so irresistibly good? I’ve spent years perfecting this recipe, and today I’m sharing my secrets to creating this versatile sauce that perfectly balances sweet, spicy, and tangy flavors. This homemade version will make you forget all about the store-bought alternatives!
Why Make Your Own Thai Sweet Chili Sauce?
During my culinary adventures, I’ve discovered that making Thai sweet chili sauce at home isn’t just about saving money – it’s about creating something truly special. Unlike commercial versions loaded with preservatives and artificial ingredients, my homemade recipe uses fresh, natural ingredients that deliver authentic flavors straight from a Thai kitchen.
Essential Ingredients
Before we dive into the cooking process, let’s break down our key ingredients and their roles:
| Ingredient | Amount | Purpose | Notes |
|---|---|---|---|
| Red Thai Chilies | 8-10 pieces | Heat and color | Adjust quantity for desired spiciness |
| Garlic | 6 cloves | Aromatic base | Fresh, not pre-minced |
| Rice Vinegar | 1/2 cup | Tangy element | Don’t substitute with regular vinegar |
| Palm Sugar | 3/4 cup | Traditional sweetener | Brown sugar can be used as alternative |
| Water | 1 cup | Base liquid | Filtered preferred |
| Cornstarch | 2 tablespoons | Thickening agent | Mixed with 3 tbsp cold water |
| Salt | 1 teaspoon | Flavor enhancer | Fine sea salt recommended |
Kitchen Equipment Needed
| Equipment | Purpose | Alternative |
|---|---|---|
| Saucepan | Cooking vessel | Small pot |
| Fine Mesh Strainer | Straining sauce | Cheesecloth |
| Glass Jars | Storage | Clean sauce bottles |
| Food Processor | Chili paste | Mortar and pestle |
| Wooden Spoon | Stirring | Heat-resistant spatula |
Step-by-Step Preparation Method
- Safety First:
- Wear gloves when handling chilies
- Ensure good kitchen ventilation
- Keep vinegar ready to control heat if needed
- Preparation Phase (15 minutes):
- Rough chop chilies and garlic
- Mix cornstarch slurry
- Prepare sterilized jars
- Measure all ingredients
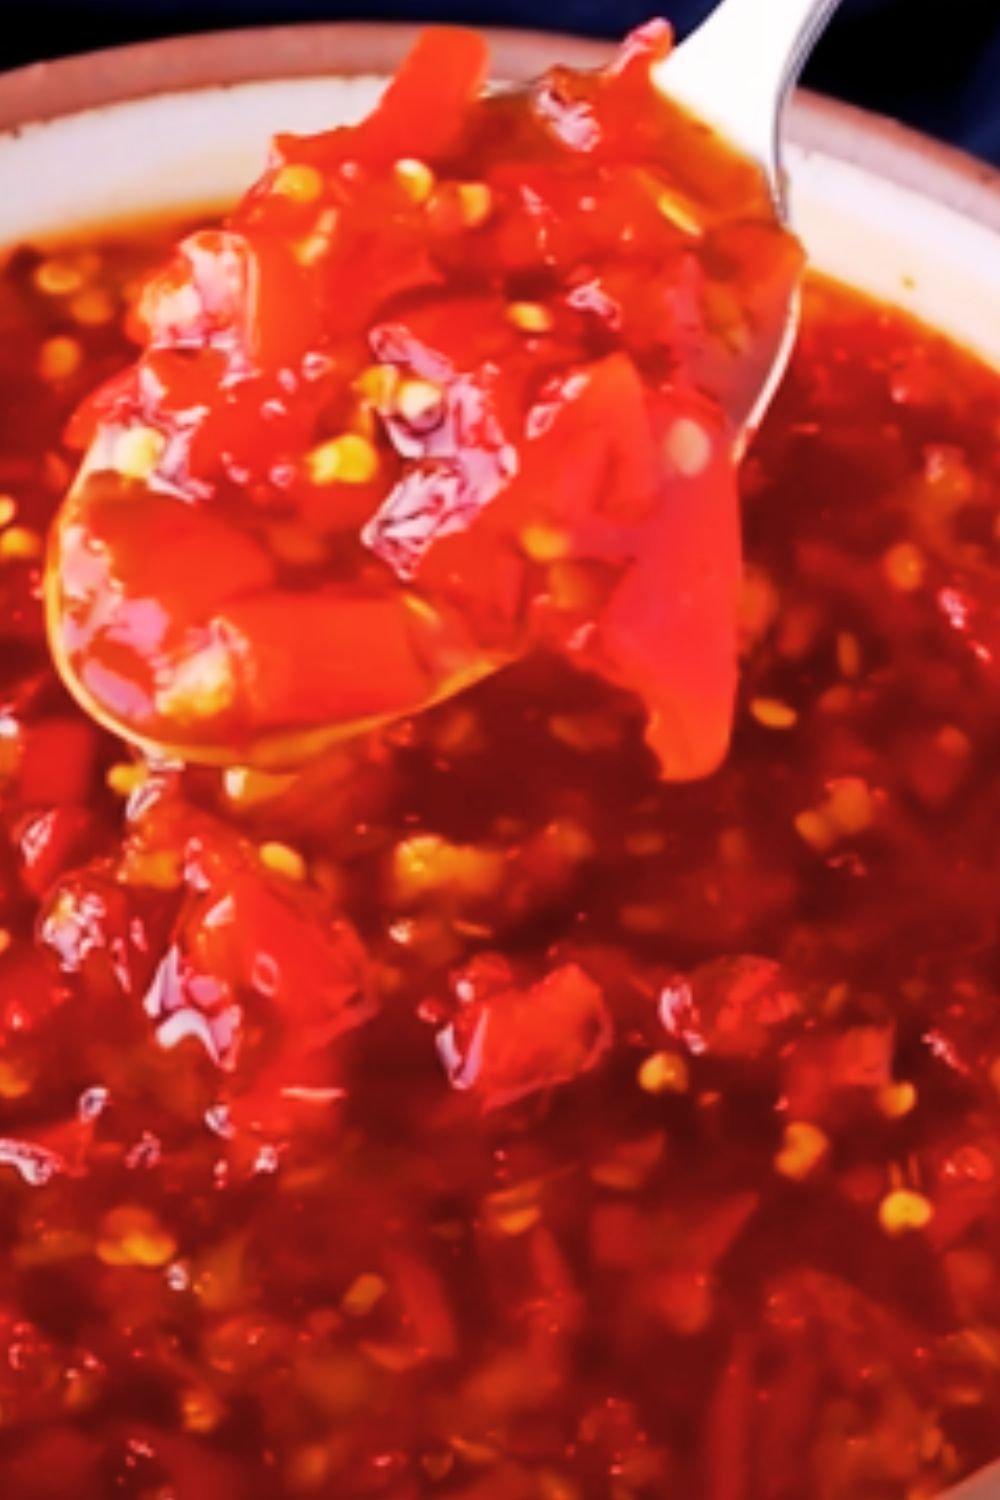
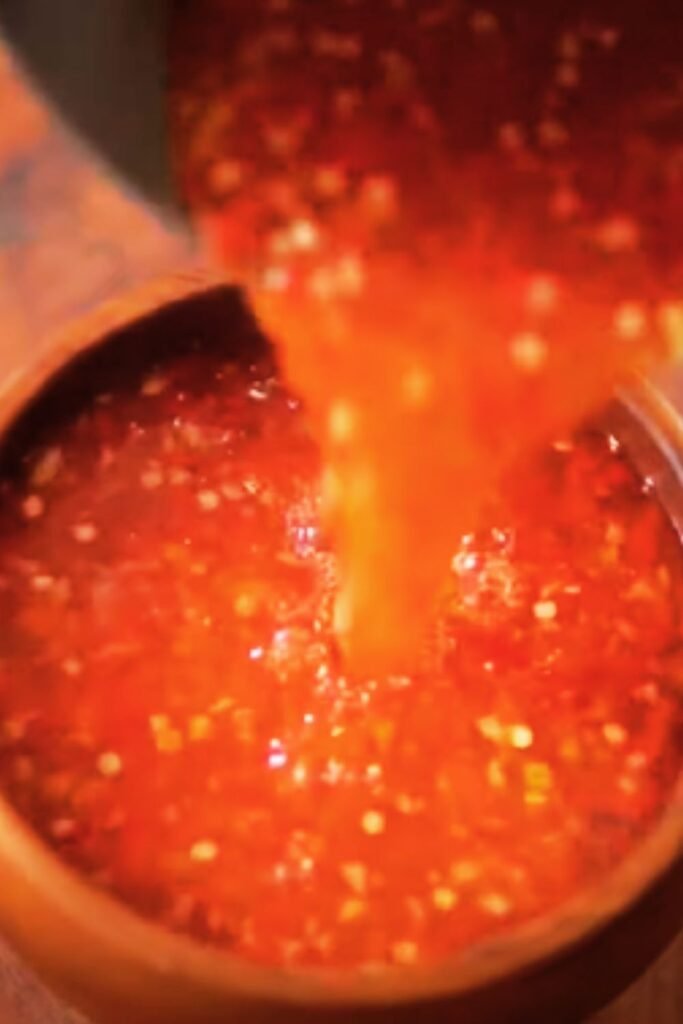
- Cooking Process (25 minutes):
- Blend chilies and garlic into a smooth paste
- Heat water and palm sugar until dissolved
- Add chili-garlic paste and bring to simmer
- Pour in vinegar gradually
- Thicken with cornstarch slurry
- Simmer until desired consistency
Pro Tips from My Kitchen
Through countless batches, I’ve learned these crucial tips:
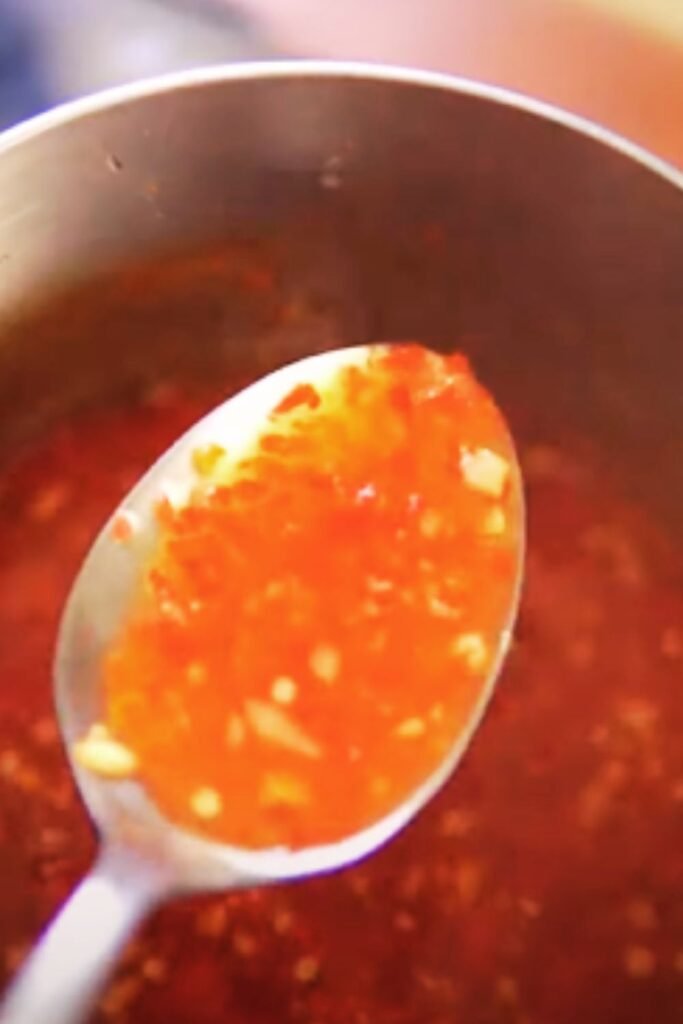
- Temperature Control:
- Keep heat medium-low
- Stir constantly during thickening
- Watch for sauce coating the back of a spoon
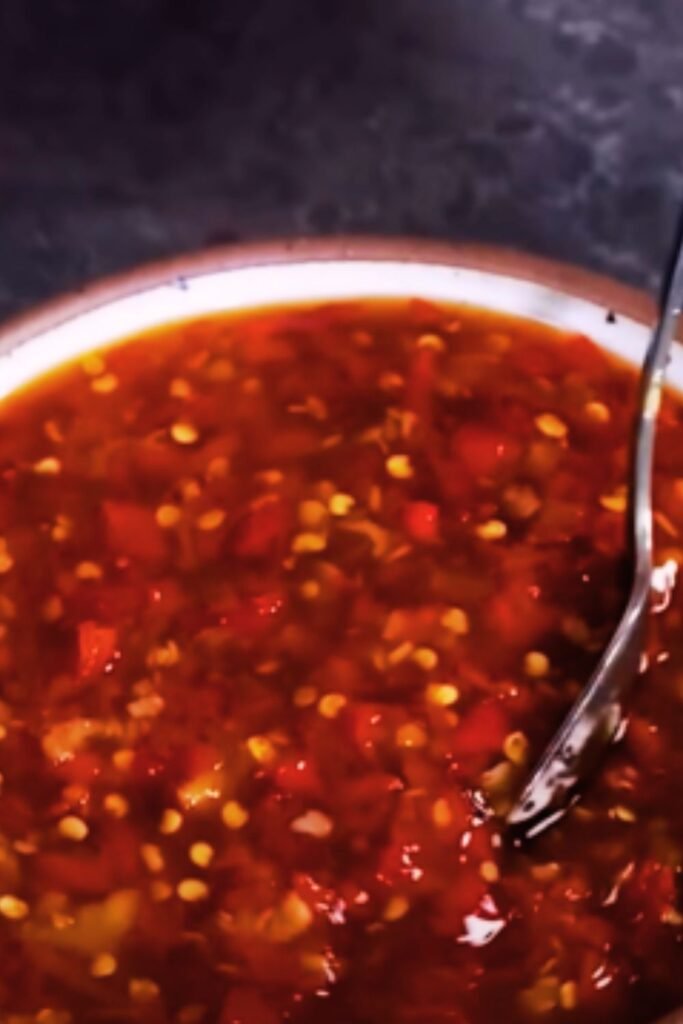
- Consistency Check:
- Should be syrupy but pourable
- Will thicken more upon cooling
- Add water if too thick
- Storage Guidelines:
- Cool completely before bottling
- Keep refrigerated
- Use within 3 months
Troubleshooting Common Issues
| Problem | Cause | Solution |
|---|---|---|
| Too Thin | Insufficient cooking time | Simmer longer |
| Too Thick | Too much cornstarch | Add warm water gradually |
| Too Hot | Extra spicy chilies | Add more sugar gradually |
| Too Sweet | Excess sugar | Balance with extra vinegar |
| Cloudy Appearance | Unstrained mixture | Strain through fine mesh |
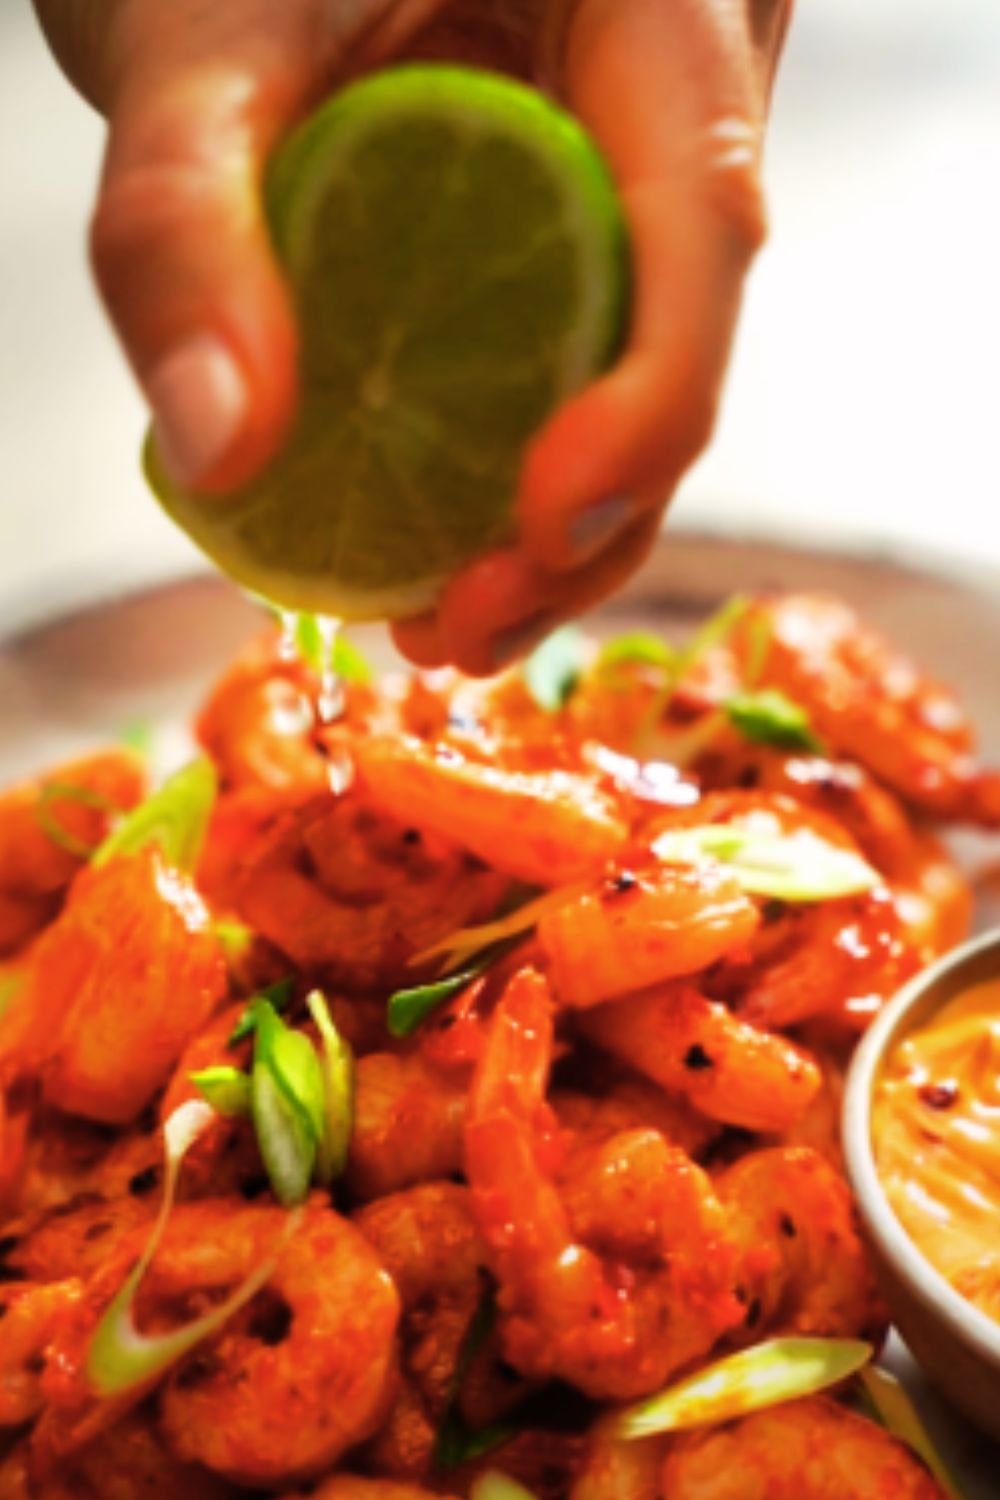
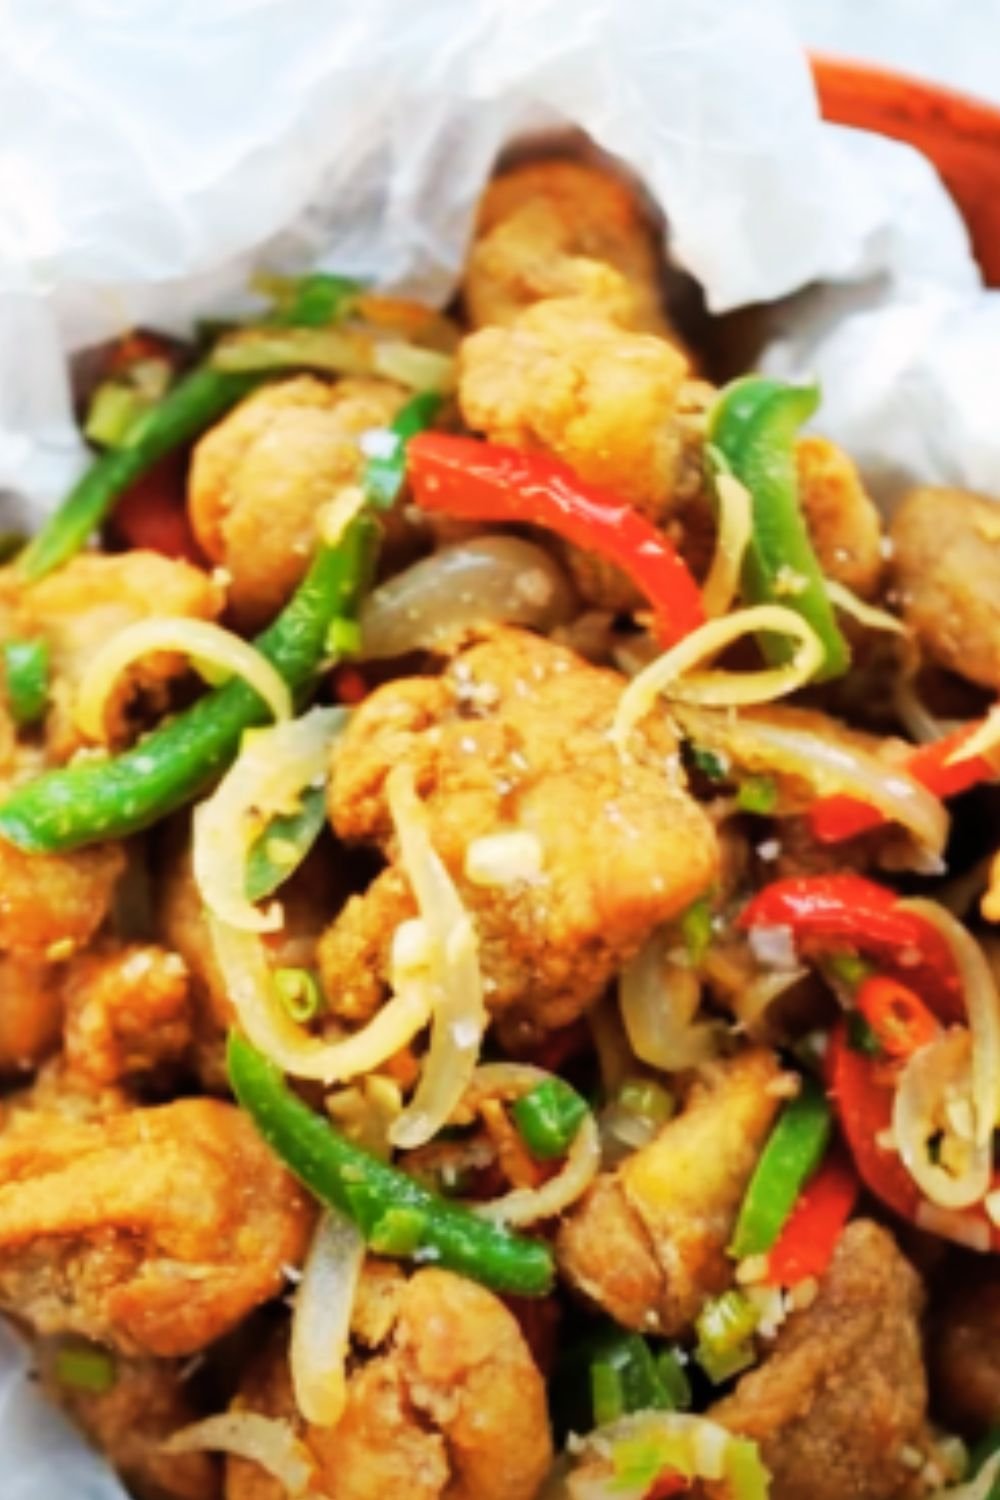
Creative Ways to Use Your Sauce
I love experimenting with this versatile sauce. Here are my favorite applications:
- Asian-Inspired Dishes:
- Spring roll dipping sauce
- Stir-fry finishing sauce
- Marinade base for grilled meats
- Fusion Creations:
- Spicy burger spread
- Pizza drizzle
- Taco sauce alternative
- Unexpected Delights:
- Scrambled egg enhancer
- Roasted vegetable glaze
- Sandwich spread
Serving Suggestions
The sauce pairs beautifully with:
- Grilled shrimp skewers
- Fresh spring rolls
- Crispy tofu
- Steamed dumplings
- Grilled chicken satay
- Roasted vegetables
Health and Dietary Considerations
| Dietary Need | Compatibility | Notes |
|---|---|---|
| Vegan | Yes | Using palm sugar |
| Gluten-Free | Yes | With pure cornstarch |
| Low-Carb | No | Contains sugar |
| Keto | No | High in carbs |
| Nut-Free | Yes | No nut ingredients |
Frequently Asked Questions
Q: How long does homemade Thai sweet chili sauce last?
A: When stored properly in an airtight container in the refrigerator, it stays fresh for up to 3 months.
Q: Can I make this sauce less spicy?
A: Yes! Reduce the number of chilies or remove their seeds before processing. You can also use milder peppers like red jalapeños.
Q: Why did my sauce turn out too runny?
A: This usually happens when the sauce isn’t simmered long enough or the cornstarch wasn’t properly activated. Make sure to cook until it coats the back of a spoon.
Q: Can I use regular white sugar instead of palm sugar?
A: While palm sugar provides the most authentic flavor, you can substitute it with brown sugar or white sugar. The taste will be slightly different but still delicious.
Q: Is it normal for the color to vary between batches?
A: Yes! The color can vary depending on the chilies used and how long you cook the sauce. Anything from bright red to deep orange is normal.
Tips for Gifting
This sauce makes an excellent homemade gift. Here’s how I prepare it for giving:
- Presentation Ideas:
- Use decorative glass bottles
- Create custom labels
- Include recipe cards
- Add serving suggestions
- Gifting Occasions:
- Housewarming parties
- Holiday food gifts
- Thank-you presents
- Cooking enthusiast friends
Remember to include storage instructions and a “best by” date on your gift labels.
Recipe Variations
Want to experiment? Try these tested variations:
- Ginger Infusion:
- Add 2 tablespoons fresh grated ginger
- Reduces garlic to 4 cloves
- Creates Asian fusion flavor
- Citrus Twist:
- Add 1 tablespoon lime zest
- Increases vinegar to 2/3 cup
- Perfect for seafood
- Extra Garlic:
- Double the garlic
- Add roasted garlic paste
- Creates deeper flavor
Sustainability Notes
I believe in sustainable cooking practices. Here’s how to make this recipe eco-friendly:
- Ingredient Sourcing:
- Use locally grown chilies
- Choose organic when possible
- Support local markets
- Waste Reduction:
- Compost vegetable scraps
- Reuse glass bottles
- Save chilies seeds for growing
Remember, cooking sustainably not only helps our planet but often results in better-tasting food!