There’s something magical about transforming a bunch of ruffly kale leaves into a delectable side dish that even sworn veggie skeptics can’t resist. I’ve spent years perfecting my sautéed kale technique, and today I’m sharing all my hard-earned secrets for creating the most incredible, crave-worthy kale you’ve ever tasted.
Why This Recipe Will Change Your Mind About Kale
If you’ve had disappointing experiences with tough, bitter kale in the past, prepare to have your world rocked. This method produces tender, flavorful greens with perfectly crispy edges and a rich, savory taste that will have you coming back for seconds. Through countless test batches and refinements, I’ve discovered the crucial steps that take kale from “healthy obligation” to “can’t-stop-eating-it delicious.”
The Science Behind Perfect Sautéed Kale
Understanding the chemistry behind cooking kale helps achieve optimal results. Kale contains tough cellulose fibers that need to be broken down through both physical manipulation and heat. The massaging process I’ll describe helps break down cell walls, while proper heat application ensures the leaves become tender without turning mushy.
Nutritional Powerhouse
| Nutrient | Amount per Cup | % Daily Value |
|---|---|---|
| Vitamin K | 684 mcg | 570% |
| Vitamin A | 6693 IU | 134% |
| Vitamin C | 80.4 mg | 134% |
| Manganese | 0.5 mg | 26% |
| Copper | 0.2 mg | 10% |
| Calcium | 90.5 mg | 9% |
| Potassium | 299 mg | 9% |
| Iron | 1.1 mg | 6% |
Essential Ingredients
The Star of the Show
- 2 large bunches of fresh kale (about 20-24 leaves)
- Look for deep green leaves without yellowing
- Curly or Lacinato (Dinosaur) kale both work beautifully
Supporting Cast
- 3 tablespoons extra virgin olive oil
- 6 cloves fresh garlic, thinly sliced
- 1 teaspoon sea salt
- ½ teaspoon freshly ground black pepper
- ¼ teaspoon red pepper flakes (optional)
- 2 tablespoons fresh lemon juice
Special Equipment Needed
- Large, heavy-bottomed skillet or sauté pan (12-inch minimum)
- Sharp knife for removing stems
- Large colander for washing
- Clean kitchen towels for drying
- Tongs for tossing
The Step-by-Step Process
Preparation Phase
- Washing and Drying
- Fill sink with cool water
- Submerge kale leaves completely
- Swish gently to remove dirt
- Lift leaves out, leaving sediment behind
- Pat thoroughly dry with clean towels
- Stem Removal and Chopping
- Hold leaf stem-side up
- Run knife along both sides of center stem
- Stack de-stemmed leaves
- Cut into 2-inch pieces
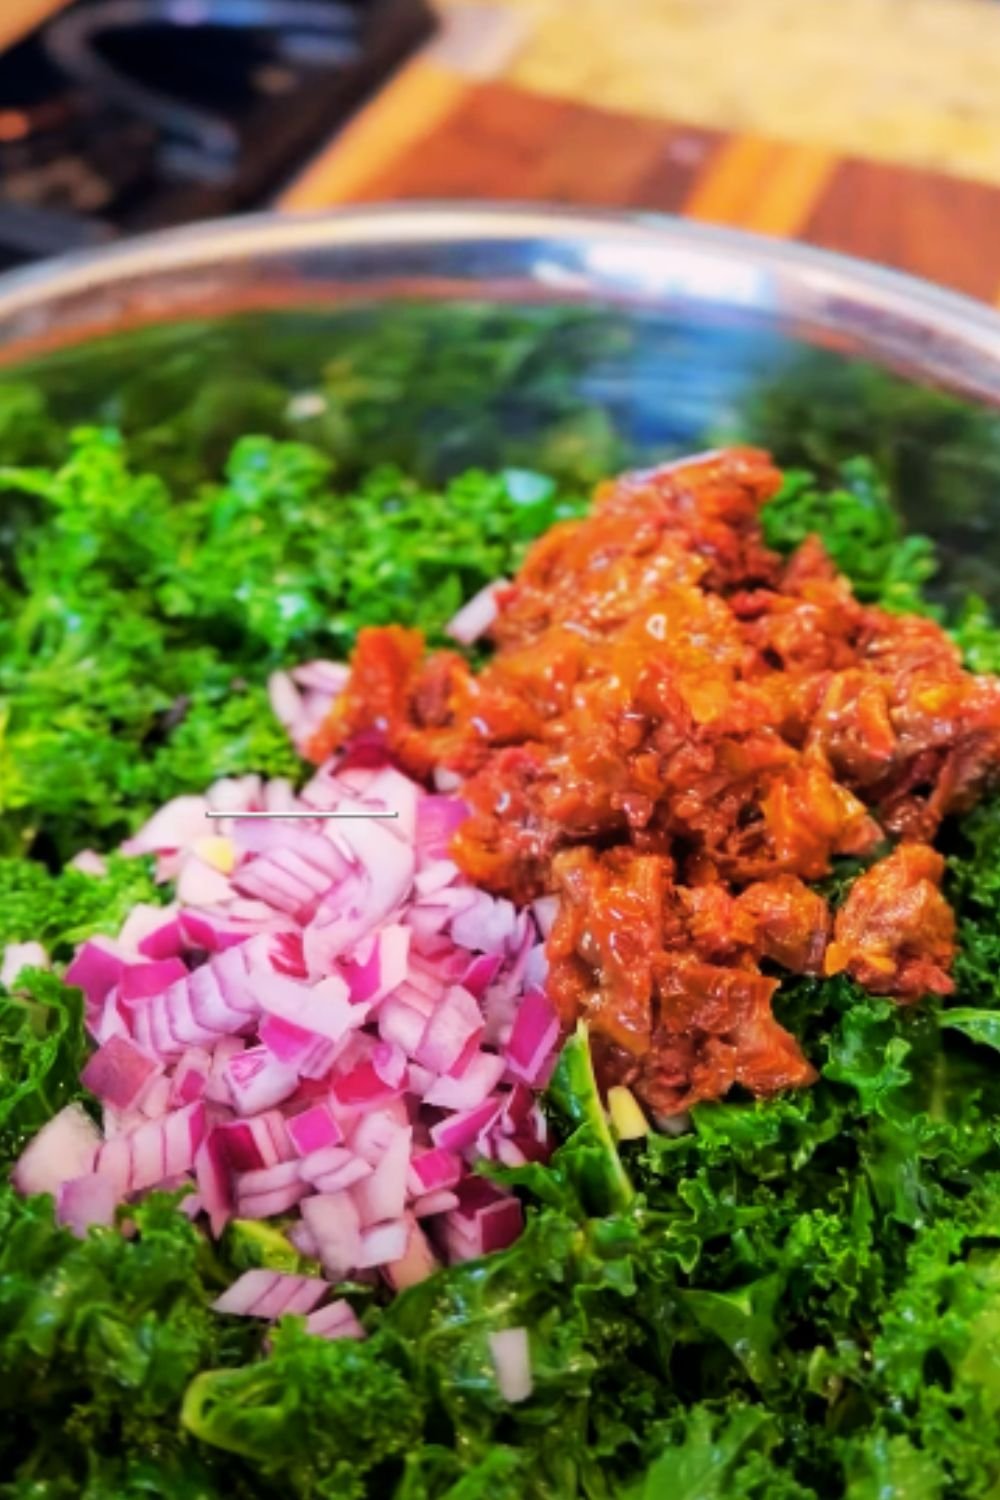
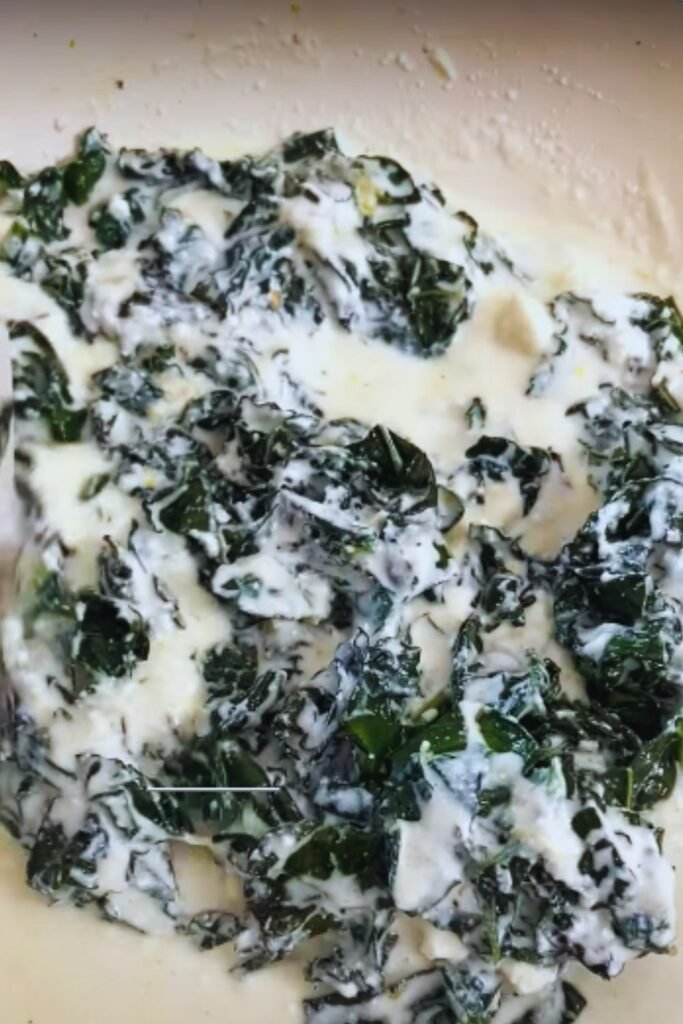
- The Essential Massage
- Place cut kale in large bowl
- Drizzle with 1 tablespoon olive oil
- Add ½ teaspoon salt
- Massage firmly for 2-3 minutes
- Leaves should become darker and slightly softer
Cooking Method
- Heat the Pan
- Place pan over medium-high heat
- Add remaining 2 tablespoons olive oil
- Heat until oil shimmers (about 1 minute)
- Aromatic Base
- Add sliced garlic
- Cook until light golden (30-45 seconds)
- Add red pepper flakes if using
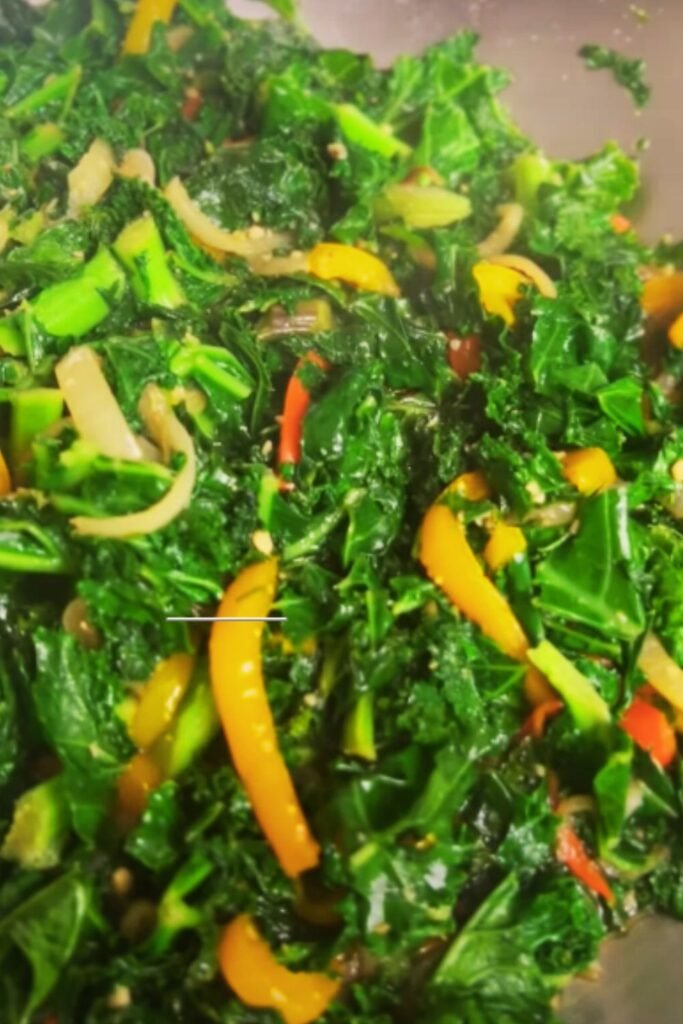
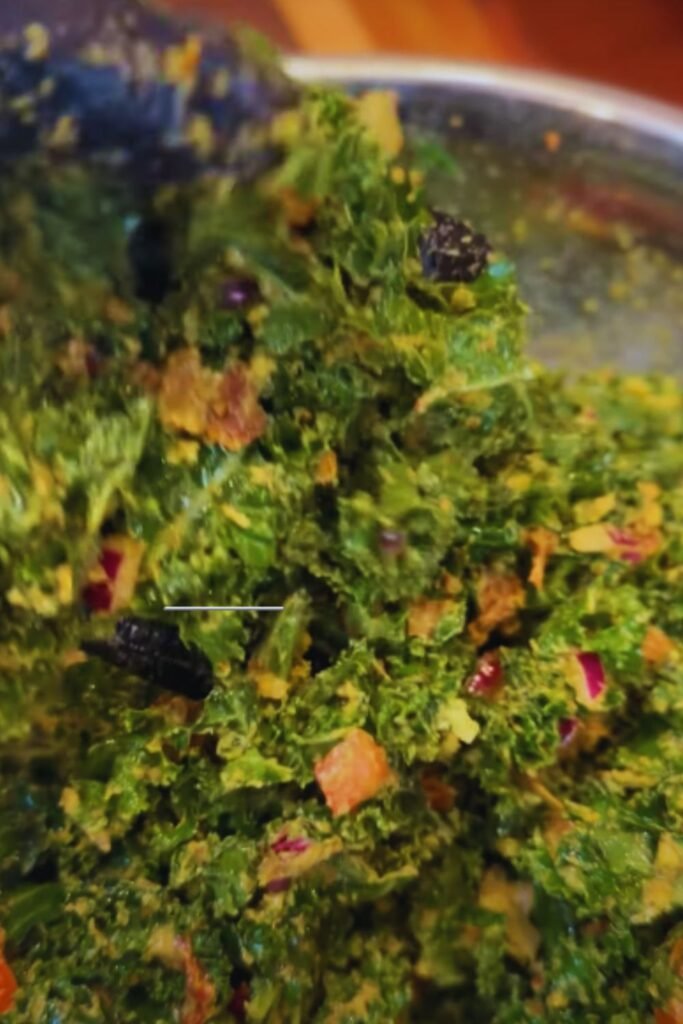
- The Main Event
- Add prepared kale in batches
- Toss frequently with tongs
- Cook until edges crisp (4-5 minutes)
- Season with remaining salt and pepper
- Finishing Touches
- Remove from heat
- Add fresh lemon juice
- Toss to combine
- Taste and adjust seasoning
Troubleshooting Guide
| Issue | Cause | Solution |
|---|---|---|
| Tough leaves | Insufficient massage | Massage longer, use more pressure |
| Bitter taste | Overcooking | Reduce cooking time, add more lemon |
| Burnt garlic | Too high heat | Start with lower temperature |
| Soggy texture | Wet leaves | Dry thoroughly before cooking |
| Uneven cooking | Overcrowded pan | Cook in smaller batches |
Serving Suggestions
- As a robust side dish alongside roasted chicken
- Mixed into whole grain bowls
- Topped with a poached egg for breakfast
- Tossed with pasta and parmesan
- Added to grain salads
- Alongside baked salmon
Storage Tips
- Store leftovers in airtight container
- Keeps fresh for 3-4 days in refrigerator
- Reheat in skillet over medium heat
- Add splash of water when reheating
- Can be frozen but texture will change
Variations to Try
Mediterranean Style
- Add pine nuts
- Include golden raisins
- Finish with shaved parmesan
Asian-Inspired
- Use sesame oil
- Add ginger with garlic
- Finish with sesame seeds
- Drizzle with soy sauce
Spicy Version
- Double red pepper flakes
- Add cayenne pepper
- Include fresh jalapeño
- Finish with hot sauce
Frequently Asked Questions
Q: Why do I need to massage the kale?
The massaging process helps break down the tough cell structure of kale, making it more tender and easier to digest. It also helps the leaves absorb flavors better.
Q: Can I use frozen kale for this recipe?
While fresh kale gives the best results, you can use frozen in a pinch. Skip the massaging step and know that the texture will be slightly different.
Q: How do I know when the kale is properly cooked?
The leaves should be dark green, slightly wilted but still maintaining some structure, with crispy edges. They should be tender but not mushy.
Q: What’s the best type of kale to use?
Both curly and Lacinato (dinosaur) kale work well. Curly kale produces crispier edges, while Lacinato has a slightly more tender texture.
Q: Can I make this ahead of time?
Yes! This dish can be prepared up to 3 days in advance. Reheat in a skillet over medium heat, adding a splash of water if needed.
Q: How do I prevent the garlic from burning?
Keep a close eye on the garlic and remove the pan from heat temporarily if it’s browning too quickly. You can also add the garlic after the kale has started cooking.
Health Benefits
Immune System Support
The high vitamin C content helps boost immune function and promotes skin health.
Bone Health
The exceptional vitamin K content supports strong bones and proper blood clotting.
Anti-inflammatory Properties
Kale contains numerous antioxidants and compounds that help reduce inflammation.
Eye Health
The vitamin A and carotenoids in kale support proper vision and eye health.
Digestive Health
The fiber content aids digestion and promotes healthy gut bacteria.
Final Tips for Success
- Don’t Skip the Massage
- This step is crucial for texture
- Takes just a few minutes
- Makes a huge difference
- Watch Your Heat
- Medium-high is usually perfect
- Adjust based on your stove
- Look for slight charring on edges
- Season Gradually
- Add salt in stages
- Taste as you go
- Remember flavors concentrate
Remember, cooking is about experimenting and finding what works best for you. Don’t be afraid to adjust seasonings and cooking times to match your preferences. With these techniques and tips, you’re well on your way to creating incredibly delicious sautéed kale that might just become your new favorite side dish.