I’ll never forget the first time I made this loaded butterscotch cheesecake. My kitchen filled with the intoxicating aroma of caramelized sugar and butter, and I knew something magical was happening in my oven. When my guests took their first bites, conversation stopped. Eyes closed. Forks hovered midair. Then came the inevitable question: “Is this the best cheesecake I’ve ever tasted?” Yes, yes it is. And today, I’m sharing this life-changing recipe with you!
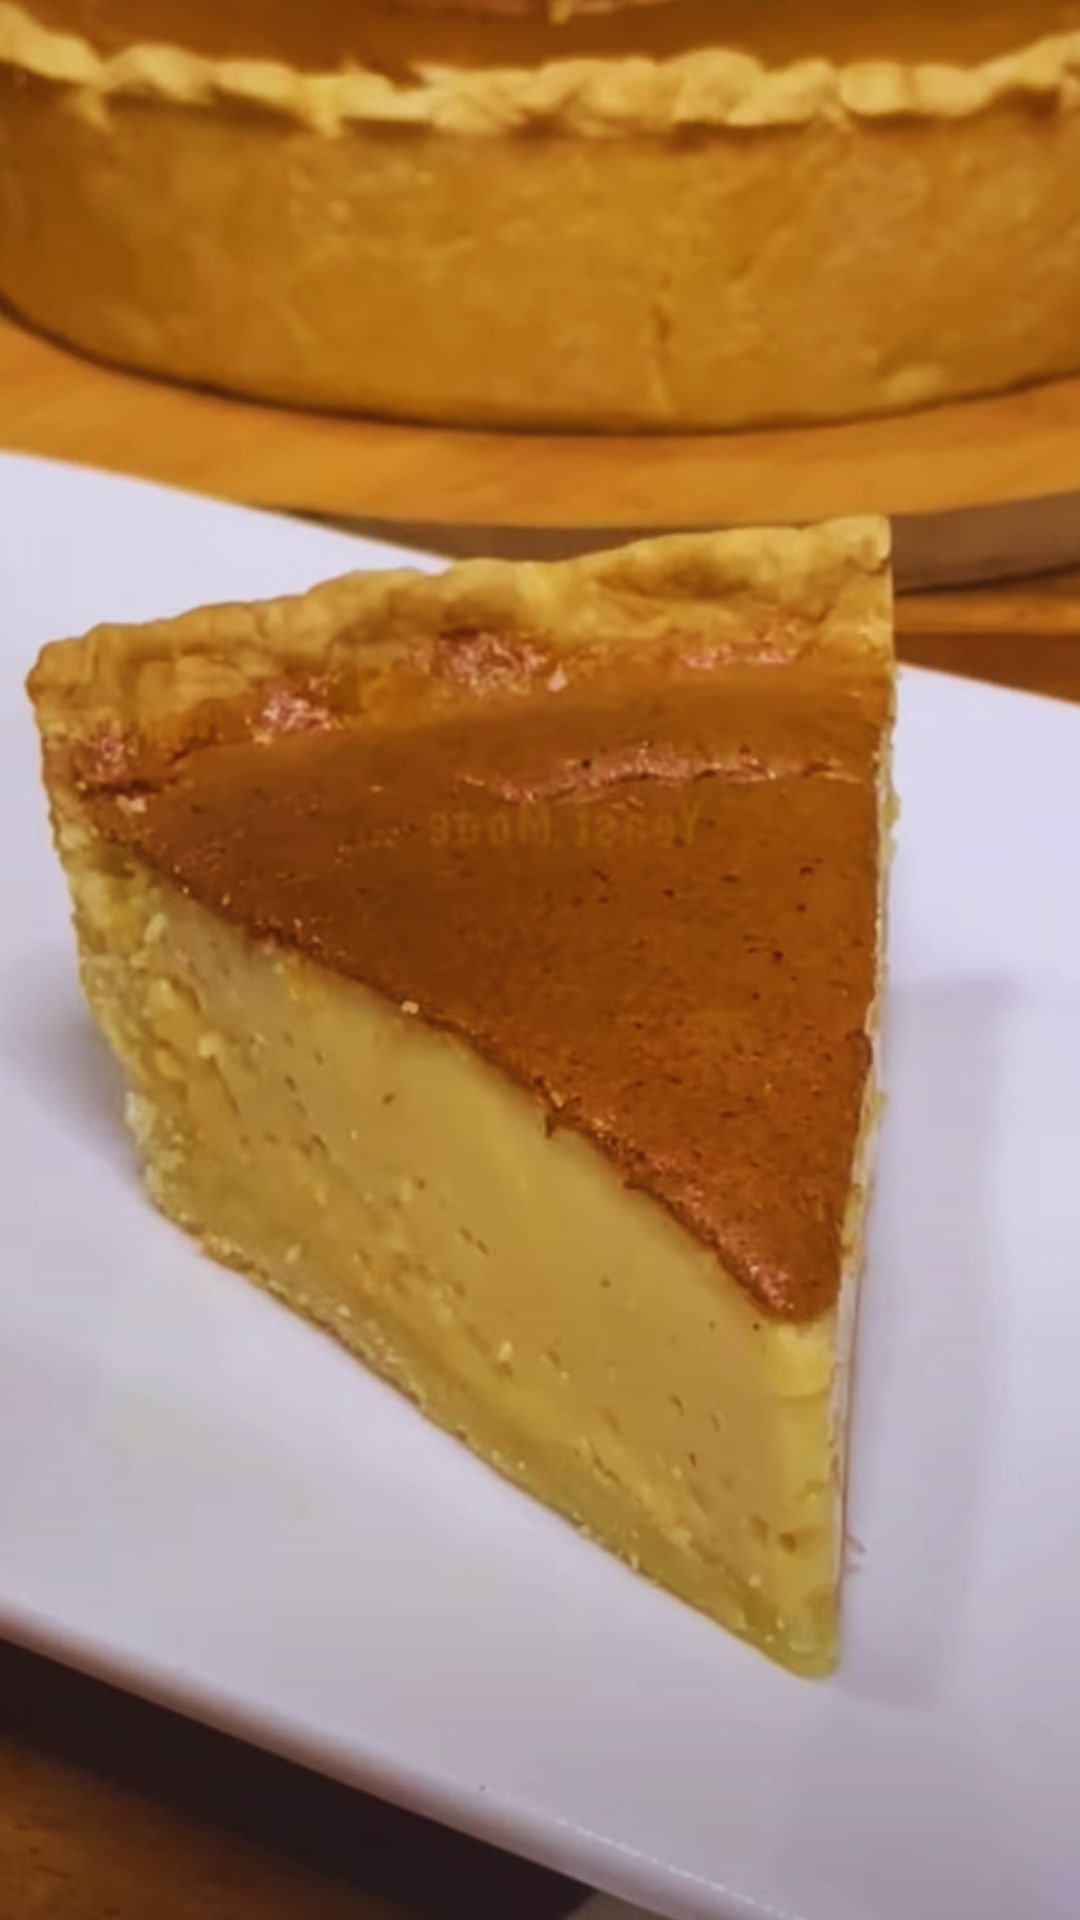
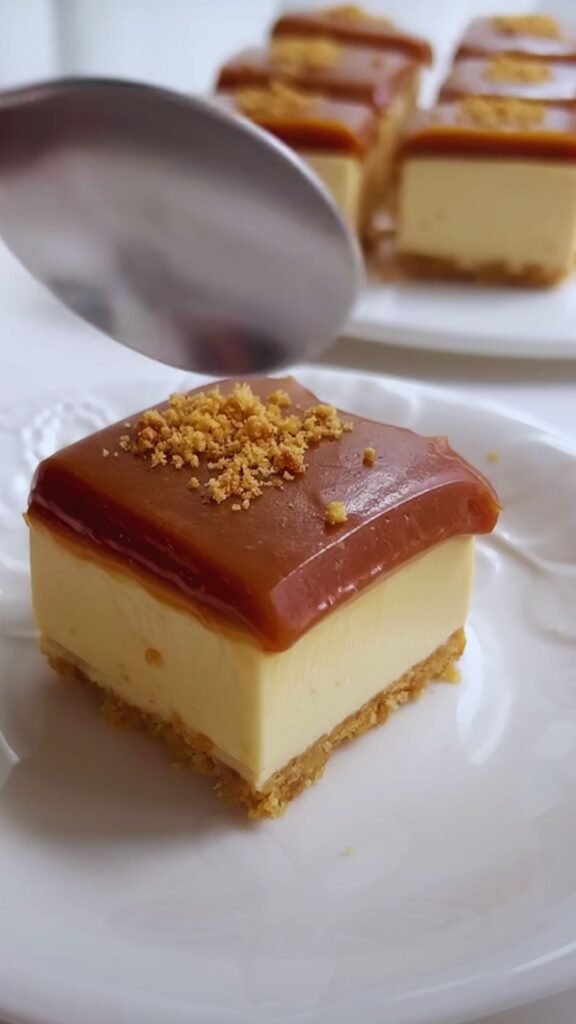
This isn’t just any butterscotch cheesecake. It’s loaded with layers of flavor—a buttery graham cracker crust, velvety butterscotch-infused cheesecake filling, homemade butterscotch sauce, and topped with crunchy toffee bits. It’s decadent. It’s divine. It’s absolutely impossible to resist.
What Makes This Butterscotch Cheesecake Special
Before we dive into the recipe, let me tell you why this particular cheesecake deserves a special place in your recipe collection:
- The texture is perfectly balanced—creamy and rich without being too heavy
- Real butterscotch flavor (not just butterscotch chips) permeates every bite
- The homemade butterscotch sauce takes only 10 minutes but elevates the entire dessert
- The combination of smooth, crunchy, and gooey textures creates an extraordinary sensory experience
- It’s impressive enough for special occasions but straightforward enough for cheesecake beginners
Ingredients You’ll Need
For the Graham Cracker Crust:
- 2 cups graham cracker crumbs (about 16 full sheets)
- 1/4 cup granulated sugar
- 1/2 cup (1 stick) unsalted butter, melted
- 1/2 teaspoon salt
For the Butterscotch Cheesecake Filling:
- 4 (8 oz) packages cream cheese, room temperature
- 1 1/2 cups light brown sugar, packed
- 4 large eggs, room temperature
- 1/4 cup heavy cream
- 1/4 cup sour cream
- 1 tablespoon vanilla extract
- 1/2 cup butterscotch chips, melted and slightly cooled
- 1/4 teaspoon salt
For the Butterscotch Sauce:
- 1 cup light brown sugar, packed
- 1/2 cup heavy cream
- 6 tablespoons unsalted butter
- 1/4 teaspoon salt
- 2 teaspoons vanilla extract
For the Topping:
- 1 cup crushed toffee bits (like Heath or Skor bars)
- 1/2 cup chopped pecans, lightly toasted (optional)
- Flaky sea salt (optional, for garnish)
Equipment Needed
I’ve learned through many cheesecake adventures that having the right tools makes all the difference:
- 9-inch springform pan
- Stand mixer or hand mixer
- Large roasting pan (for water bath)
- Heavy-duty aluminum foil
- Instant-read thermometer (helpful but not essential)
- Offset spatula
- Small saucepan (for butterscotch sauce)
Step-by-Step Instructions
Preparing the Crust
- Preheat your oven to 325°F (165°C).
- In a medium bowl, combine graham cracker crumbs, sugar, and salt.
- Pour in the melted butter and mix until the crumbs are evenly moistened. The mixture should feel like wet sand and hold together when pressed.
- Press the mixture firmly into the bottom and about 1-inch up the sides of a 9-inch springform pan. I use the bottom of a measuring cup to ensure an even, compact crust.
- Bake the crust for 10 minutes until it’s just beginning to turn golden. Remove from the oven and let cool completely while you prepare the filling.
- Reduce the oven temperature to 300°F (150°C).
Making the Cheesecake Filling
- In the bowl of a stand mixer fitted with the paddle attachment (or using a hand mixer), beat the cream cheese on medium-low speed until completely smooth with no lumps, about 2 minutes. Stop and scrape down the bowl several times.
- Add the brown sugar and beat until well incorporated and the mixture looks fluffy, about 2 minutes.
- Add the eggs one at a time, beating just until each is incorporated before adding the next. Scrape down the bowl after each addition.
- Add the heavy cream, sour cream, vanilla extract, and salt. Mix on low speed just until combined.
- Melt the butterscotch chips in the microwave in 30-second intervals, stirring between each until smooth, or use a double boiler. Let cool slightly.
- With the mixer on low, slowly pour in the melted butterscotch chips and mix just until evenly distributed. The batter should be silky smooth.
Preparing the Water Bath and Baking
Here’s the secret to a crack-free cheesecake:
- Wrap the outside of the springform pan with 2-3 layers of heavy-duty aluminum foil, making sure it comes all the way up the sides. This prevents water from seeping in.
- Place the wrapped springform pan in a large roasting pan.
- Pour the cheesecake filling into the prepared crust and smooth the top with an offset spatula.
- Place the roasting pan in the oven and carefully pour hot water into the roasting pan until it reaches about halfway up the sides of the springform pan.
- Bake at 300°F for 1 hour and 15 minutes to 1 hour and 30 minutes. The cheesecake is done when the edges are set but the center still jiggles slightly when the pan is gently shaken. If you have an instant-read thermometer, the center should register 150°F (65°C).
- Turn off the oven, crack the door open about an inch, and let the cheesecake cool in the oven for 1 hour.
- Remove the cheesecake from the water bath, carefully peel off the foil, and let cool completely on a wire rack at room temperature, about 2 hours.
- Cover and refrigerate for at least 8 hours, preferably overnight.
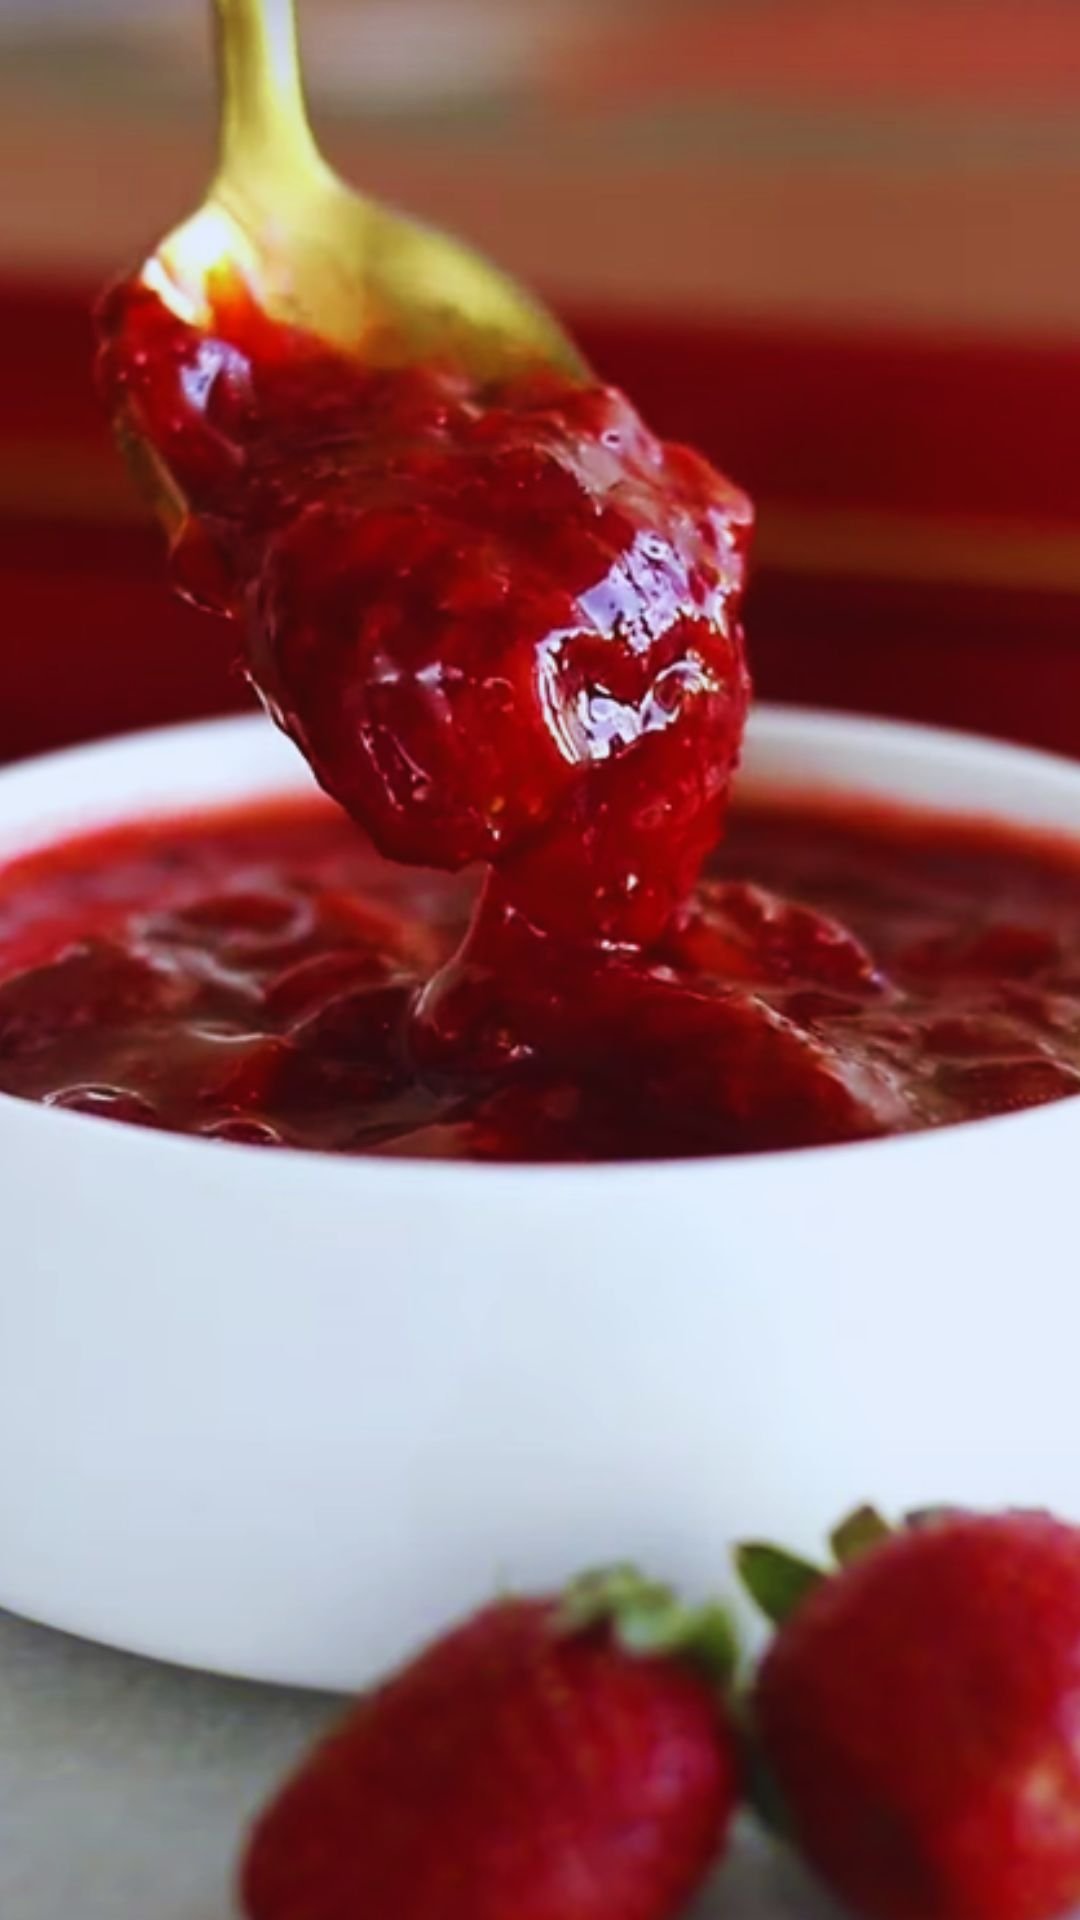
Making the Butterscotch Sauce
While the cheesecake is chilling, make the butterscotch sauce:
- In a medium saucepan, combine the brown sugar, heavy cream, butter, and salt.
- Bring to a boil over medium heat, whisking constantly.
- Reduce heat to a simmer and cook for 5 minutes, stirring occasionally.
- Remove from heat and stir in the vanilla extract.
- Let cool completely at room temperature, then transfer to a jar and refrigerate until ready to use. The sauce will thicken as it cools.
Assembling the Loaded Butterscotch Cheesecake
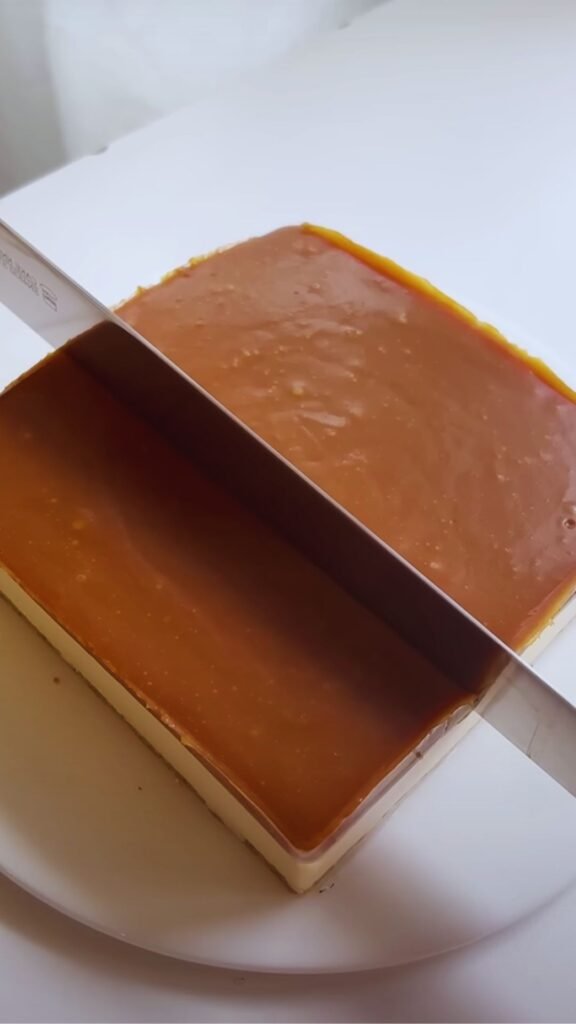
- Once the cheesecake has chilled completely, run a thin knife around the edges of the pan before releasing the springform.
- Transfer the cheesecake to a serving plate.
- Warm the butterscotch sauce slightly in the microwave or on the stovetop just until pourable but not hot.
- Pour about half of the butterscotch sauce over the top of the cheesecake, using an offset spatula to spread it evenly, leaving about 1/2 inch border around the edge.
- Sprinkle the toffee bits and toasted pecans (if using) over the sauce.
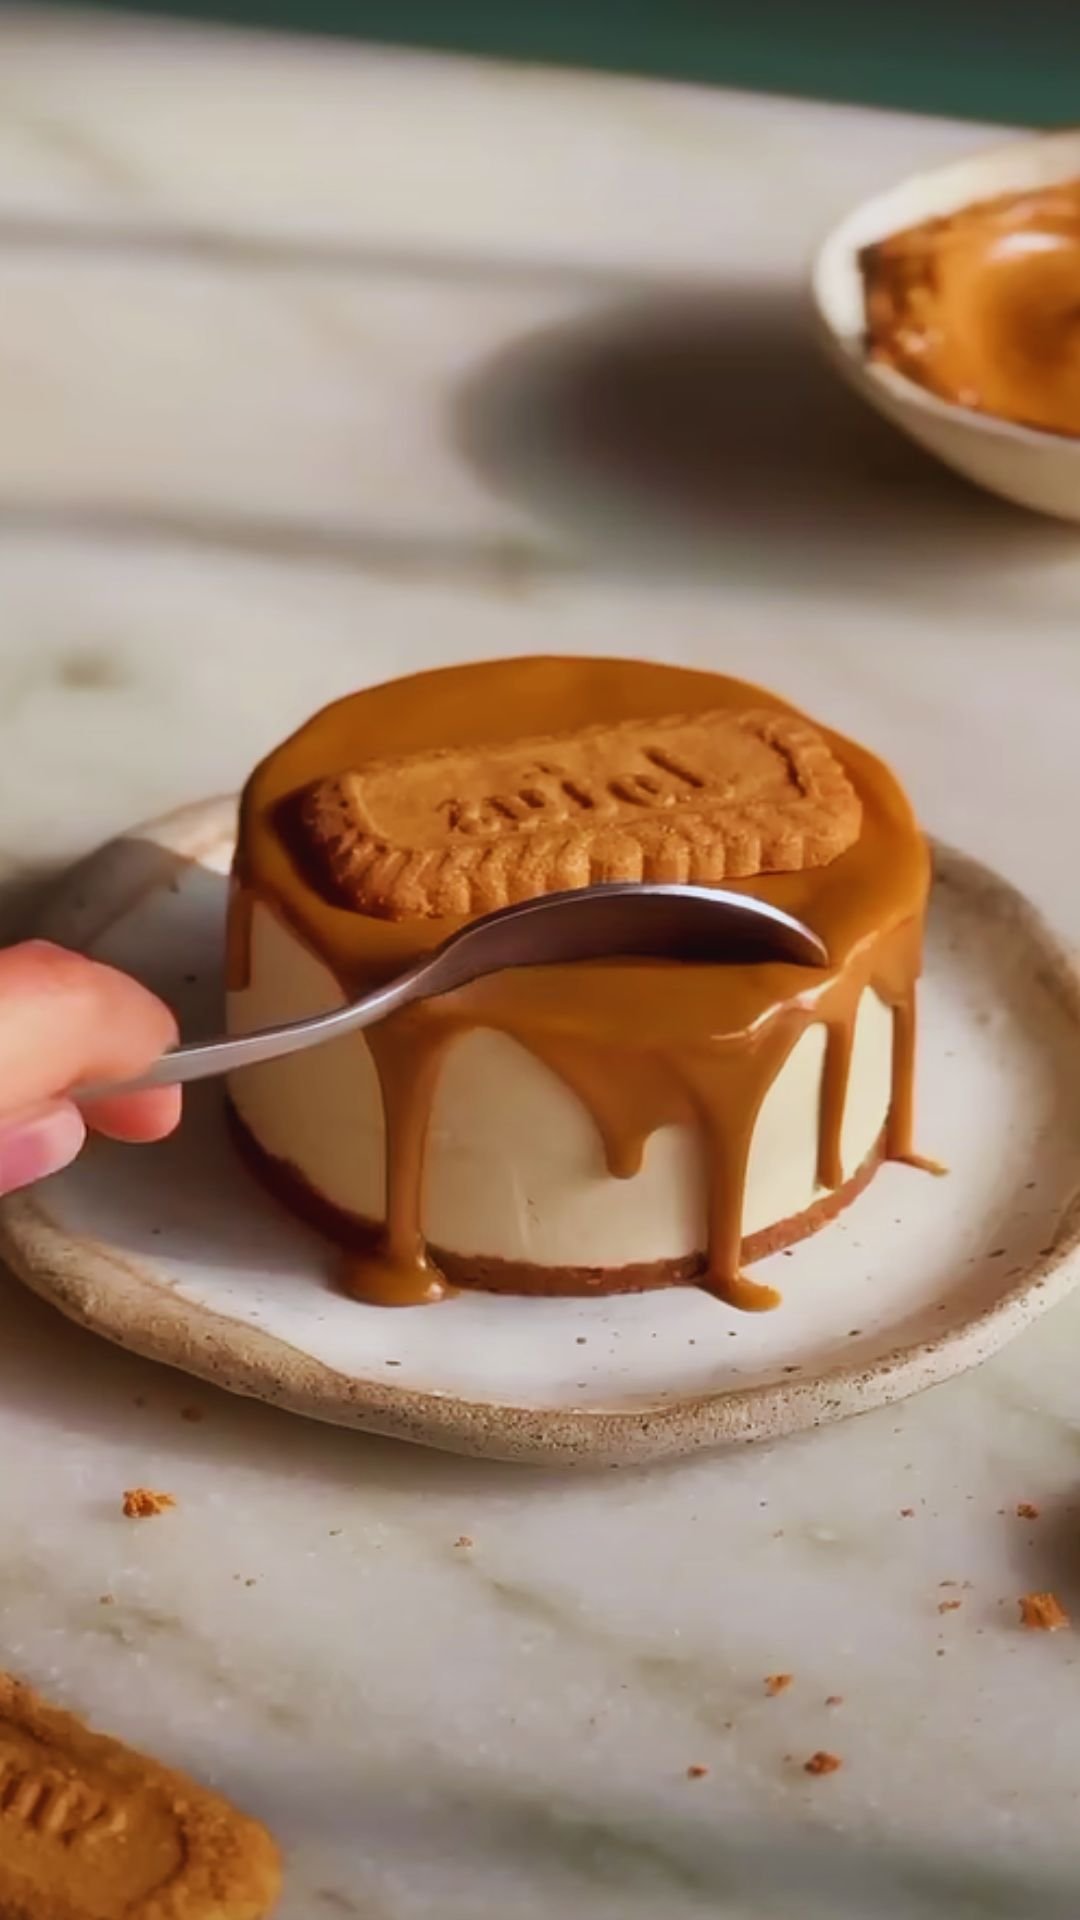
- Drizzle with more butterscotch sauce, allowing some to artfully drip down the sides.
- If desired, sprinkle with a small amount of flaky sea salt to enhance the butterscotch flavor.
- Refrigerate until ready to serve.
Pro Tips for Cheesecake Success
After making this cheesecake countless times, I’ve gathered some insights to help you achieve perfection:
Temperature Matters
- Room temperature ingredients are non-negotiable! Cold cream cheese will result in a lumpy batter.
- Take cream cheese, eggs, heavy cream, and sour cream out of the refrigerator at least 2 hours before baking.
- If you’re short on time, place the unopened foil packets of cream cheese in warm (not hot) water for about 15 minutes.
Mixing Technique
- Always use low to medium-low speed when mixing cheesecake batter.
- Overmixing incorporates too much air, which can cause cracks and affect texture.
- Scrape down the bowl frequently to ensure everything is evenly mixed.
Baking and Cooling
- The slow cooling process is just as important as the baking. Don’t rush it!
- Never skip the water bath—it ensures even baking and prevents cracks.
- If you notice the top browning too quickly, tent loosely with foil.
Storage and Make-Ahead Tips
- This cheesecake keeps well in the refrigerator for up to 5 days.
- For the freshest taste, add the toppings within 24 hours of serving.
- You can freeze the undecorated cheesecake for up to 2 months. Thaw overnight in the refrigerator before adding toppings and serving.
Troubleshooting Common Issues
| Problem | Possible Cause | Solution |
|---|---|---|
| Cracked top | Overmixing, too high temperature, or cooling too quickly | Mix on low speed, bake at 300°F, and cool slowly in the oven |
| Soggy crust | Water bath leakage | Use multiple layers of heavy-duty foil or place springform in an oven bag |
| Sunken center | Underbaking | Bake until edges are set but center still has a slight jiggle |
| Grainy texture | Sugar not fully dissolved | Beat cream cheese and sugar thoroughly before adding other ingredients |
| Butterscotch sauce too thin | Not cooked long enough | Simmer for the full 5 minutes and allow to cool completely |
| Butterscotch sauce too thick | Overcooked or too cold | Warm gently with an additional tablespoon of cream |
Serving Suggestions
This showstopper dessert deserves a special presentation! Here are some of my favorite ways to serve it:
- Pair with a scoop of high-quality vanilla bean ice cream for the ultimate indulgence
- Serve with fresh berries on the side to cut through the richness
- Offer additional warm butterscotch sauce on the side for guests to add as desired
- Complement with a hot cup of coffee or espresso
- For special occasions, dust the plate with edible gold powder for an elegant touch
- Create a dessert bar with various toppings like whipped cream, crushed cookies, and different nuts
Perfect Pairings
| Beverage | Why It Works |
|---|---|
| Coffee | The bitterness balances the sweetness of the cheesecake |
| Hot chocolate | Creates a cozy, ultra-indulgent dessert experience |
| Milk | A classic that helps cleanse the palate between bites |
| Earl Grey tea | The bergamot notes complement the butterscotch beautifully |
| Sparkling water with lemon | Provides a refreshing contrast to the rich dessert |
| Hot apple cider | Fall flavors that enhance the butterscotch and toffee |
Customize Your Cheesecake
One of the reasons I love this recipe is how adaptable it is. Here are some delicious variations to try:
Crust Variations:
- Substitute gingersnap cookies for graham crackers
- Use chocolate wafer cookies for a chocolate-butterscotch combination
- Try crushed shortbread cookies for an extra buttery base
- Add 1/2 cup finely chopped toasted pecans to the graham cracker mixture
Flavor Twists:
- Add 2 tablespoons of bourbon to the cheesecake batter
- Swirl 1/4 cup of caramel sauce into the batter before baking
- Mix in 1 tablespoon of espresso powder for a coffee-butterscotch flavor
- Add 1/2 teaspoon of cinnamon and a pinch of nutmeg for a spiced version
Topping Alternatives:
- White chocolate drizzle
- Chocolate ganache
- Crushed pretzels for a sweet-salty combination
- Homemade whipped cream flavored with a touch of butterscotch schnapps
Frequently Asked Questions
Can I make this cheesecake without a water bath? While technically possible, I strongly recommend using the water bath method. It provides gentle, even heat that prevents cracks and ensures a creamy texture throughout. If you absolutely must skip it, bake at 325°F for about 55-65 minutes, and expect that the cheesecake may crack and have a slightly different texture.
How do I know when my cheesecake is done baking? The perfect cheesecake should still have a slight jiggle in the center when you gently shake the pan. The edges should be set and may be slightly puffed. If you have an instant-read thermometer, the center should register about 150°F (65°C). Remember that the cheesecake will continue to cook and set as it cools in the oven.
Can I use store-bought butterscotch sauce instead of making my own? Yes, but the flavor won’t be quite the same. Homemade butterscotch sauce has a depth of flavor that store-bought varieties often lack. If you must use store-bought, look for a high-quality option with real butter and cream in the ingredients.
My cheesecake cracked! What happened and how can I fix it? Cracks can happen for several reasons—overmixing the batter, baking at too high a temperature, or cooling too quickly. The good news is that this recipe includes a topping that will hide any cracks beautifully! For future cheesecakes, remember to mix gently, use a water bath, and cool slowly.
Can I make this recipe without a stand mixer? Absolutely! A hand mixer works perfectly fine. Just be sure to beat the cream cheese until completely smooth before proceeding with the rest of the recipe.
How far in advance can I make this cheesecake? The cheesecake itself can be made up to 3 days in advance and stored in the refrigerator. I recommend adding the butterscotch sauce and toppings within 24 hours of serving for the best texture and appearance.
Can I freeze slices of leftover cheesecake? Yes! Wrap individual slices tightly in plastic wrap, then in aluminum foil, and freeze for up to 2 months. Thaw in the refrigerator overnight before serving.
Why This Recipe Works
I’ve tested dozens of butterscotch cheesecake recipes over the years, and this one consistently delivers spectacular results. Here’s the science behind why it works so well:
| Element | Function | Result |
|---|---|---|
| Brown sugar | Contains molasses, which adds depth to the butterscotch flavor | Rich, complex sweetness |
| Sour cream + heavy cream | Adds tanginess and creaminess | Perfect cheesecake texture |
| Low baking temperature | Prevents overheating the proteins in the eggs | Silky smooth texture without cracks |
| Water bath | Creates humid environment and gentle heat | Even baking and prevents drying |
| Cooling in oven | Gradual temperature change | Prevents dramatic shrinking and cracking |
| Salt in butterscotch sauce | Enhances flavor and cuts sweetness | Balanced taste profile |
Final Thoughts
This loaded butterscotch cheesecake isn’t just a dessert—it’s an experience. The combination of the creamy cheesecake infused with rich butterscotch flavor, the buttery graham cracker crust, the luscious homemade butterscotch sauce, and the crunchy toffee bits creates a symphony of textures and flavors that will leave your guests speechless.
I’ve served this at everything from casual family gatherings to the most elegant dinner parties, and it never fails to impress. There’s something magical about the way the butterscotch flavor develops and deepens over time, making this one of those rare desserts that’s actually even better the day after you make it.
So set aside an afternoon, gather your ingredients, and prepare to create a dessert legend. With a little patience and these detailed instructions, you’ll soon be enjoying what many of my friends and family have declared the best cheesecake they’ve ever tasted.
Happy baking!