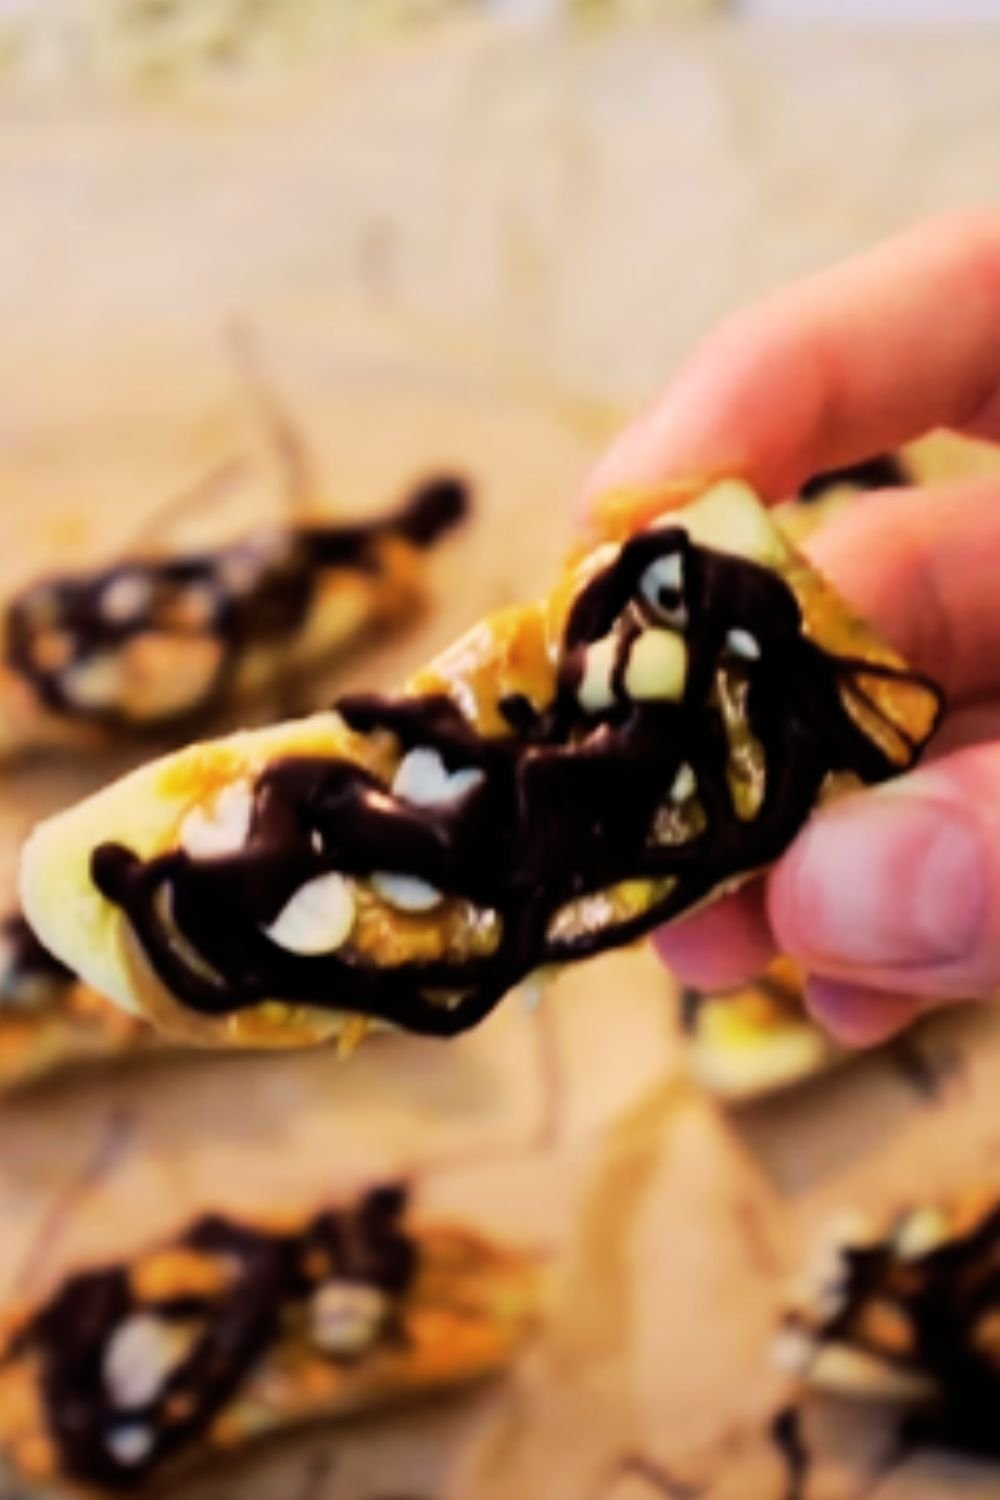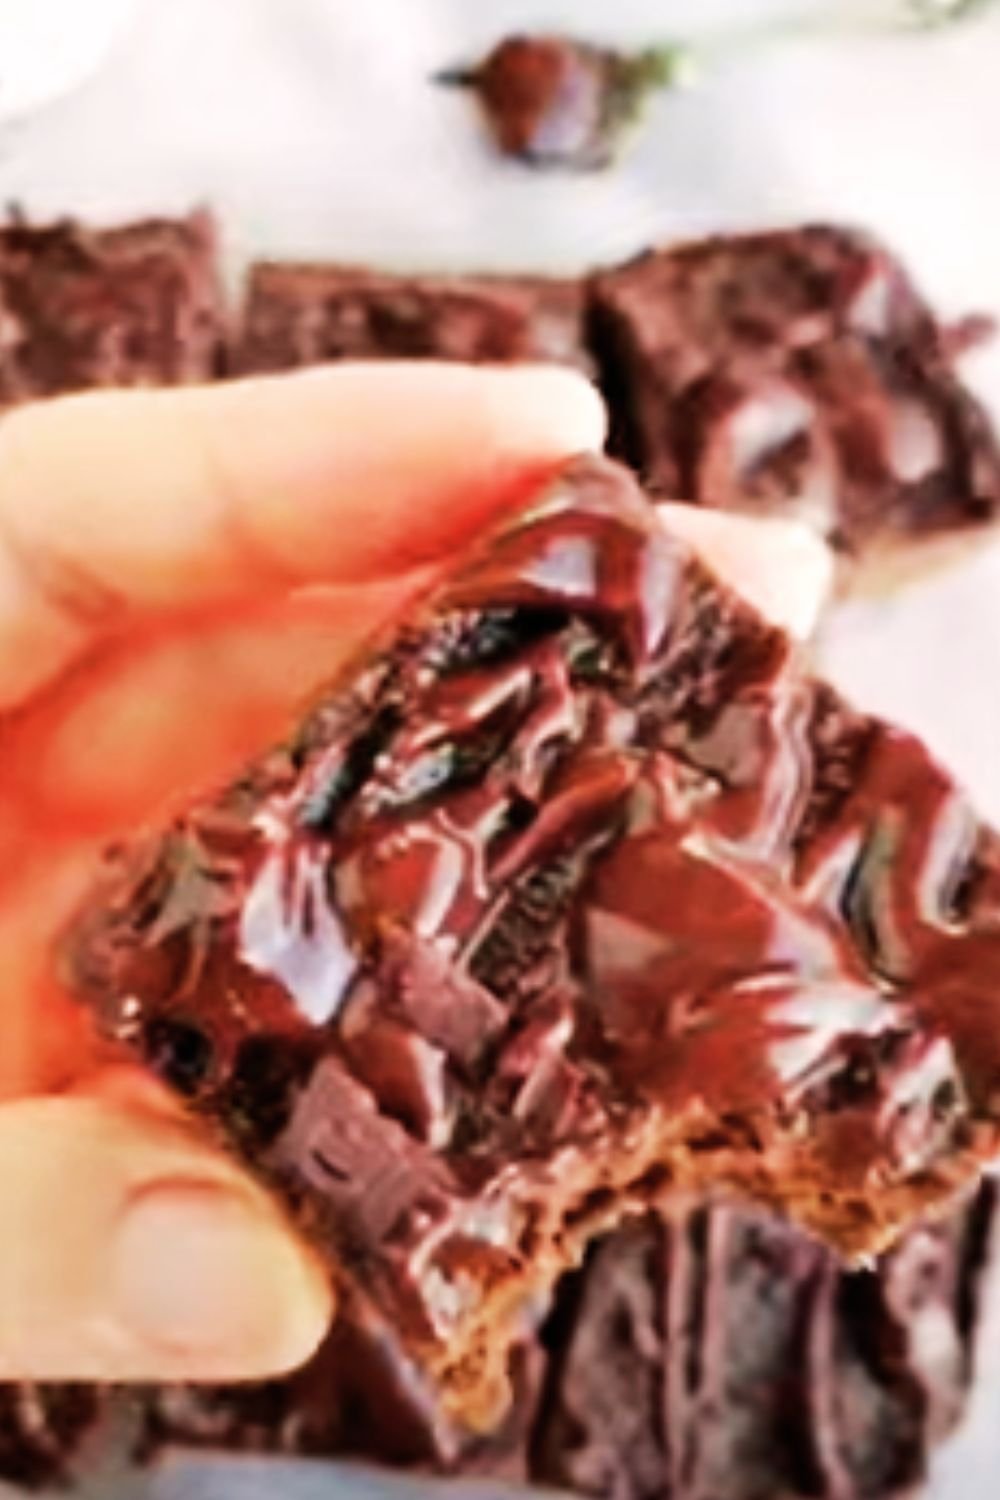
Have you ever craved a rich, fudgy brownie but wanted something a bit healthier? Well, I’ve got an absolute game-changer for you today! These flourless chickpea brownies have completely revolutionized my baking routine and transformed how I think about healthy desserts. Made with protein-packed chickpeas instead of flour, these brownies are not only gluten-free but also higher in protein and fiber than traditional brownies. But here’s the real magic – nobody will ever guess they’re made from beans!
I first discovered this recipe when searching for gluten-free dessert options for a friend’s dinner party. Skeptical at first (beans in brownies?!), I decided to give them a try. After perfecting the recipe through multiple test batches, I’m thrilled to share my ultimate version with you today. These brownies have become my go-to dessert for everything from casual family gatherings to impressive dinner parties where everyone asks for the recipe.
Why You’ll Love These Chickpea Brownies
Before diving into the recipe, let me tell you why these flourless chickpea brownies have become a staple in my kitchen:
- Naturally Gluten-Free: Perfect for those with celiac disease or gluten sensitivity
- Protein-Packed: Each brownie contains approximately 4g of plant-based protein
- Fiber-Rich: Chickpeas provide substantial dietary fiber for digestive health
- Simple Ingredients: Made with easy-to-find pantry staples
- One-Blender Recipe: Minimal cleanup required!
- Kid-Approved: Even picky eaters love these (and won’t detect the beans)
- Customizable: Easy to adapt with your favorite mix-ins and toppings
- Nutrient-Dense: Provides essential nutrients typically missing in desserts
When I first served these to my family, my nephew (who notoriously avoids anything remotely healthy) devoured three brownies and asked for more. That’s when I knew this recipe was truly special!
Nutritional Benefits of Chickpea Brownies
Let’s take a closer look at why these brownies aren’t just delicious but nutritionally superior to traditional versions:
| Nutrient | Amount per Serving | Benefits |
|---|---|---|
| Protein | 4g | Supports muscle repair and growth, increases satiety |
| Fiber | 3.5g | Promotes digestive health and helps control blood sugar |
| Iron | 1.2mg (6% DV) | Essential for healthy blood cells and energy levels |
| Folate | 35μg (9% DV) | Important for cell growth and development |
| Manganese | 0.4mg (17% DV) | Supports bone health and metabolism |
| Magnesium | 28mg (7% DV) | Helps with muscle and nerve function |
| Potassium | 175mg (4% DV) | Supports heart health and fluid balance |
| Added Sugar | 6g (reduced by 60%) | Much lower than traditional brownies |
By replacing refined flour with protein and fiber-rich chickpeas, these brownies provide sustainable energy without the blood sugar roller coaster that comes with traditional desserts. I notice a significant difference in how I feel after enjoying these compared to regular brownies – satisfied but not sluggish!
Ingredients You’ll Need

For about 16 delicious brownies, you’ll need:
- 1 can (15 oz/425g) chickpeas (garbanzo beans), drained and rinsed well
- 1/2 cup (120g) natural nut butter (almond, peanut, or cashew work best)
- 1/3 cup (80ml) pure maple syrup (or honey if not vegan)
- 1/4 cup (20g) unsweetened cocoa powder
- 2 tablespoons (14g) ground flaxseed mixed with 6 tablespoons water
- 1 teaspoon pure vanilla extract
- 1/2 teaspoon baking powder
- 1/4 teaspoon baking soda
- 1/4 teaspoon salt
- 1/2 cup (90g) dark chocolate chips, divided (dairy-free if needed)
- Optional add-ins: 1/3 cup chopped walnuts or pecans, 2 tablespoons espresso powder for mocha flavor
Ingredient Substitutions and Tips
I’ve experimented with numerous variations of this recipe, so here are some helpful substitutions:
Chickpeas:
- Using home-cooked chickpeas: Use 1.5 cups cooked chickpeas (from about 1/2 cup dried)
- Can’t find chickpeas? White beans (cannellini or great northern) work surprisingly well
Nut Butter:
- Nut-free option: Use sunflower seed butter or tahini
- For richer taste: Try hazelnut butter for a Nutella-like flavor
- Budget option: Regular peanut butter works perfectly
Sweeteners:
- Lower sugar option: Use 1/4 cup maple syrup + 10 drops of liquid stevia
- Keto adaptation: Use 1/3 cup monk fruit sweetener or erythritol
- Date paste: Blend 10 soaked dates with 2 tablespoons water until smooth
Egg Replacement:
- Instead of flax eggs: Use 2 regular eggs if not vegan
- Alternative: 1/2 cup unsweetened applesauce works in a pinch
Equipment Needed
One of the things I love about this recipe is its simplicity. You’ll need:
- Food processor or high-powered blender
- 8×8 inch (20×20 cm) baking pan
- Parchment paper
- Measuring cups and spoons
- Silicone spatula
- Cooling rack
Step-By-Step Instructions
Let me walk you through the process of making these delicious brownies:
1. Prepare Your Ingredients and Equipment
- Preheat your oven to 350°F (175°C)
- Line your baking pan with parchment paper, leaving some overhang for easy removal
- Prepare your flax eggs by mixing ground flaxseed with water and letting it sit for 5 minutes until gel-like
- Drain and rinse chickpeas thoroughly (this is important to avoid any “beany” taste)
- Measure out all other ingredients
2. Blend the Batter

- Add chickpeas, nut butter, maple syrup, cocoa powder, flax eggs, vanilla, baking powder, baking soda, and salt to your food processor
- Blend until completely smooth, about 2-3 minutes, stopping to scrape down the sides as needed
- The batter should be thick and smooth with no visible chickpea pieces
- Taste the batter and adjust sweetness if needed (it’s vegan-safe to taste!)
- Fold in 1/4 cup of chocolate chips by hand (don’t blend these)
3. Bake to Perfection
- Transfer the batter to your lined baking pan, smoothing the top with a spatula
- Sprinkle the remaining 1/4 cup chocolate chips on top
- Bake for 25-30 minutes until the edges are set and a toothpick inserted comes out mostly clean (a few moist crumbs are perfect for fudgy brownies)
- For cake-like brownies, bake for 30-32 minutes
- For super fudgy brownies, bake for 22-25 minutes
4. Cool and Serve
- Allow the brownies to cool in the pan for at least 30 minutes (this is crucial for proper setting)
- Use the parchment paper to lift the brownies out of the pan
- Cut into 16 squares using a sharp knife (cleaning between cuts gives neater edges)
- Store in an airtight container at room temperature for up to 3 days or refrigerate for up to a week
Pro Tips for Perfect Chickpea Brownies
After making these brownies dozens of times, I’ve discovered a few secrets that make a huge difference:
- Thorough Blending: Process the batter until absolutely smooth. Those tiny chickpea pieces can betray your secret ingredient!
- Don’t Overbake: These brownies continue to firm up as they cool. When in doubt, underbake slightly for that perfect fudgy texture.
- Chill for Enhanced Flavor: While delicious immediately, these brownies develop an even richer flavor after a few hours in the refrigerator.
- Quality Cocoa Matters: Use Dutch-processed cocoa powder for a deeper, more intense chocolate flavor.
- Secret Flavor Enhancer: Add 1/4 teaspoon of espresso powder to the batter – it won’t taste like coffee but will intensify the chocolate flavor.
- Perfect Texture Hack: For extra fudgy brownies, place them in the freezer for 20 minutes before serving.
Troubleshooting Common Issues
Even with a foolproof recipe like this one, things can sometimes go awry. Here are solutions to common problems:
Problem: Brownies are too soft/didn’t set
- Solution: Ensure you drained the chickpeas thoroughly. Excess moisture can prevent proper setting.
- Fix: Return to the oven for 5-7 more minutes, then allow to cool completely.
Problem: “Beany” aftertaste
- Solution: Rinse chickpeas extremely well before using. Adding an extra tablespoon of vanilla extract can also help mask any bean flavor.
- Prevention: Using high-quality cocoa powder and chocolate chips creates a stronger chocolate flavor that overshadows any subtle bean notes.
Problem: Brownies are too dry
- Solution: Reduce baking time by 3-5 minutes next time. For the current batch, serve with a scoop of ice cream or drizzle with nut butter.
- Prevention: Make sure you’re not overmeasuring the cocoa powder (fluff, spoon into measuring cup, level off).
Problem: Brownies stick to the pan
- Solution: Always use parchment paper with overhanging edges.
- Fix: If stuck, refrigerate for 30 minutes to firm up, then gently loosen edges with a butter knife.
Delicious Variations to Try

One of the reasons I love this recipe is its versatility. Here are some of my favorite variations:
Flavor Twists
- Mint Chocolate: Add 1/4 teaspoon peppermint extract and top with crushed candy canes
- Mexican Chocolate: Add 1 teaspoon cinnamon, 1/8 teaspoon cayenne pepper, and a pinch of nutmeg
- Salted Caramel: Swirl 1/4 cup of salted caramel sauce into the batter before baking
- Mocha: Add 1 tablespoon instant espresso powder to the batter
- Orange Chocolate: Add the zest of one orange and 1/4 teaspoon orange extract
- Raspberry: Swirl 1/4 cup of seedless raspberry jam into the batter
Mix-in Ideas
- Nutty: Add 1/2 cup of chopped walnuts, pecans, or hazelnuts
- Coconut Dream: Add 1/3 cup shredded unsweetened coconut to the batter and sprinkle more on top
- Berry Bliss: Fold in 1/2 cup fresh or frozen raspberries or chopped strawberries
- Cookie Dough: Drop teaspoons of edible vegan cookie dough throughout the batter
- Peanut Butter Swirl: Warm 1/4 cup peanut butter until pourable and swirl into the batter before baking
Serving Suggestions
These brownies are incredible on their own, but here are some ways to elevate them for special occasions:
- Warm slightly and top with a scoop of vanilla non-dairy ice cream
- Drizzle with homemade chocolate sauce or caramel
- Serve with fresh berries and a dollop of coconut whipped cream
- Crumble over nice cream for a decadent sundae
- Pair with a glass of almond milk or oat milk for a classic combo
- Layer with dairy-free yogurt and fruit for a brownie parfait
- Use as the base for a trifle with layers of pudding and berries
Storage and Make-Ahead Tips
These brownies are great for meal prep and actually improve with a bit of time! Here’s how to store them:
Room Temperature: Store in an airtight container for up to 3 days.
Refrigerator: Keep for up to 1 week in a sealed container. Allow to come to room temperature before serving or warm briefly in the microwave (10-15 seconds).
Freezer: These brownies freeze beautifully! Here’s my method:
- Cool completely
- Cut into individual squares
- Wrap each brownie in parchment paper
- Place in a freezer-safe container or zip-top bag
- Freeze for up to 3 months
- Thaw at room temperature for 1-2 hours or microwave from frozen for 20-30 seconds
Make-Ahead Tip: You can prepare the batter up to 24 hours in advance and store it in the refrigerator. Let it come to room temperature for about 30 minutes before baking.
Frequently Asked Questions
After sharing this recipe with friends and family, I’ve collected the most common questions:
Q: Can you really not taste the chickpeas?
A: When prepared correctly, you cannot taste the chickpeas at all! The key is thorough rinsing of the beans and sufficient cocoa powder and chocolate chips to create a rich chocolate flavor that completely masks any bean taste.
Q: Are these actually healthy?
A: While they’re still a treat, these brownies are significantly healthier than traditional versions. They contain more protein and fiber, less sugar, and no refined flour. The chickpeas provide slow-releasing carbohydrates that won’t spike your blood sugar the way white flour does.
Q: Can I make these completely sugar-free?
A: Yes! You can substitute the maple syrup with monk fruit sweetener, erythritol, or stevia (though you may need to add a few tablespoons of milk to maintain the right consistency). Use sugar-free chocolate chips or cacao nibs for a completely sugar-free version.
Q: Will kids like these brownies?
A: In my experience, absolutely! I’ve served these to many children who had no idea they contained beans. The texture and flavor are so similar to traditional brownies that most kids gobble them up without suspicion.
Q: Can I use a blender instead of a food processor?
A: Yes, but you’ll need a high-powered blender (like a Vitamix). You may need to stop and scrape down the sides more frequently to ensure a completely smooth batter. If using a standard blender, work in batches for the best results.
Q: How can I make these brownies nut-free?
A: Simply substitute the nut butter with sunflower seed butter, tahini, or coconut butter. All work well and maintain the fudgy texture.
Q: Do these brownies work for special diets?
A: Yes! These brownies are:
- Naturally gluten-free
- Easily made vegan (using plant milk and dairy-free chocolate chips)
- Grain-free
- Refined sugar-free (if using appropriate sweeteners)
- Can be made nut-free (see above)
- Paleo-friendly with appropriate substitutions
Why This Recipe Changed My Baking Forever
I’ve always loved baking, but discovering the versatility of chickpeas in desserts has truly been revolutionary for me. Being able to create treats that are genuinely delicious while also providing nutritional benefits has transformed how I approach dessert.
What I find most remarkable about these brownies is how they’ve bridged the gap between “healthy” and “indulgent” – categories that too often seem mutually exclusive in the world of desserts. I no longer feel the need to choose between having something delicious and having something nourishing.
I’ve brought these brownies to potlucks, served them at dinner parties, and packed them for picnics. Without fail, they receive rave reviews, followed by shock when I reveal the secret ingredient. There’s something deeply satisfying about watching someone’s expression change from skepticism to delight as they take that first bite.
If you’re new to bean-based baking, I encourage you to approach this recipe with an open mind. These aren’t “good for being healthy brownies” – they’re genuinely delicious brownies that happen to be better for you. And isn’t that the dream? Enjoying a fudgy, chocolatey treat without any of the guilt or sugar crash afterward.
So grab that can of chickpeas sitting in your pantry, and prepare to be amazed. Your brownie game is about to change forever!
Final Tips for Success
As you embark on your chickpea brownie journey, remember these final tips:
- Trust the process – the batter might taste slightly beany before baking, but the finished product won’t
- Quality ingredients make a difference – especially the cocoa powder and chocolate chips
- Don’t skip the parchment paper – it ensures easy removal and clean cuts
- Let them cool completely – the texture improves as they cool
- If serving to skeptics, maybe wait until after they’ve enjoyed a brownie to reveal the secret ingredient!
Happy baking, and enjoy your delicious, nutritious chickpea brownies!