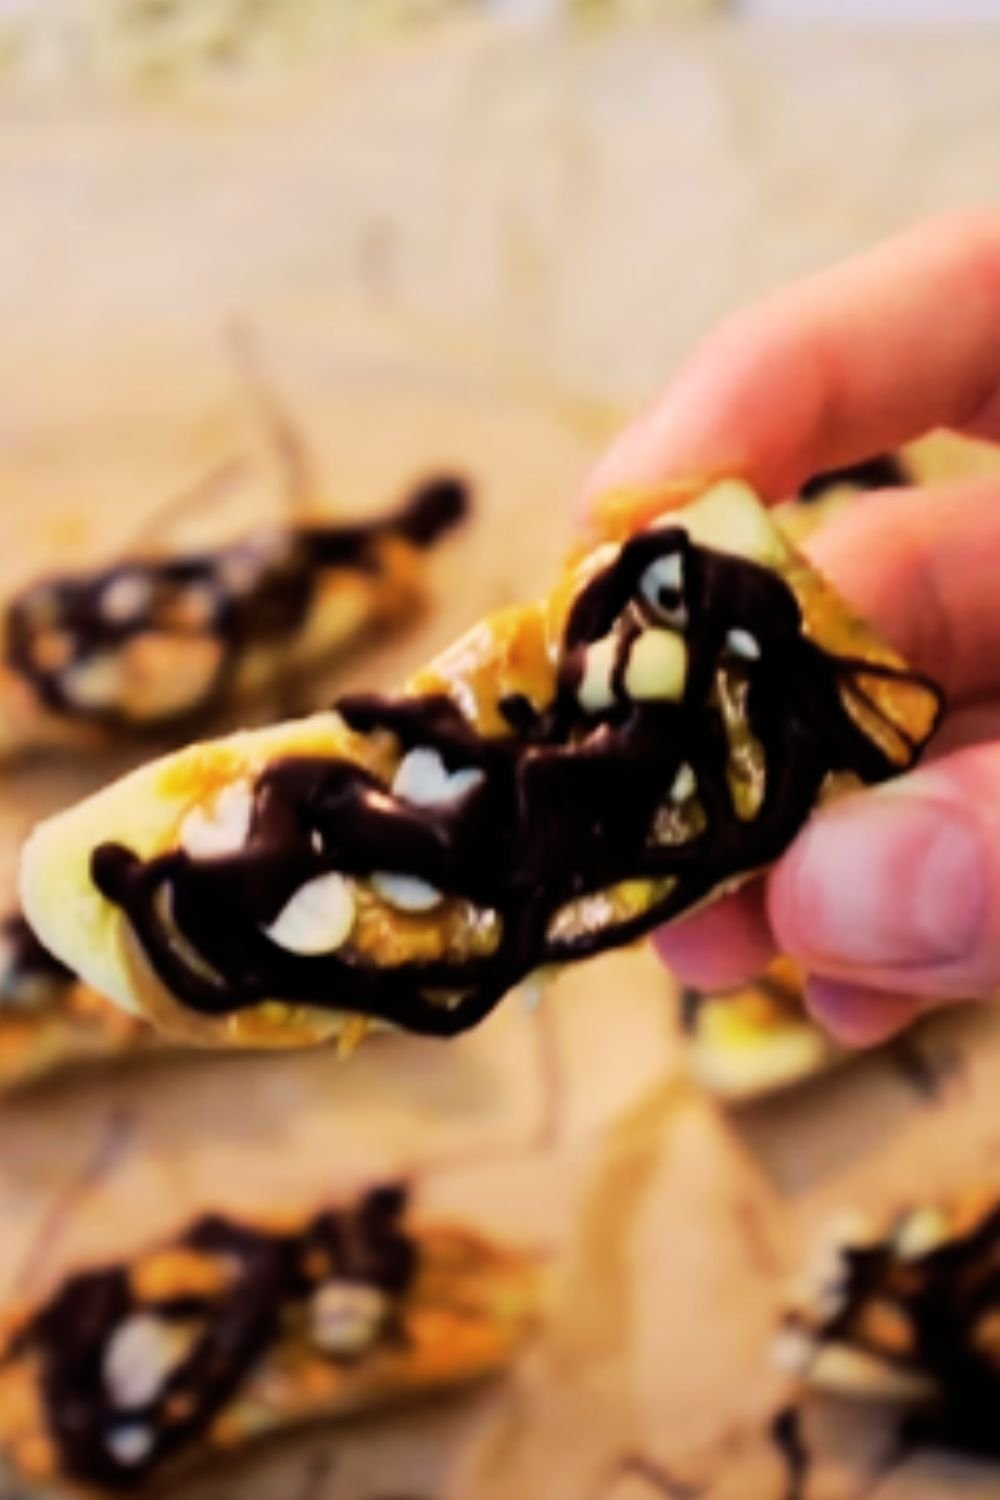
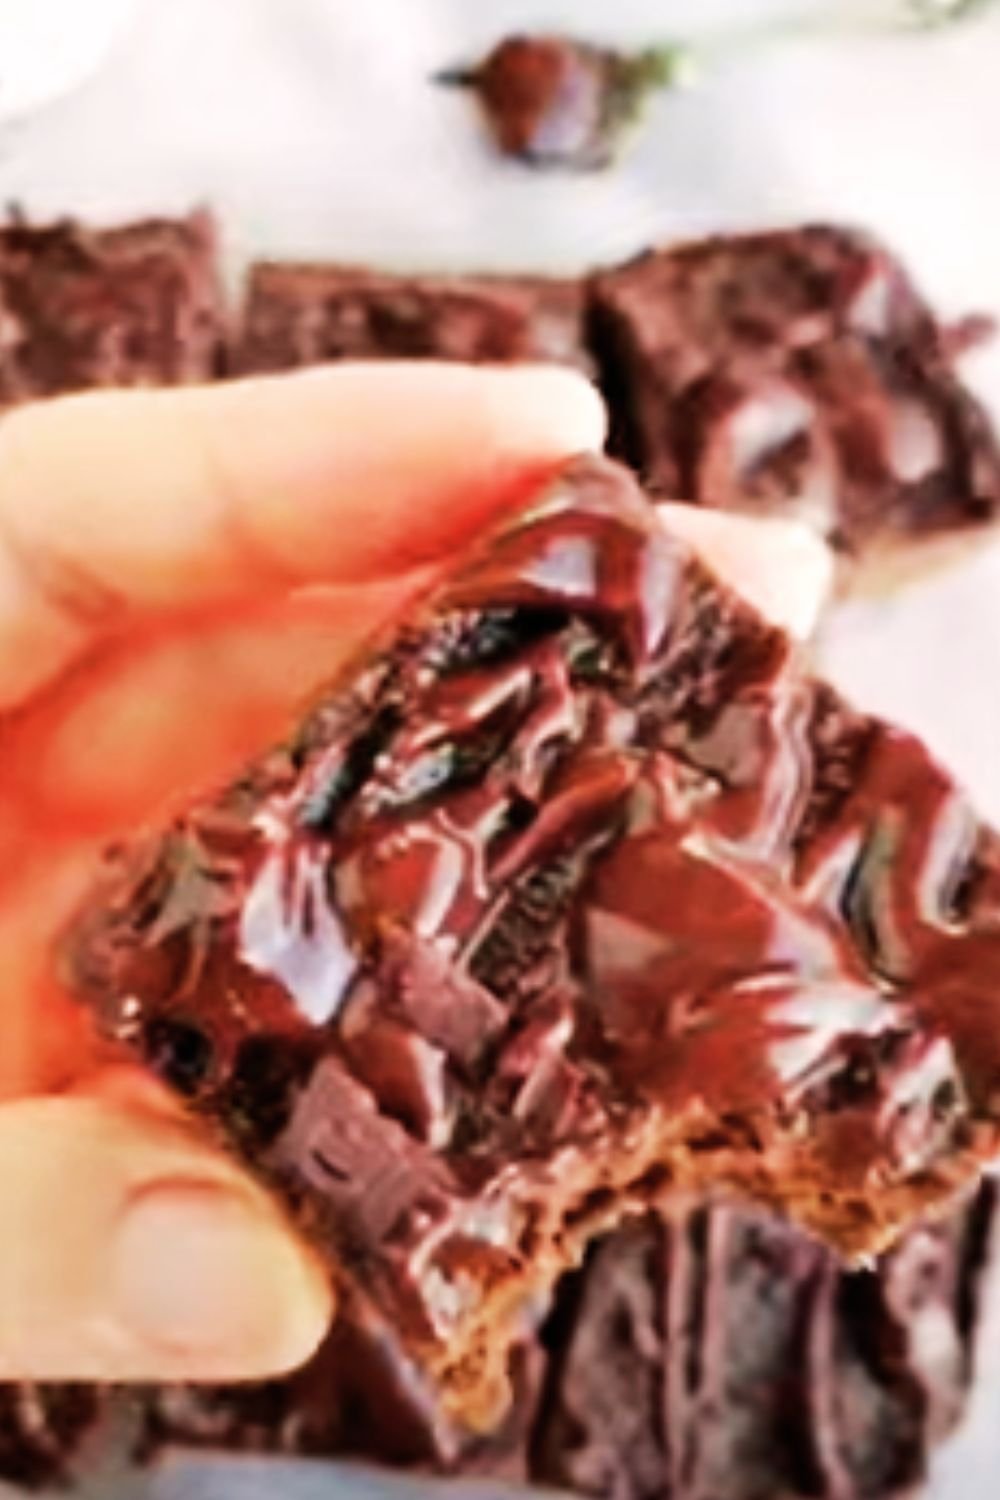
Have you ever found yourself staring at those overripe bananas on your counter, wondering what to do with them? I’ve been there countless times. While banana bread is always a reliable option, I’ve discovered something even more exciting: Frozen Banana Snack Bars! These delightful treats have become my family’s favorite way to use up bananas, offering a healthy alternative to store-bought ice cream bars that often contain artificial ingredients and excessive sugar.
After experimenting with dozens of variations over the years, I’ve perfected a base recipe that’s not only simple to make but also incredibly versatile. Whether you’re looking for a post-workout snack, a nutritious breakfast on-the-go, or a guilt-free dessert, these frozen banana bars tick all the boxes.
Why Frozen Banana Snack Bars Deserve a Place in Your Freezer
When I first stumbled upon the concept of frozen banana treats, I was skeptical. How could something so simple be as satisfying as traditional ice cream? But after that first bite, I was immediately converted. The natural sweetness of bananas creates a creamy, ice cream-like texture when frozen, without any added sugars or dairy.
What makes these bars truly special is their incredible nutritional profile. Bananas provide potassium, vitamin B6, and fiber, while customizable toppings like nuts and seeds add protein and healthy fats. I love that I can serve these to my kids without worrying about sugar crashes or artificial ingredients.
Essential Ingredients for Perfect Frozen Banana Bars
The beauty of these bars lies in their simplicity. For the basic recipe, you’ll need:
- Ripe bananas – The spottier, the better! Overripe bananas are sweeter and creamier when frozen
- Natural nut or seed butter – Adds protein and helps the bars hold together
- Toppings of choice – From chocolate chips to granola, the possibilities are endless
- Honey or maple syrup – Optional for extra sweetness, though I rarely find it necessary
- Vanilla extract – Just a splash elevates the flavor profile tremendously
Understanding Banana Ripeness
Before diving into the recipe, let’s talk about choosing the right bananas:
Green bananas : High in resistant starch and less sweet; not ideal for this recipe
Yellow bananas : Perfectly ripe but still firm; workable but not optimal
Spotted bananas : The sweet spot (literally) for frozen treats; naturally sweet with a soft texture
Brown bananas : Very sweet with a soft texture; excellent for this recipe but may be mushier to work with
Equipment You’ll Need
One of the reasons I make these bars so often is that they require minimal equipment:
- Parchment-lined baking sheet
- Popsicle sticks or wooden craft sticks (optional)
- Food processor or blender (for some variations)
- Freezer-safe container for storage
The Basic Frozen Banana Snack Bar Recipe

Ingredients:
- 4 large ripe bananas
- 1/4 cup natural peanut butter (or almond butter for a different flavor profile)
- 1 teaspoon vanilla extract
- Pinch of sea salt
- 1/2 cup chopped dark chocolate or chocolate chips
- 1/4 cup chopped nuts of choice (walnuts, almonds, or pecans work beautifully)
Step-by-Step Instructions:
- Line a baking sheet with parchment paper to prevent sticking.
- Peel the bananas and slice them lengthwise down the middle.
- Arrange the banana halves on the prepared baking sheet, leaving some space between each one.
- In a small microwave-safe bowl, warm the peanut butter for about 20 seconds until it’s easy to spread.
- Stir the vanilla extract and salt into the warmed peanut butter.
- Using a small spoon, spread the peanut butter mixture evenly over each banana half.
- Sprinkle the chocolate chips and chopped nuts over the peanut butter layer, gently pressing them in.
- Insert popsicle sticks into the bottom of each banana half (if using).
- Freeze for at least 3 hours, or until completely solid.
- Once frozen, transfer to a freezer-safe container with parchment paper between layers.
Nutritional Information Per Bar (Based on Recipe Above):
| Nutrient | Amount per Serving |
|---|---|
| Calories | 175 |
| Protein | 4g |
| Carbohydrates | 22g |
| Fiber | 3g |
| Sugar | 12g (all natural) |
| Fat | 9g |
| Saturated Fat | 3g |
| Potassium | 320mg |
| Vitamin B6 | 0.4mg |
| Magnesium | 42mg |
6 Exciting Variations to Try
The basic recipe is just the beginning. Here are some of my favorite variations that have been family-approved:
1. Tropical Paradise Bars
- Add 2 tablespoons shredded coconut
- Mix in 2 tablespoons chopped dried mango
- Replace peanut butter with coconut butter
- Sprinkle with a pinch of lime zest
2. Berry Blast Bars
- Press fresh blueberries into the peanut butter layer
- Add 1 tablespoon of freeze-dried strawberry pieces
- Use almond butter instead of peanut butter
- Drizzle with a little white chocolate
3. Cookies & Cream Dream
- Use cashew butter as the base
- Mix in 2 tablespoons crushed chocolate sandwich cookies
- Add a light drizzle of chocolate sauce before freezing
- Sprinkle with a touch of flaky sea salt
4. Breakfast Banana Bars
- Spread with Greek yogurt instead of nut butter
- Top with granola and a sprinkle of cinnamon
- Add a few chia seeds for extra nutrients
- Drizzle with a small amount of honey
5. Peanut Butter Cup Inspired
- Double the peanut butter layer
- Use mini chocolate chips for better distribution
- Add a tiny pinch of flaky sea salt on top
- Consider a light drizzle of melted chocolate
6. Superfood Powerhouse
- Mix spirulina or maca powder into the nut butter
- Top with hemp seeds, cacao nibs, and goji berries
- Add a sprinkle of ground flaxseed
- Use raw honey as a light drizzle
Detailed Comparison of Banana Bar Variations
To help you choose which variation might best suit your taste preferences and dietary needs, I’ve created this comprehensive comparison table:
| Variation | Flavor Profile | Primary Nutrients | Calories | Prep Time | Kid-Friendly Rating | Special Dietary Notes |
|---|---|---|---|---|---|---|
| Basic Recipe | Sweet, nutty | Potassium, B vitamins, healthy fats | 175 | 10 mins | ★★★★★ | Contains nuts, can be made nut-free with sunflower seed butter |
| Tropical Paradise | Sweet, tangy, coconutty | Manganese, fiber, medium-chain triglycerides | 190 | 12 mins | ★★★★☆ | Tree nut-free if using coconut butter |
| Berry Blast | Sweet-tart, fruity | Antioxidants, vitamin C, flavonoids | 165 | 15 mins | ★★★★★ | Lower sugar option when using unsweetened berries |
| Cookies & Cream | Sweet, creamy, indulgent | Calcium, iron | 210 | 10 mins | ★★★★★ | Contains gluten unless using gluten-free cookies |
| Breakfast Bar | Tangy, crunchy | Protein, probiotics, fiber | 185 | 8 mins | ★★★☆☆ | Contains dairy; higher protein option |
| Peanut Butter Cup | Rich, decadent | Protein, resveratrol, magnesium | 220 | 12 mins | ★★★★★ | Highest calorie option; contains nuts |
| Superfood | Earthy, complex | Omega-3s, antioxidants, complete proteins | 195 | 15 mins | ★★☆☆☆ | Best for health enthusiasts; may have unfamiliar flavors for kids |
Tips for Freezing and Storage
Over the years, I’ve learned a few tricks to ensure these bars maintain their quality in the freezer:
- Freeze in stages: First freeze the bars uncovered for 2 hours until solid, then wrap individually
- Proper wrapping: Use parchment paper followed by aluminum foil or freezer-safe plastic wrap
- Labeling: Don’t forget to date your bars—though in my house, they rarely last more than a week!
- Ideal temperature: Set your freezer to 0°F (-18°C) for optimal texture
- Storage duration: These bars maintain best quality for up to 3 months, but are safe to eat beyond that time

Common Problems and Solutions
Even with a simple recipe like this, things can sometimes go wrong. Here are solutions to issues I’ve encountered:
Problem: Bananas turn brown quickly
Solution: After slicing, brush bananas with a bit of lemon juice to prevent oxidation. The citric acid slows browning without affecting flavor significantly.
Problem: Toppings fall off when eating
Solution: Ensure your nut butter layer is thick enough to “glue” toppings in place. Gently pressing toppings into the nut butter before freezing also helps tremendously.
Problem: Bars freeze too hard
Solution: Let them sit at room temperature for 3-5 minutes before eating. Alternatively, add a tablespoon of coconut oil to your nut butter for a slightly softer frozen texture.
Problem: Bananas are slippery to work with
Solution: Use slightly underripe bananas that are just beginning to spot for easier handling, or freeze the banana halves for 20 minutes before adding toppings.
Health Benefits Deep Dive
As someone who’s always looking for nutritious treats, I’ve researched the specific health benefits these bars provide:
Bananas: Nature’s Energy Bars
Bananas contain approximately 422mg of potassium per medium fruit, making them excellent for muscle function and blood pressure regulation. They also provide:
- Vitamin B6: Essential for brain development and function
- Manganese: Important for bone formation and immune health
- Vitamin C: Supports immune function and collagen production
- Prebiotic fiber: Feeds beneficial gut bacteria
Nut and Seed Butters: Powerhouses of Nutrition
Depending on which nut or seed butter you choose, you’ll get different nutritional benefits:
| Nut/Seed Butter | Standout Nutrients | Health Benefits | Flavor Notes |
|---|---|---|---|
| Peanut Butter | Protein (7g per 2 Tbsp), Niacin, Manganese | Heart health, Satiety, Energy | Robust, slightly sweet |
| Almond Butter | Vitamin E (7.3mg per 2 Tbsp), Magnesium, Calcium | Skin health, Bone strength, Antioxidant properties | Mild, nutty |
| Cashew Butter | Copper, Phosphorus, Magnesium | Nerve function, Bone health, Energy metabolism | Creamy, subtle |
| Sunflower Seed Butter | Vitamin E, Selenium, Magnesium | Antioxidant, Thyroid health, Allergy-friendly option | Earthy, robust |
| Tahini (Sesame) | Calcium, Iron, Zinc | Bone health, Blood health, Hormone production | Slightly bitter, complex |
Kid-Friendly Adaptations
Having made these with children many times, I’ve discovered some fun ways to get kids involved:
- Set up a “banana bar station” with various toppings in small bowls
- Use cookie cutters to cut shapes from frozen banana slices before adding toppings
- Create “banana faces” using different toppings as features
- Let kids design their own flavor combinations
- Use colorful, natural ingredients like freeze-dried fruit powders for vibrant colors

Serving Suggestions
These frozen treats are delicious on their own, but you can elevate them with these serving ideas:
- Drizzle with warm nut butter just before serving
- Serve alongside fresh berries for a complete dessert
- Crumble onto plain yogurt for a deconstructed parfait
- Chop into chunks and add to overnight oats as they thaw
- Serve with a small dish of extra toppings for dipping
Frequently Asked Questions
Q: Can I use frozen bananas that I’ve already stored in the freezer?
While fresh bananas work best for this recipe because they’re easier to slice and coat with toppings, you can use previously frozen bananas in a modified approach. Thaw them slightly until you can slice them, work quickly to add toppings, and refreeze.
Q: Are these bars suitable for people with diabetes?
Though bananas do contain natural sugars, pairing them with protein and healthy fats from nut butters helps slow sugar absorption. Many of my friends with diabetes enjoy these as an occasional treat, but it’s always best to consult with a healthcare provider about specific dietary needs.
Q: How can I make these bars vegan?
Good news! The basic recipe is already vegan if you use dark chocolate that doesn’t contain milk. Just ensure any additional toppings like drizzles or cookie pieces are also vegan-friendly.
Q: My child has nut allergies. Can we still make these?
Absolutely! Substitute sunflower seed butter, pumpkin seed butter, or tahini for the nut butter. You can also use oat butter or coconut butter as alternatives. Replace nut toppings with seeds, granola, or extra chocolate chips.
Q: Can I use this recipe for a party?
These bars make excellent party treats! For gatherings, I recommend making mini versions using banana coins instead of halves. Freeze them on toothpicks for easy handling, and consider creating a variety of flavors to please different preferences.
Q: How long do I need to freeze the bars?
For the best texture, freeze for a minimum of 3 hours. However, for optimal results, I recommend freezing overnight. This ensures the bars are completely solid and the flavors have had time to meld together.
Environmental Impact and Sustainability
As someone who tries to be mindful of my environmental footprint, I appreciate that these snack bars have several eco-friendly aspects:
- They’re a perfect way to use overripe bananas, reducing food waste
- They require no baking, saving energy compared to other banana-based treats
- When using organic and locally-sourced ingredients, the carbon footprint is minimal
- The simple packaging needs (parchment paper and reusable containers) create less waste than store-bought alternatives
Cost Analysis: Homemade vs. Store-Bought
I’ve calculated the approximate cost of making these bars at home compared to purchasing similar products:
| Item | Homemade Cost (per serving) | Store-Bought Equivalent Cost |
|---|---|---|
| Basic Banana Bar | $0.75 | $2.50-3.50 |
| Organic Ingredients Version | $1.25 | $3.50-4.50 |
| Superfood Enhanced Version | $1.75 | $4.50-5.50 |
These calculations assume standard grocery store prices and may vary based on your location and whether ingredients are purchased in bulk.
Seasonal Adaptations
While bananas are available year-round, I like to adapt this recipe to incorporate seasonal elements:
Summer Version
- Add fresh berries that are in season
- Incorporate tropical fruits like mango and pineapple
- Use lighter toppings like shredded coconut
Fall Version
- Incorporate warm spices like cinnamon, nutmeg, and clove
- Add apple butter as a layer beneath the nut butter
- Top with crushed graham crackers and a maple drizzle
Winter Version
- Add peppermint extract to the nut butter
- Use dark chocolate with a higher cocoa percentage
- Incorporate crushed candy cane for holiday flair
Spring Version
- Add floral notes with a touch of lavender honey
- Incorporate fresh mint leaves finely chopped
- Use lighter citrus elements like orange zest
Final Thoughts
After years of making these frozen banana snack bars, they’ve become more than just a recipe in my household—they’re a tradition. From summer afternoons when the kids need cooling down to post-workout snacks that satisfy my sweet tooth without derailing my nutrition goals, these versatile treats have earned their permanent place in my freezer.
What I love most about them is their incredible adaptability. Whether you’re a culinary adventurer eager to try exotic flavor combinations or a parent trying to sneak more nutrition into a picky eater’s diet, these bars can be customized to suit your needs.
I encourage you to start with the basic recipe, then let your creativity guide you through modifications that make these bars uniquely yours. And don’t forget to let me know in the comments which variation became your favorite!
Remember, healthy eating doesn’t have to be complicated or flavor-sacrificing. Sometimes the simplest recipes—like these frozen banana bars—offer the perfect balance of nutrition, convenience, and pure enjoyment.


