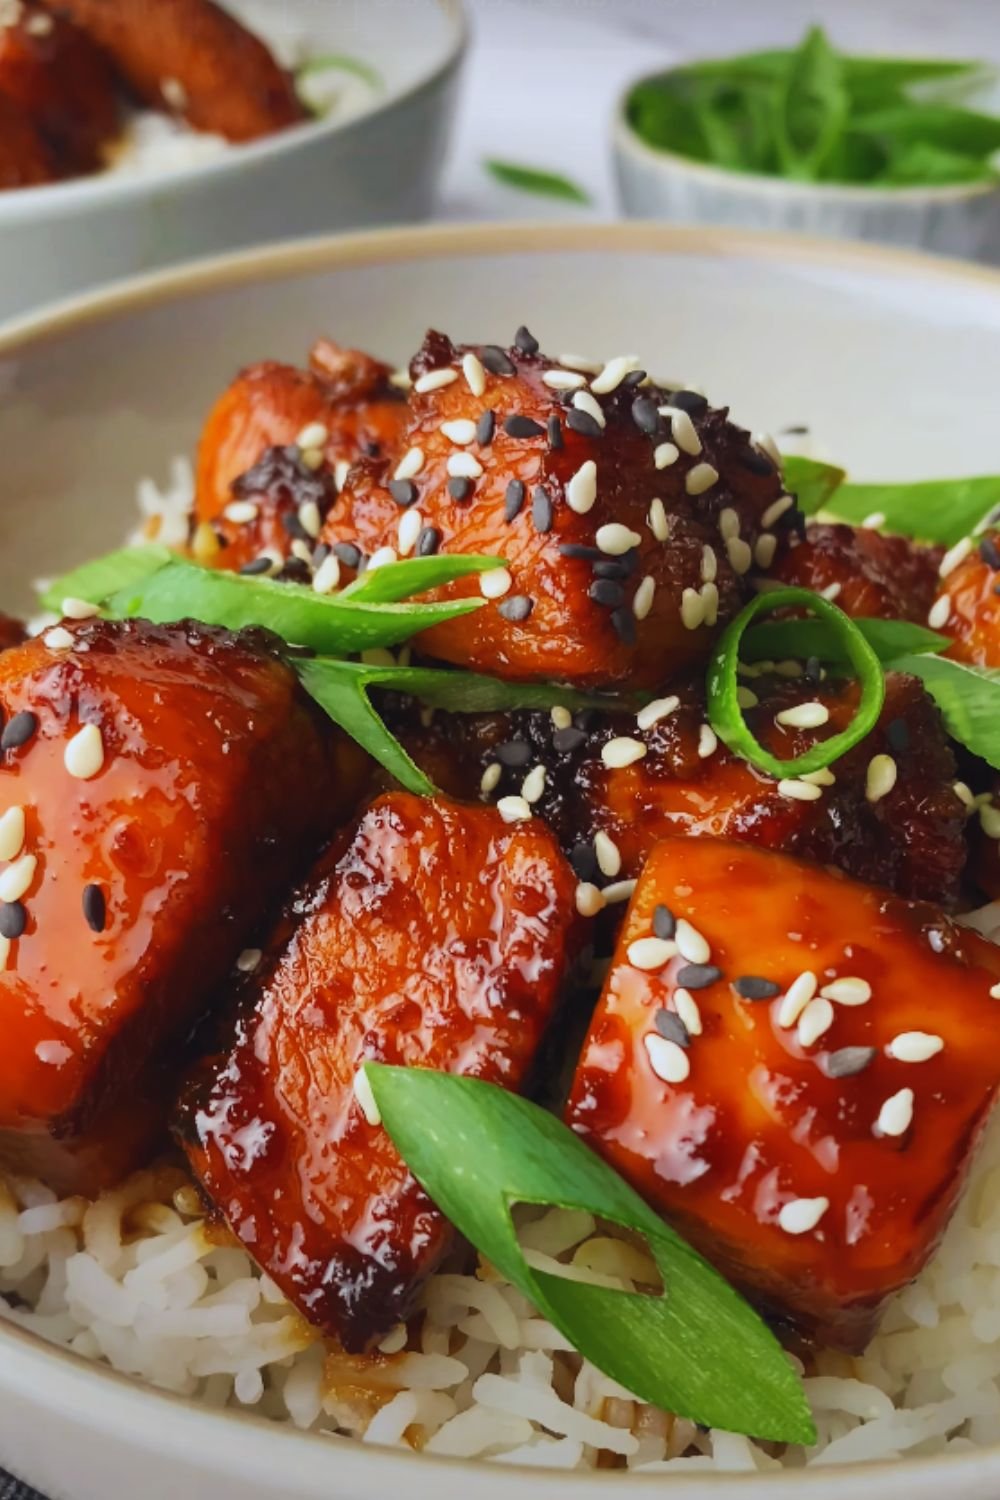
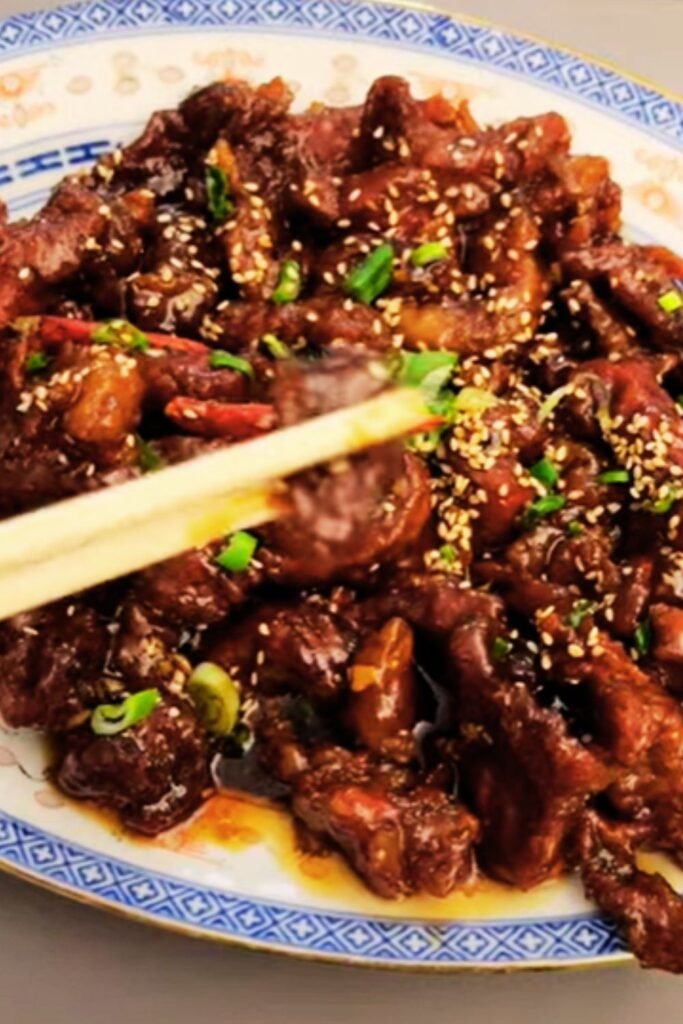
There’s something magical about that first bite of Crispy Mongolian Beef – the way the sauce clings to each slice of meat, the perfect balance of sweet and savory flavors, and that irresistible crispy texture that keeps you coming back for more. Today, I’m sharing my perfected recipe that brings this beloved Asian restaurant favorite right into your kitchen.
What Makes This Recipe Special
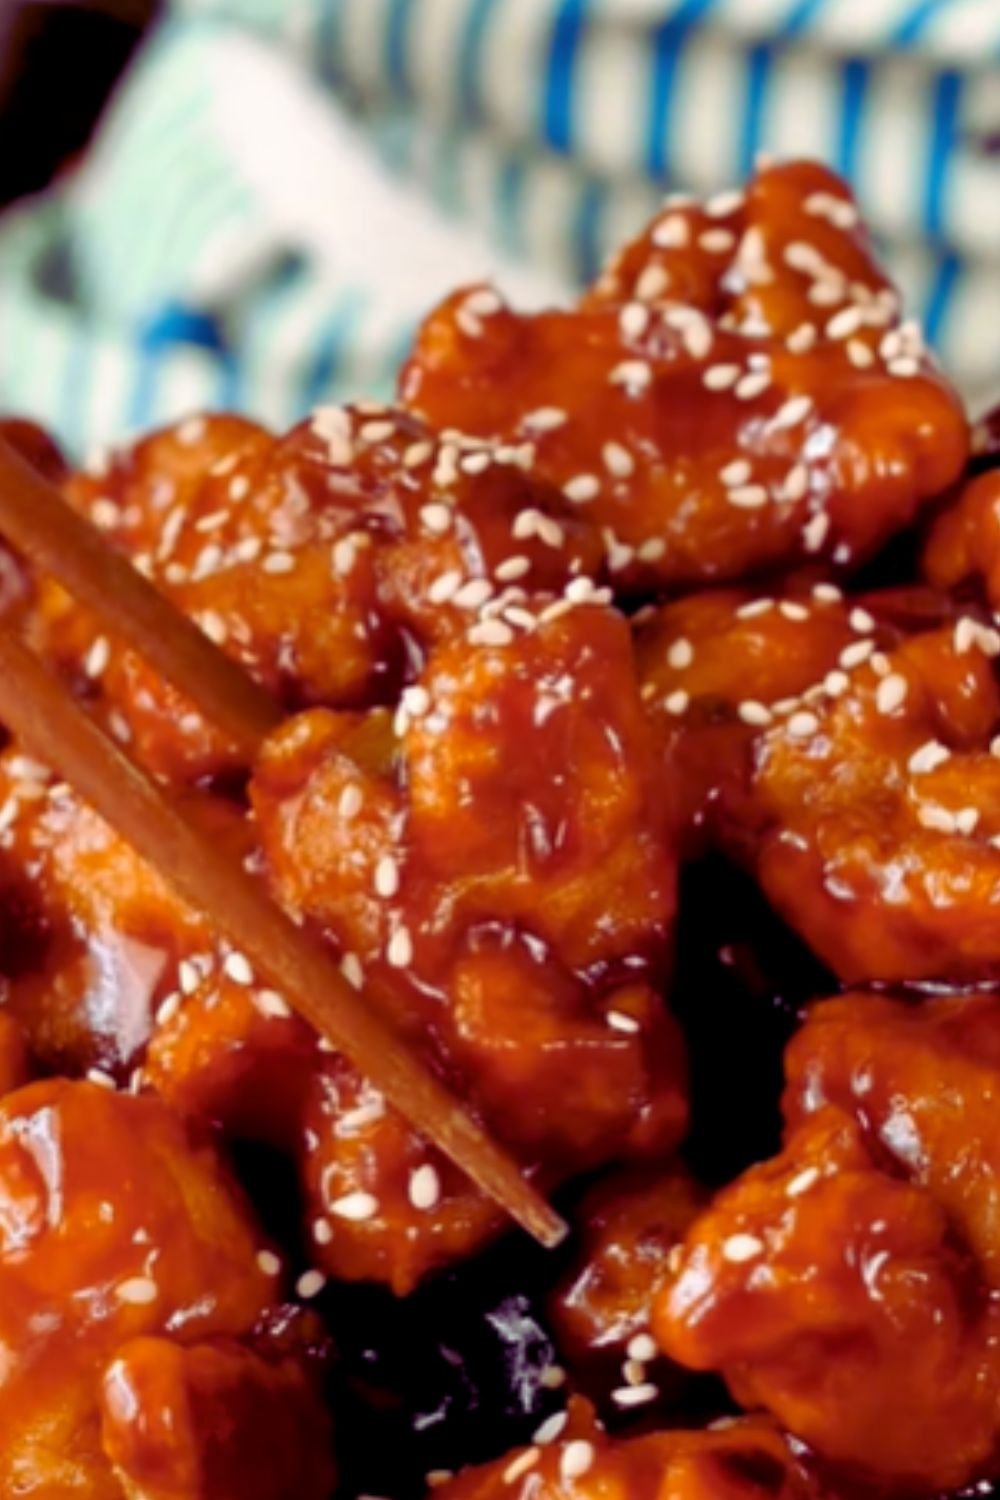
When I first started developing this recipe, I was determined to crack the code of what makes restaurant-style Mongolian Beef so addictive. After countless attempts and refinements, I’ve discovered it’s all about three key elements: the right cut of meat, the perfect coating technique, and a sauce that strikes the ideal balance between sweet, savory, and umami flavors.
Ingredients Breakdown
For the Beef and Coating
- 2 pounds flank steak, sliced against the grain into ¼-inch strips
- ½ cup cornstarch
- ¼ cup rice flour
- 1 teaspoon baking soda
- ½ teaspoon white pepper
- ¼ teaspoon salt
- Vegetable oil for frying
For the Signature Sauce
- ½ cup low-sodium soy sauce
- ⅓ cup dark brown sugar
- ¼ cup water
- 2 tablespoons hoisin sauce
- 1 tablespoon sesame oil
- 1 tablespoon rice vinegar
- 2 teaspoons cornstarch
- 1 teaspoon ground ginger
For the Aromatics and Garnish
- 6 cloves garlic, minced
- 2 tablespoons fresh ginger, grated
- 4 green onions, cut into 2-inch pieces
- 2 tablespoons toasted sesame seeds
- Red pepper flakes (optional)
Essential Equipment
| Equipment | Purpose | Recommended Type |
|---|---|---|
| Wok or Large Skillet | Main cooking vessel | Carbon steel or heavy-bottom |
| Sharp Knife | Slicing meat | Chef’s knife |
| Thermometer | Oil temperature control | Digital instant-read |
| Mixing Bowls | Preparation | Various sizes |
| Spider Strainer | Removing fried beef | Metal mesh |
| Paper Towels | Draining excess oil | Double-ply |
The Science Behind Perfect Crispy Beef
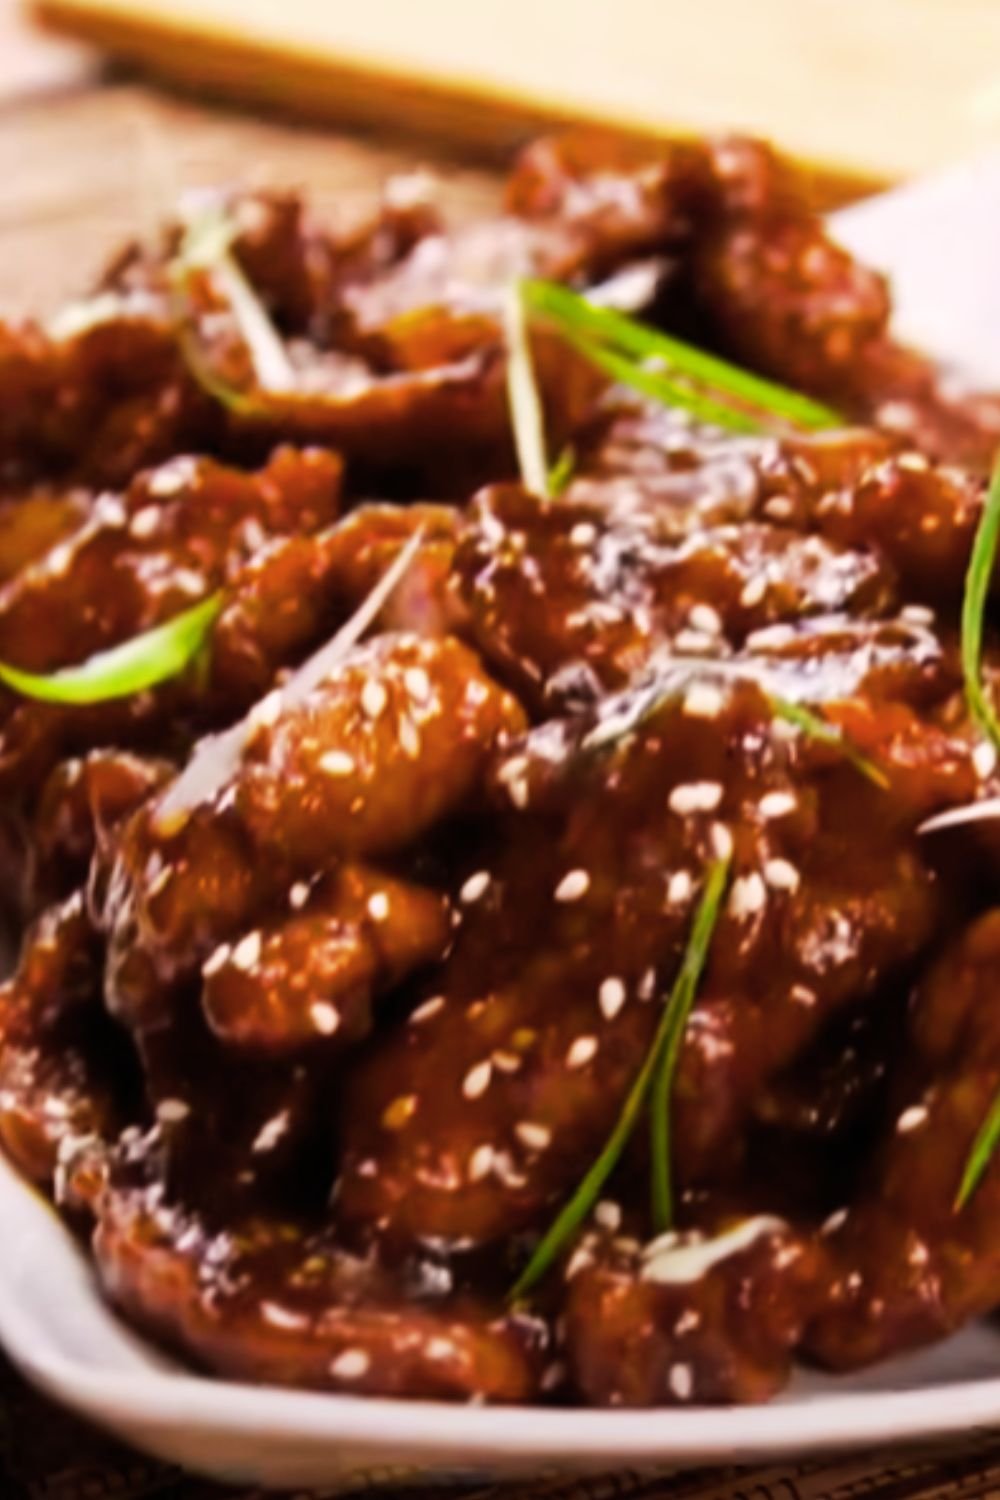
Understanding the chemistry behind crispy beef has revolutionized my approach to this dish. The combination of cornstarch and rice flour creates a microscopically rough surface that helps the sauce cling better. The baking soda tenderizes the meat through a process called alkalination, which breaks down protein bonds and results in more tender beef.
Step-by-Step Instructions
Preparing the Beef
- Place the flank steak in the freezer for 20 minutes to firm it up for easier slicing
- Slice against the grain into ¼-inch strips
- Mix cornstarch, rice flour, baking soda, white pepper, and salt in a large bowl
- Coat each piece of beef thoroughly in the mixture
- Let rest for 10 minutes to allow the coating to adhere properly
Making the Sauce
- Combine all sauce ingredients in a bowl
- Whisk until the cornstarch is completely dissolved
- Set aside, but whisk again just before using
The Cooking Process
- Heat oil to 375°F (190°C) in your wok or large skillet
- Fry beef in batches for 2-3 minutes until golden brown
- Remove and drain on paper towels
- Pour out all but 2 tablespoons of oil
- Sauté garlic and ginger until fragrant (about 30 seconds)
- Add the sauce mixture and simmer until it thickens
- Return beef to the wok and toss to coat
- Add green onions and cook for another minute

Troubleshooting Common Issues
| Problem | Cause | Solution |
|---|---|---|
| Chewy Beef | Sliced too thick or with grain | Slice thinner and against grain |
| Soggy Coating | Oil not hot enough | Maintain 375°F oil temperature |
| Clumpy Sauce | Cornstarch not dissolved | Whisk sauce thoroughly before adding |
| Burnt Garlic | Too high heat | Add aromatics at medium heat |
Serving Suggestions
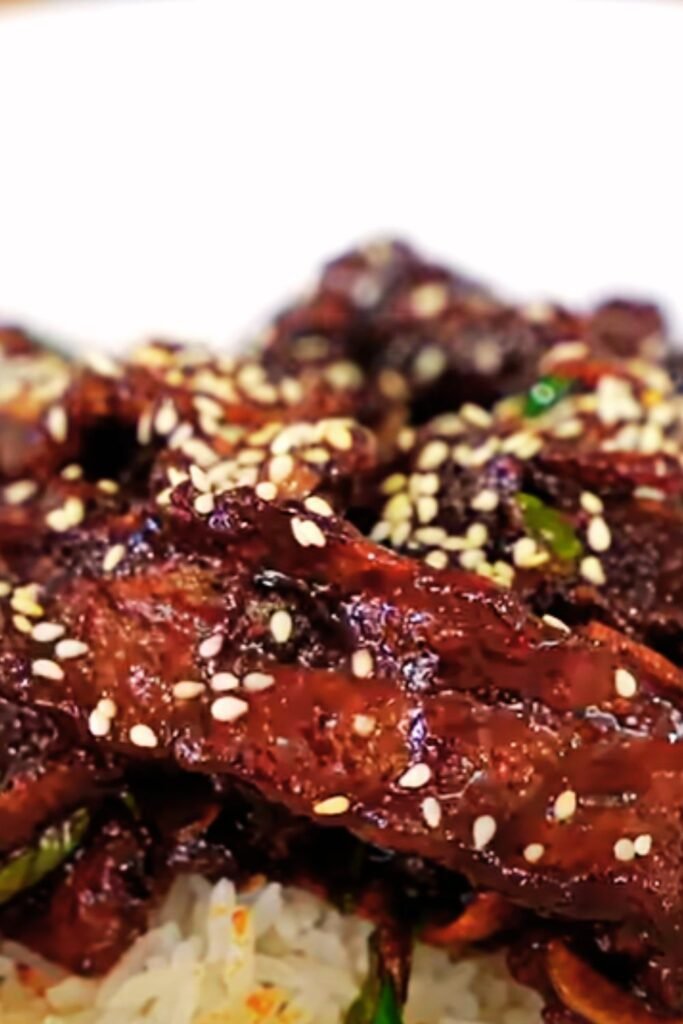
- Steamed jasmine rice
- Stir-fried vegetables
- Cauliflower rice for a low-carb option
- Asian-style cucumber salad
- Steamed broccoli
Storage and Reheating
Store leftover Mongolian Beef in an airtight container in the refrigerator for up to 3 days. To reheat, I recommend using a skillet over medium heat to help restore some crispiness. Add a splash of water if the sauce needs thinning.
Nutritional Information
| Nutrient | Amount per Serving |
|---|---|
| Calories | 385 |
| Protein | 28g |
| Carbohydrates | 24g |
| Fat | 18g |
| Fiber | 1g |
| Sodium | 890mg |
| Sugar | 12g |
*Based on 6 servings
Frequently Asked Questions
Q: Can I use a different cut of beef?
A: While flank steak is ideal, you can use sirloin or skirt steak. Avoid cuts with too much internal fat as they won’t crisp up as well.
Q: How do I prevent the beef from becoming tough?
A: The key is slicing against the grain, using baking soda in the coating, and not overcooking the meat during frying.
Q: Can I make this dish less sweet?
A: Yes, you can reduce the brown sugar to 2-3 tablespoons without compromising the overall flavor balance.
Q: Is there a gluten-free version?
A: Replace soy sauce with tamari and ensure your hoisin sauce is gluten-free. The coating is already gluten-free with cornstarch and rice flour.
Q: Can I prepare components ahead of time?
A: You can slice the beef and prepare the sauce up to 24 hours in advance, but don’t coat the beef until you’re ready to cook.
Pro Tips from My Kitchen
- Pat the beef dry with paper towels before coating for better crispiness
- Don’t overcrowd the pan when frying – this lowers the oil temperature and results in soggy beef
- Have all ingredients measured and ready before starting to cook (mise en place)
- Double the sauce recipe if you like extra sauce for rice
- Keep the cooked beef warm in a 200°F oven while cooking remaining batches
Recipe Variations
- Spicy Version: Add 2-3 dried red chilies or 1 tablespoon of chili garlic sauce
- Vegetable-Loaded: Add bell peppers, carrots, and snap peas
- Extra Crispy: Double-fry the beef pieces at different temperatures
- Healthier Option: Air-fry the coated beef pieces at 400°F for 8-10 minutes
Remember, the key to restaurant-quality Mongolian Beef lies in the details – from the precise slicing of the meat to maintaining the right oil temperature. With practice, you’ll master this dish and might even prefer your homemade version to takeout!