Nothing beats the satisfaction of biting into warm, freshly baked pita bread that you’ve made with your own hands. I’ve been perfecting this authentic homemade pita bread recipe for years, and I can confidently say it rivals any bakery version you’ll find. The secret lies in understanding the simple yet precise technique that creates those perfect pockets every single time.
My journey with pita bread began during a trip to the Middle East, where I watched skilled bakers transform simple ingredients into pillowy, pocket-perfect rounds. That experience ignited my passion for recreating this ancient bread in my own kitchen. After countless batches and minor adjustments, I’ve developed a foolproof method that consistently delivers restaurant-quality results.
What makes this recipe special is its authenticity and reliability. I use traditional ingredients and time-honored techniques, but I’ve simplified the process for home bakers. Whether you’re planning a Mediterranean feast, need fresh bread for sandwiches, or simply want to experience the joy of homemade bread, this recipe will become your go-to method.
Understanding Pita Bread: Key Terms and Concepts
Pita Bread : A round, flat bread of Middle Eastern origin characterized by its unique pocket formation when baked at high temperatures
Gluten Development : The process of creating elastic protein networks in dough through kneading, essential for pita’s structure and pocket formation
Proofing : The controlled fermentation process where yeast creates gas bubbles that will later form the characteristic pita pocket
Steam Pocket Formation : The rapid expansion of moisture within the dough when exposed to high heat, creating the hollow interior space
Dough Hydration : The ratio of liquid to flour in the recipe, crucial for achieving the right texture and pocket formation
Essential Ingredients and Their Roles
The beauty of pita bread lies in its simplicity. I use only six basic ingredients, each playing a crucial role in the final product. My ingredient selection process focuses on quality over quantity, ensuring each component contributes to the bread’s authentic flavor and texture.
| Ingredient | Quantity | Purpose | Quality Tips |
|---|---|---|---|
| All-purpose flour | 3 cups (360g) | Provides structure and gluten | Use unbleached flour for better flavor |
| Warm water | 1 cup (240ml) | Activates yeast, creates steam | Temperature should be 105-110°F |
| Active dry yeast | 2¼ teaspoons (1 packet) | Creates rise and pocket formation | Check expiration date, proof before using |
| Olive oil | 2 tablespoons | Adds flavor and tenderness | Extra virgin preferred for authentic taste |
| Salt | 1 teaspoon | Enhances flavor, controls yeast | Sea salt or kosher salt works best |
| Sugar | 1 teaspoon | Feeds yeast, aids browning | Can substitute with honey |
The flour forms the foundation of my pita bread. I prefer all-purpose flour because it provides the right balance of protein content for proper gluten development without being too strong. Bread flour can work, but it sometimes creates a chewier texture than traditional pita should have.
Water temperature is critical in my recipe. Too hot, and you’ll kill the yeast; too cold, and the yeast won’t activate properly. I always test the water temperature with a thermometer or the wrist test – it should feel comfortably warm, like a baby’s bath.
Step-by-Step Preparation Method
My technique breaks down into manageable stages, each building upon the previous one. I’ve refined this process to eliminate guesswork and ensure consistent results every time.
Stage 1: Yeast Activation and Initial Mixing
I begin by combining the warm water, sugar, and yeast in a large mixing bowl. This proofing step takes about 5-10 minutes, during which the mixture should become frothy and aromatic. If your yeast doesn’t foam, it’s likely expired or the water temperature was incorrect.
Next, I add the olive oil and salt to the yeast mixture, stirring gently to combine. The oil helps create a tender crumb, while the salt enhances flavor without inhibiting the yeast since it’s added after activation.
Stage 2: Dough Formation and Kneading
I gradually incorporate the flour, starting with 2½ cups and adding the remaining ½ cup as needed. The dough should be soft and slightly sticky but manageable. Different flours absorb moisture differently, so I adjust accordingly.
Kneading is where the magic happens. I turn the dough onto a lightly floured surface and knead for 8-10 minutes until it becomes smooth and elastic. Proper kneading develops the gluten network essential for pocket formation. The dough is ready when it passes the windowpane test – you can stretch a small piece thin enough to see light through it without tearing.
Stage 3: First Rise
I place the kneaded dough in an oiled bowl, cover it with a damp cloth, and let it rise in a warm place for 1-2 hours until doubled in size. The ideal temperature for rising is 75-80°F. In cooler weather, I place the bowl on top of my refrigerator or in an oven with just the light on.
Stage 4: Shaping and Second Rise
After the first rise, I punch down the dough and divide it into 8 equal portions. I roll each portion into a ball, then cover them with a damp towel for 15-20 minutes. This rest period makes rolling easier and prevents shrinkage.
Using a rolling pin, I roll each ball into a circle about 6-7 inches in diameter and ¼ inch thick. The key is even thickness – thicker spots won’t puff properly, while thinner areas might tear. I place the rolled circles on parchment paper and cover them for a final 30-minute rise.
Baking Techniques for Perfect Pockets
The baking process is where my years of experimentation really pay off. I’ve tried numerous methods and oven setups to achieve consistent pocket formation.
Oven Preparation
I preheat my oven to 475°F (245°C) with a baking stone or inverted baking sheet on the middle rack. The high heat is crucial for rapid steam formation that creates the pockets. I let the stone heat for at least 30 minutes to ensure even heat distribution.
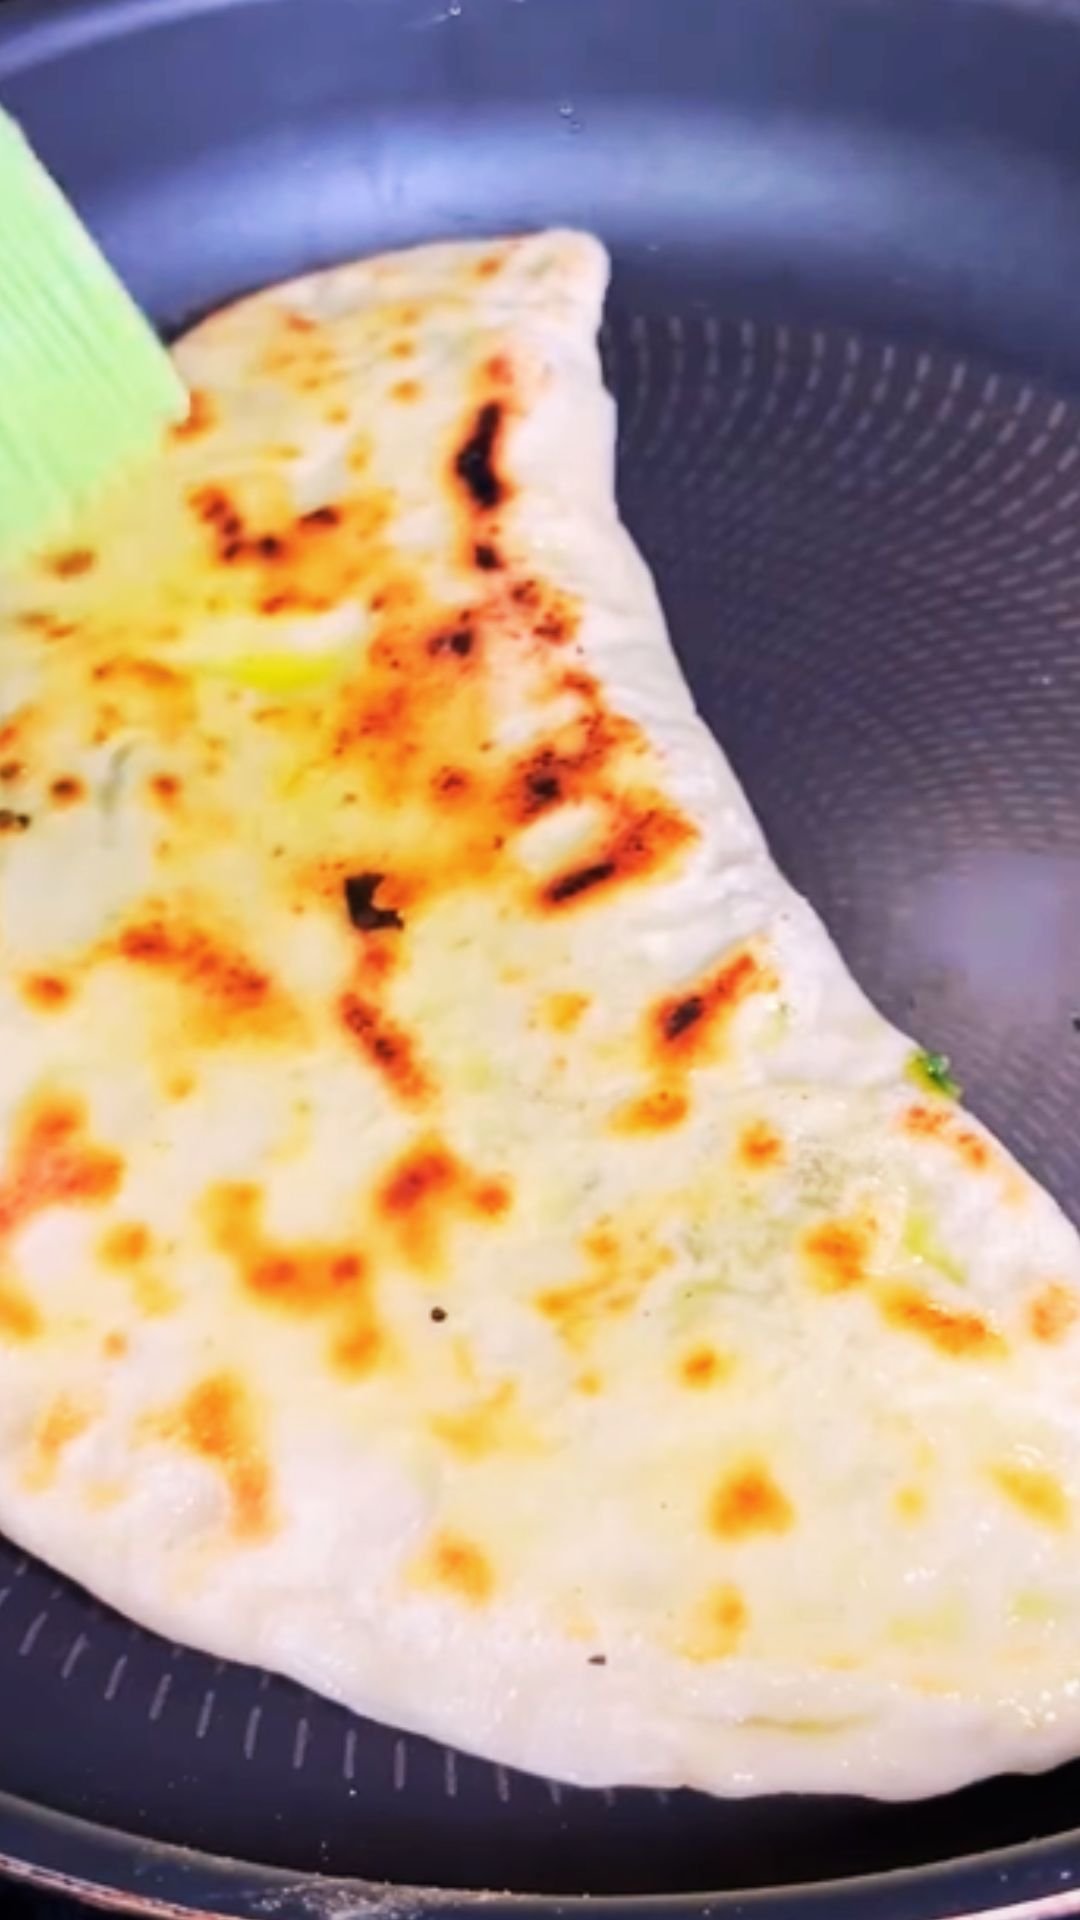
Baking Process
I bake the pitas directly on the hot stone, 2-3 at a time to avoid overcrowding. Within 2-3 minutes, they should puff dramatically. I resist the urge to open the oven door during this crucial puffing period, as it releases the steam needed for pocket formation.
The total baking time is typically 4-5 minutes. I look for light golden spots on the surface, but the pitas should remain relatively pale. Overbaking creates crispy chips rather than soft, pliable bread.

Troubleshooting Common Issues
Through my years of making pita bread, I’ve encountered and solved virtually every problem that can arise. Here’s my troubleshooting guide for the most common issues:
| Problem | Cause | Solution |
|---|---|---|
| No pocket formation | Insufficient gluten, low oven temperature | Knead longer, increase oven temperature |
| Uneven puffing | Inconsistent thickness | Roll more evenly, check with ruler |
| Dense texture | Over-kneaded or old yeast | Use fresh yeast, knead just until smooth |
| Dry pitas | Overbaked or insufficient moisture | Reduce baking time, cover after baking |
| Tough texture | Too much flour or high protein flour | Measure accurately, use all-purpose flour |
The most frustrating issue I initially faced was inconsistent pocket formation. I discovered that dough temperature, rolling technique, and oven heat all play crucial roles. Now I monitor each variable carefully for consistent results.
Storage and Serving Suggestions
Fresh pita bread is incredibly versatile, and proper storage maintains its quality for days. I’ve developed several storage methods depending on how quickly I plan to use the bread.
For immediate use, I keep the pitas wrapped in a clean kitchen towel to maintain moisture and warmth. They stay soft and pliable for several hours this way.
For longer storage, I cool the pitas completely, then store them in airtight containers or plastic bags. They keep at room temperature for 3-4 days, in the refrigerator for a week, or in the freezer for up to three months.
Serving Ideas and Accompaniments
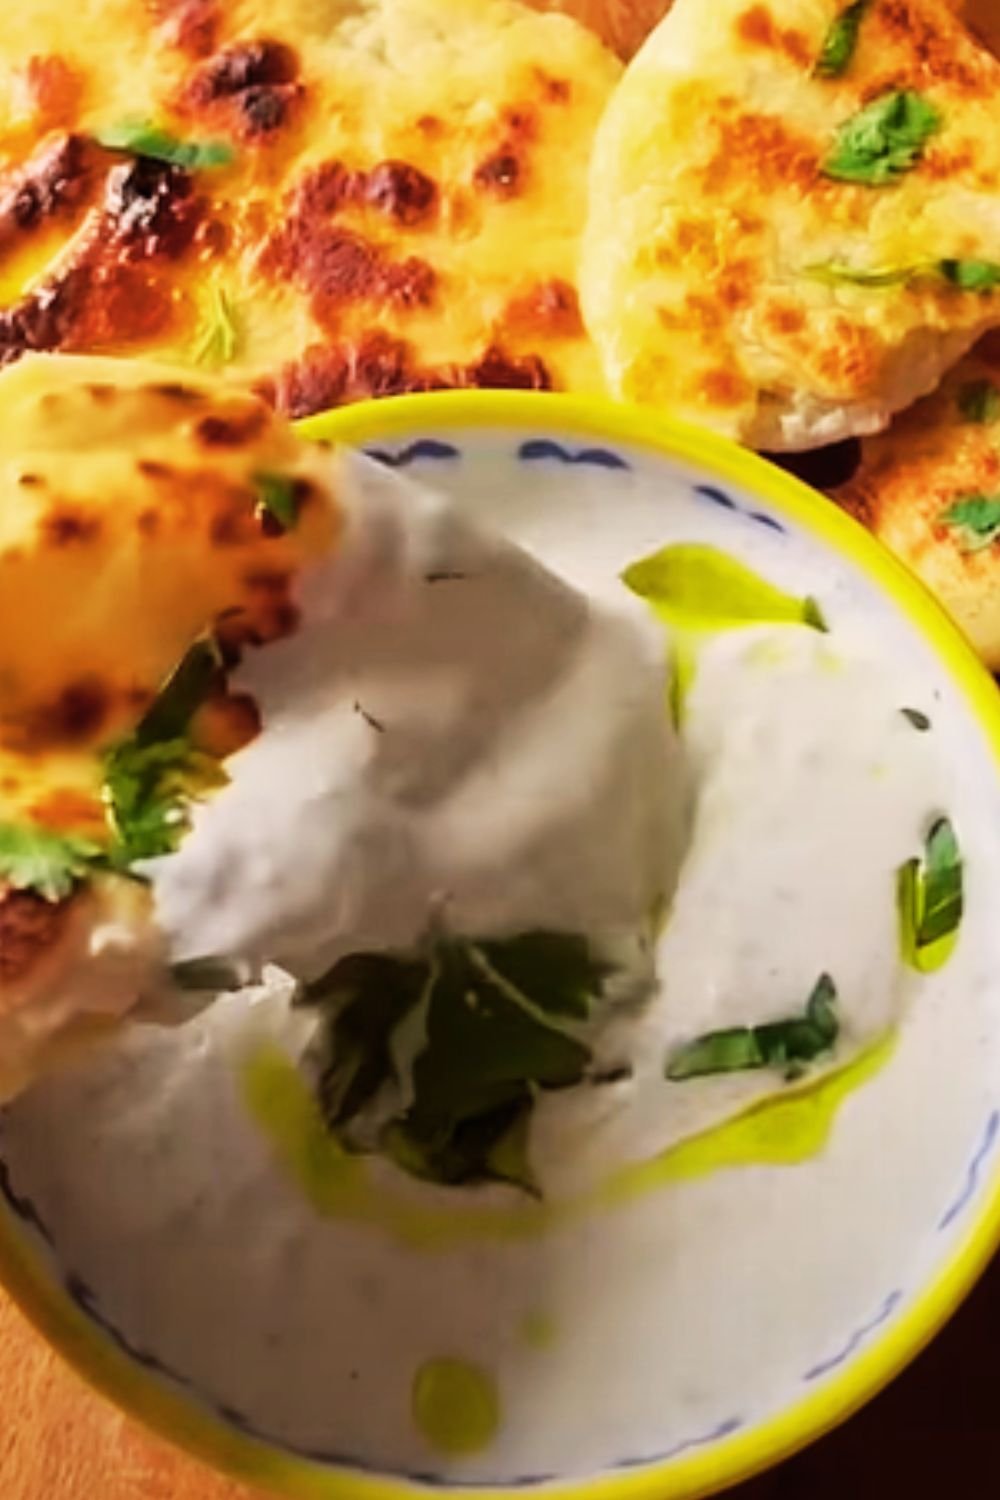
My favorite way to serve fresh pita is warm, straight from the oven, with a drizzle of olive oil and a sprinkle of za’atar. The bread’s mild flavor pairs beautifully with both simple and complex accompaniments.
Traditional Middle Eastern Pairings:
- Hummus with roasted red peppers and pine nuts
- Baba ganoush with pomegranate seeds
- Tzatziki with fresh herbs
- Labneh drizzled with olive oil
- Muhammara (red pepper and walnut dip)
Modern Fusion Options:
- Stuffed with grilled vegetables and feta
- Used as pizza bases with Mediterranean toppings
- Transformed into pita chips for entertaining
- Filled with Greek-style chicken salad
- Served alongside hearty soups and stews
Nutritional Benefits and Variations
Homemade pita bread offers several nutritional advantages over store-bought versions. I control the ingredients completely, avoiding preservatives and unnecessary additives. Each serving provides complex carbohydrates, plant-based protein, and essential minerals.
Nutritional Breakdown (Per Pita)
| Nutrient | Amount | % Daily Value |
|---|---|---|
| Calories | 165 | 8% |
| Carbohydrates | 32g | 11% |
| Protein | 5g | 10% |
| Fat | 2g | 3% |
| Fiber | 1.5g | 6% |
| Sodium | 295mg | 13% |
| Iron | 2mg | 11% |
Recipe Variations I Love
Over the years, I’ve developed several variations that add nutritional value and flavor complexity:
Whole Wheat Pita: I substitute half the all-purpose flour with whole wheat flour, adding an extra tablespoon of water to compensate for increased absorption.
Herb-Infused Pita: I incorporate 2 tablespoons of mixed dried herbs (oregano, thyme, rosemary) directly into the flour for aromatic bread.
Garlic Pita: I add 2 minced garlic cloves to the oil before mixing, creating subtly flavored bread perfect for Mediterranean dishes.
Seeded Pita: I brush the tops with water and sprinkle with sesame seeds, nigella seeds, or poppy seeds before baking.
Advanced Tips for Professional Results
My advanced techniques come from years of refinement and observation. These details separate good homemade pita from exceptional bakery-quality bread.
I’ve learned that ambient humidity affects dough behavior significantly. On humid days, I use slightly less water; on dry days, I increase it marginally. Keeping detailed notes helps me adjust my technique seasonally.
Temperature control extends beyond just the oven. I warm my mixing bowl with hot water before mixing the dough, creating an optimal environment for yeast activity from the start.
The rolling technique deserves special attention. I roll from the center outward in all directions, rotating the dough frequently to maintain circular shape. I avoid rolling back and forth repeatedly, which can develop too much gluten and create tough bread.
Cultural Significance and History
Understanding pita bread’s cultural importance enhances my appreciation for this ancient food. Archaeological evidence suggests flatbreads similar to pita have been baked for over 4,000 years across the Mediterranean and Middle East.
The word “pita” comes from Greek, but similar breads exist throughout the region under different names: khubz in Arabic, barbari in Persian, and bazlama in Turkish. Each culture has developed subtle variations in thickness, size, and preparation methods.
In many Middle Eastern households, bread isn’t just food – it’s sacred. I’ve learned to treat each batch with the respect this ancient staple deserves, never wasting even small pieces and always sharing generously with others.
Questions and Answers
Q: Why didn’t my pita bread form pockets? The most common cause is insufficient oven heat or uneven dough thickness. Make sure your oven reaches 475°F and roll the dough to consistent ¼-inch thickness. Also, ensure your gluten development is adequate through proper kneading.
Q: Can I make pita bread without a baking stone? Yes, I’ve successfully used an inverted baking sheet preheated in the oven. While a baking stone provides more even heat, the inverted sheet method works well for home bakers. Just ensure it’s thoroughly preheated for at least 30 minutes.
Q: How long does homemade pita bread stay fresh? When stored properly in airtight containers, my pita bread stays fresh for 3-4 days at room temperature. For longer storage, I refrigerate for up to a week or freeze for up to three months. To refresh day-old pitas, I wrap them in damp paper towels and microwave for 10-15 seconds.
Q: Can I use bread flour instead of all-purpose flour? While possible, bread flour’s higher protein content can make the pitas chewier than traditional texture. If using bread flour, I reduce the kneading time slightly and add an extra tablespoon of water to compensate for increased absorption.
Q: What’s the best way to reheat frozen pita bread? I thaw frozen pitas at room temperature, then warm them in a 350°F oven for 2-3 minutes, or wrap them in damp paper towels and microwave for 20-30 seconds. This restores their soft, pliable texture perfectly.
Q: Can I make the dough ahead of time? Absolutely! I often prepare the dough through the first rise, then refrigerate it for up to 24 hours. The cold fermentation actually improves the flavor. Just bring it to room temperature before shaping and proceeding with the recipe.
Q: Why are my pitas too thick and dense? This usually indicates over-kneading or adding too much flour during the mixing process. I measure flour by weight when possible (360g for 3 cups) and knead just until the dough is smooth and elastic, not beyond.
Q: Can I make mini pitas for appetizers? Yes! I divide the dough into 12-16 portions instead of 8 for cocktail-sized pitas. They bake in about 3 minutes at the same temperature. These mini versions are perfect for party spreads and individual servings.
Creating authentic homemade pita bread transforms your kitchen into a Mediterranean bakery. The process connects you to thousands of years of baking tradition while providing your family with fresh, wholesome bread. Each batch brings the satisfaction of mastering an ancient craft and the joy of sharing warm, fragrant bread with loved ones.
My recipe eliminates the intimidation factor often associated with bread baking. With clear instructions, detailed troubleshooting, and professional tips, you’ll achieve bakery-quality results from your first attempt. The key lies in understanding each step’s purpose and maintaining consistency in technique.
Whether you’re making pitas for a special dinner or simply because you love fresh bread, this recipe will serve you well for years to come. The versatility of homemade pita bread makes it a valuable addition to any cook’s repertoire, suitable for everything from casual lunches to elegant entertaining.