Listen up, fellow food enthusiasts! I’ve discovered the ultimate weeknight dinner hack that’s about to revolutionize your busy evenings. My air fryer BBQ chicken recipe delivers that perfect sticky-sweet, smoky goodness we all crave, without the hassle of firing up the grill or spending hours in the kitchen. The best part? It’s ready in just 20 minutes from start to finish!
I’ve been perfecting this recipe for months now, testing different techniques and tweaking the seasonings until I landed on this foolproof method. The air fryer creates that magical caramelized exterior while keeping the inside perfectly juicy. It’s become such a staple in my household that my kids now specifically request “mom’s special BBQ chicken” at least twice a week!
Why You’ll Love This Recipe
Before I dive into the details, let me tell you why this recipe deserves a permanent spot in your meal rotation:
- Super Quick Prep: Just 5 minutes of hands-on time
- Minimal Ingredients: Basic pantry staples you likely already have
- Foolproof Cooking: The air fryer does all the work for consistent results
- Versatile: Works with any cut of chicken (though I recommend thighs or drumsticks)
- Kid-Approved: Even picky eaters love this sweet and tangy flavor profile
- Easy Cleanup: No messy grill or multiple pans to wash
I’ve served this chicken for everything from casual family dinners to backyard gatherings, and it never fails to impress. The best compliment I’ve received? “This tastes just like it came off a professional smoker!” That’s when I knew I had to share this recipe with the world.
Ingredients You’ll Need
For this recipe, I’ve kept the ingredient list intentionally simple. You’ll need:
- 2 pounds chicken pieces (I prefer bone-in, skin-on thighs for maximum flavor)
- 2 tablespoons olive oil
- 1 tablespoon brown sugar
- 1 teaspoon garlic powder
- 1 teaspoon onion powder
- 1 teaspoon smoked paprika
- 1/2 teaspoon salt
- 1/4 teaspoon black pepper
- 3/4 cup barbecue sauce (divided)
Notes on Ingredients
Chicken Cuts: While I typically use bone-in, skin-on thighs for this recipe, I’ve tested it with nearly every cut of chicken with great results. Here’s what you should know about each option:
- Bone-in thighs: My top recommendation for flavor and juiciness; cook time around 18-20 minutes
- Boneless thighs: Nearly as juicy but cook faster; adjust to 12-14 minutes
- Drumsticks: Excellent option, especially for kids; cook time similar to bone-in thighs
- Chicken breasts: Will work but need careful timing to prevent drying out; cut into even pieces and reduce cook time to 10-12 minutes
BBQ Sauce: I’ve tried dozens of store-bought sauces in this recipe, and honestly, they all work wonderfully. My personal favorites are Sweet Baby Ray’s Original for a classic flavor or Stubbs Spicy for when I want a bit more kick. If you’re feeling ambitious, homemade BBQ sauce takes this recipe to the next level.
Essential Equipment
The star of this recipe is, of course, the air fryer. I currently use a 5.8-quart Cosori model, which comfortably fits about 6-8 pieces of chicken depending on their size. Any air fryer with a similar capacity will work perfectly.
Besides the air fryer, you’ll also need:
- Mixing bowl
- Measuring spoons
- Tongs for flipping the chicken
- Meat thermometer (optional but recommended)
- Basting brush
Step-by-Step Instructions
Now, let’s get into the nitty-gritty of how to make this mouthwatering air fryer BBQ chicken:
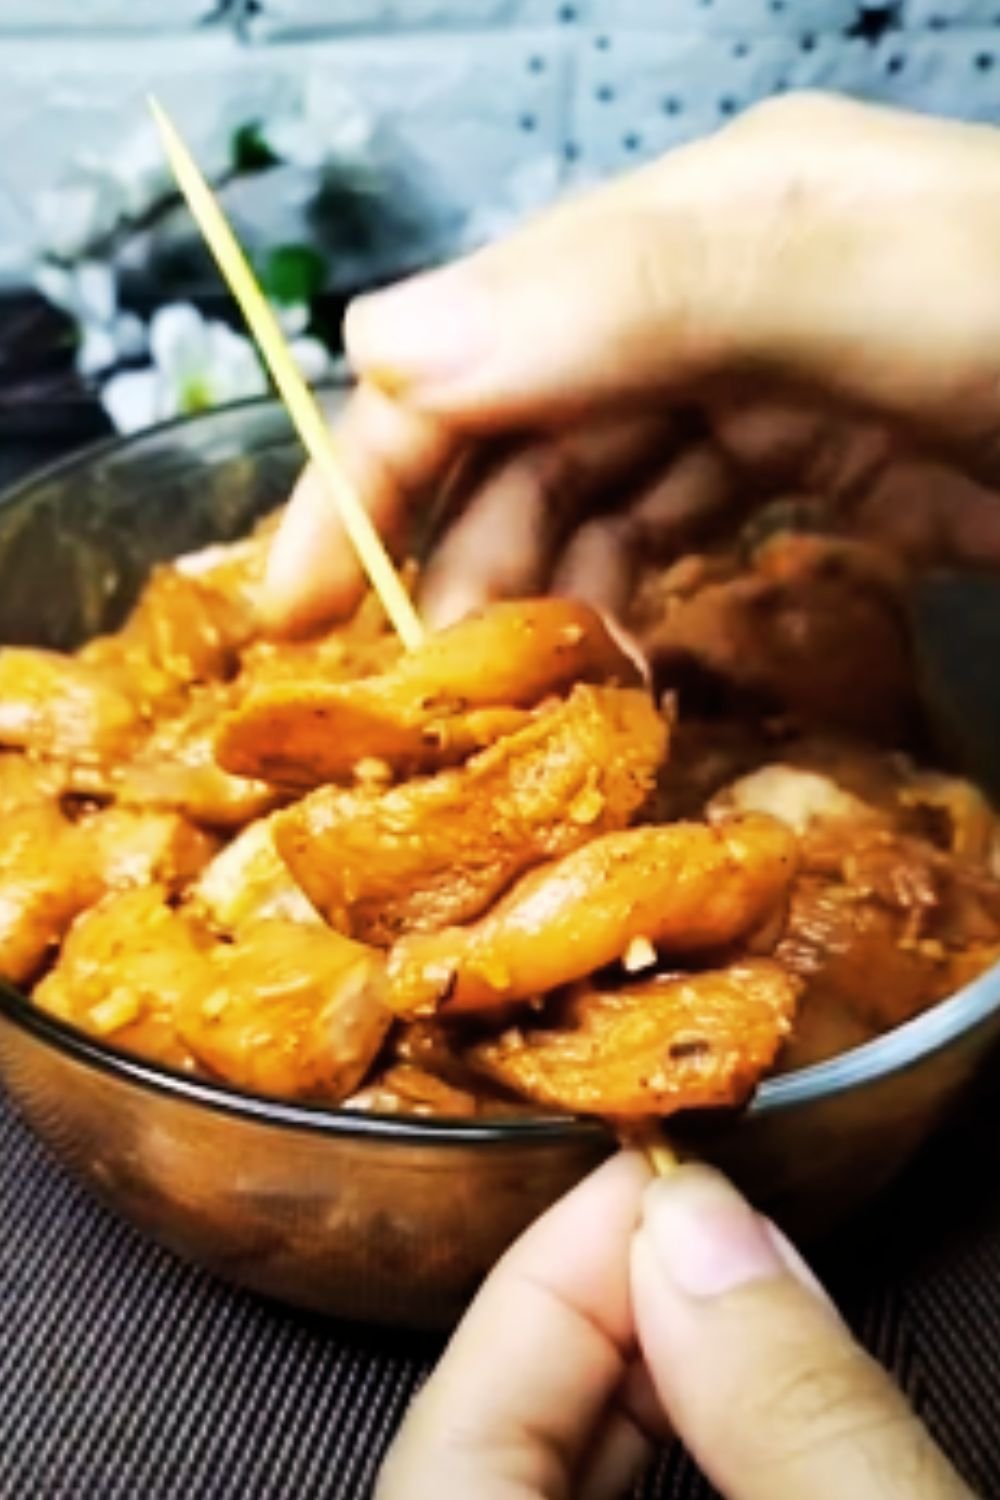
1. Prepare the Chicken
- Preheat your air fryer to 380°F (193°C) for 3 minutes.
- Pat the chicken pieces dry with paper towels. This step is crucial for getting that beautiful caramelization on the exterior.
- Place the chicken in a large bowl and drizzle with olive oil, ensuring each piece is lightly coated.
- In a small bowl, mix together the brown sugar, garlic powder, onion powder, smoked paprika, salt, and pepper.
- Sprinkle the seasoning mixture over the chicken pieces and rub it in thoroughly with your hands. (I always keep disposable gloves handy for this step.)
2. First Air Fryer Cycle
- Arrange the seasoned chicken pieces in your air fryer basket in a single layer, leaving a bit of space between each piece. Depending on your air fryer size and the amount of chicken, you might need to cook in batches.
- Cook at 380°F for 10 minutes.
- Using tongs, carefully flip each piece of chicken over.
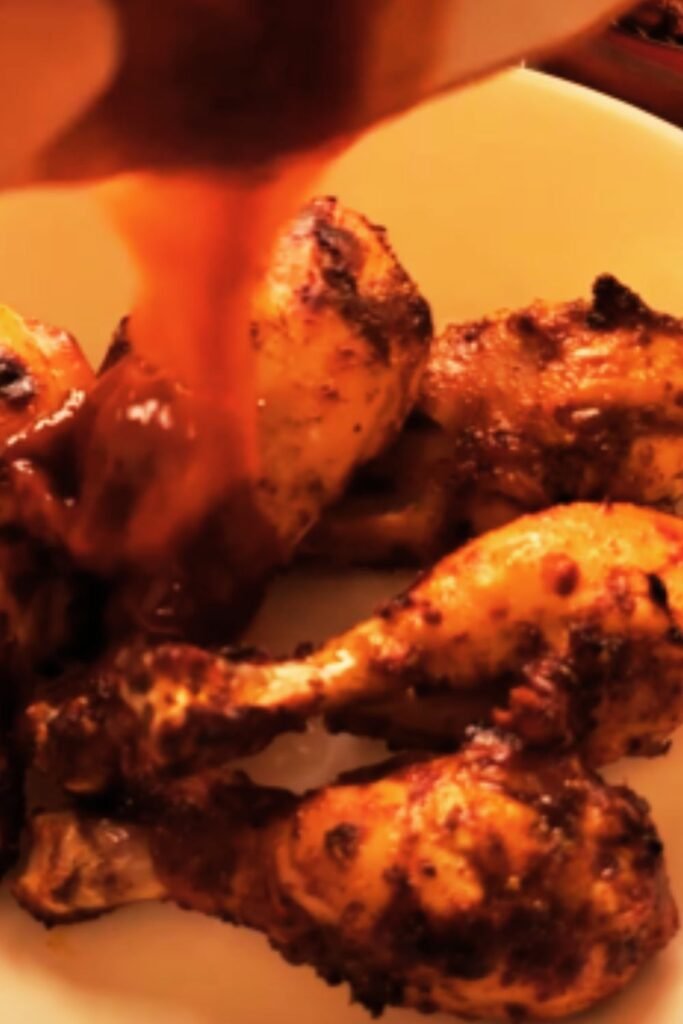
3. Apply BBQ Sauce & Finish Cooking
- Using a basting brush, generously coat each piece of chicken with about half of your barbecue sauce.
- Return the chicken to the air fryer and cook for an additional 5 minutes.
- Flip the chicken once more, brush with the remaining BBQ sauce, and cook for a final 3-5 minutes until the chicken reaches an internal temperature of 165°F (74°C) for white meat or 175°F (79°C) for dark meat.
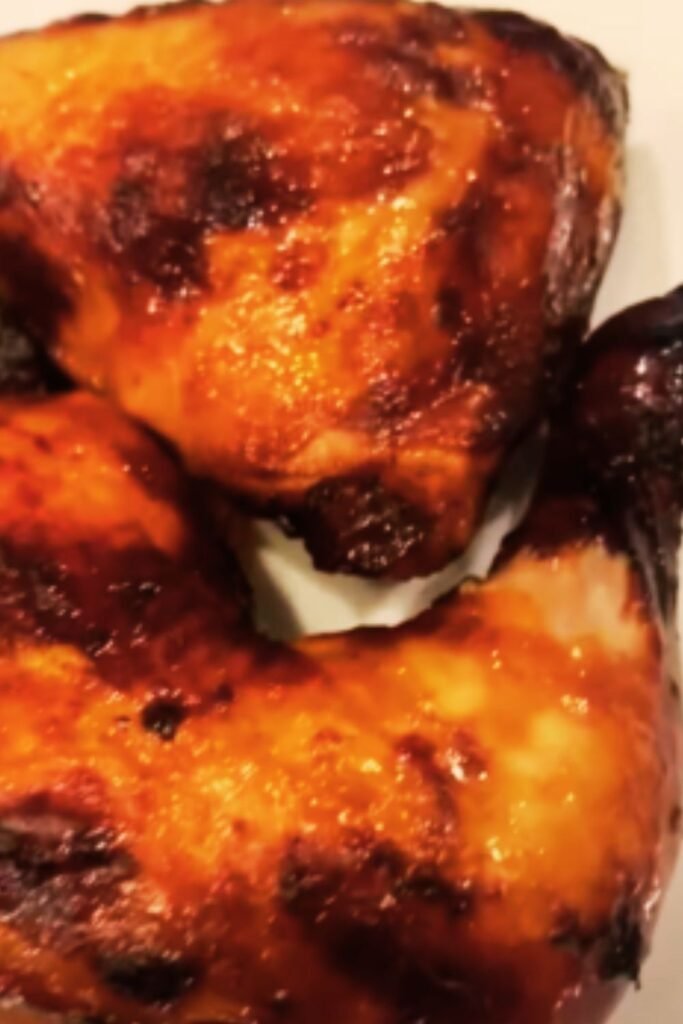
4. Rest & Serve
- Remove the chicken from the air fryer and let it rest for about 3-5 minutes. This allows the juices to redistribute throughout the meat for maximum juiciness.
- If desired, brush with a little extra BBQ sauce just before serving for that fresh, glossy appearance.
Pro Tips for Perfect Results
After making this recipe countless times, I’ve picked up several tricks that make a significant difference in the final result:
- Don’t Overcrowd: Air fryers work by circulating hot air around the food. If you pack too many chicken pieces in the basket, they’ll steam rather than “fry,” resulting in less crispy skin.
- Sugar Caution: The sugar in BBQ sauce can burn if applied too early in the cooking process. That’s why we add it halfway through after flipping the chicken.
- Temperature Check: Invest in a good instant-read thermometer. It’s the only way to ensure your chicken is safely cooked without drying it out. I aim for 165°F for breasts and 175°F for thighs and drumsticks.
- Customize Your Seasoning: The rub recipe I’ve provided is my go-to, but don’t be afraid to customize. Like it spicier? Add some cayenne pepper. Prefer a more herbaceous profile? Toss in some dried thyme or rosemary.
- Sauce Application: Apply the BBQ sauce in thin layers, building up as you go. This prevents pooling and allows for better caramelization.
Troubleshooting Common Issues
Even with a straightforward recipe like this one, things don’t always go according to plan. Here are solutions to the most common problems you might encounter:
| Problem | Possible Cause | Solution |
|---|---|---|
| Chicken is burning on the outside but raw inside | Air fryer temperature too high or uneven piece sizes | Lower temperature to 360°F and ensure chicken pieces are similar in size |
| BBQ sauce is burning | Added too early or too much sugar in the sauce | Apply sauce later in the cooking process or dilute with a tablespoon of water |
| Chicken isn’t crispy | Too much moisture or overcrowded basket | Pat chicken very dry before seasoning and cook in smaller batches |
| Chicken is dry | Overcooked or using lean cuts without skin | Use a meat thermometer to avoid overcooking; choose fattier cuts like thighs |
| BBQ sauce isn’t sticking | Chicken surface is too wet or oily | Pat chicken dry thoroughly before applying sauce |
| Uneven cooking | Pieces not flipped or inconsistent sizes | Flip chicken halfway through and cut larger pieces to match smaller ones |
Variation Ideas to Keep It Fresh
While the basic recipe is absolutely delicious, I love experimenting with different flavor profiles to keep things interesting. Here are some of my favorite variations:
Spicy Southwest
Add 1 teaspoon of chili powder and 1/2 teaspoon of cumin to the dry rub. Use a chipotle BBQ sauce and finish with a squeeze of lime juice.
Honey Garlic
Replace the BBQ sauce with a mixture of 1/3 cup honey, 3 tablespoons soy sauce, and 4 minced garlic cloves. Sprinkle with sesame seeds before serving.
Lemon Herb
Add 1 tablespoon of dried Italian herbs to the rub. Instead of BBQ sauce, brush with a mixture of lemon juice, olive oil, and minced garlic.
Maple Bourbon
Use a bourbon-infused BBQ sauce and add 2 tablespoons of real maple syrup to the sauce before brushing it on the chicken.
Make-Ahead and Storage Tips
One of the things I love most about this recipe is how well it works for meal prep. Here’s what you need to know:
Make-Ahead Options:
- Prep the seasoning mixture up to a month in advance and store in an airtight container.
- Season the raw chicken up to 24 hours before cooking. Store covered in the refrigerator. The longer it sits with the seasonings, the more flavorful it will be!
- Pre-cook the chicken without the BBQ sauce, then refrigerate. When ready to serve, brush with sauce and air fry for 3-5 minutes until heated through and the sauce is caramelized.
Storage Guidelines:
- Refrigerator: Store cooled leftovers in an airtight container for up to a days.
- Freezer: Freeze fully cooked BBQ chicken for up to 3 months. Thaw overnight in the refrigerator before reheating.
Reheating Methods:
| Method | Instructions | Best For |
|---|---|---|
| Air Fryer | 3-4 minutes at 350°F | Maintaining crispy exterior |
| Microwave | 1-2 minutes on 70% power, covered with a damp paper towel | Quick reheating when crispy texture isn’t a priority |
| Oven | 10 minutes at 325°F, covered with foil | Larger portions without drying out |
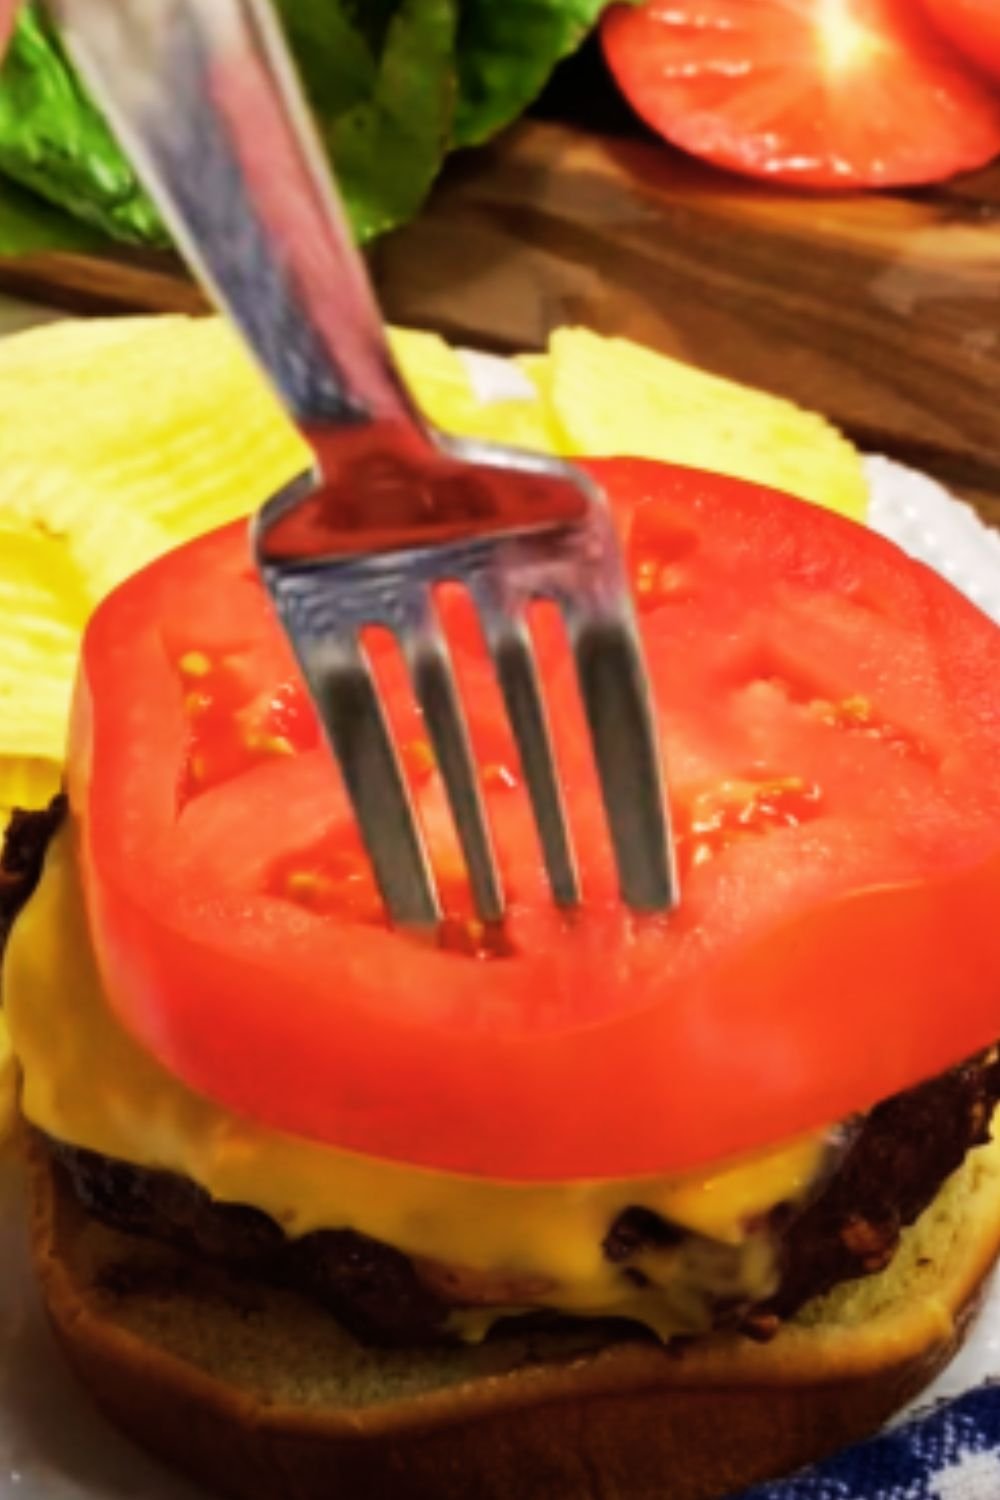
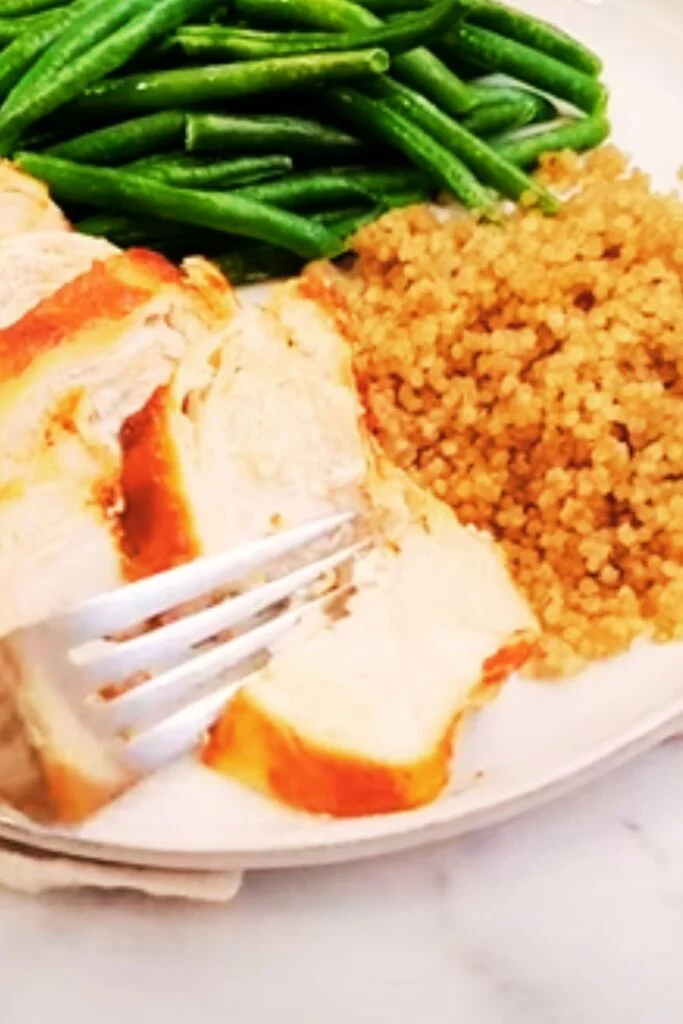
Serving Suggestions
This air fryer BBQ chicken pairs beautifully with a variety of sides. Here are my top recommendations for a complete meal:
Classic Pairings:
- Creamy coleslaw (the coolness perfectly balances the sweet BBQ flavor)
- Mac and cheese (ultimate comfort food combination)
- Cornbread muffins (great for soaking up extra BBQ sauce)
- Baked beans (traditional BBQ side that complements the chicken)
Lighter Options:
- Fresh garden salad with ranch dressing
- Roasted Brussels sprouts with bacon
- Grilled corn on the cob
- Cucumber and tomato salad with a light vinaigrette
Quick Options for Busy Nights:
- Microwave steamed vegetables
- Store-bought potato salad
- Bagged salad kit
- Instant pot rice or quinoa
I particularly love serving this chicken with my homemade coleslaw and some quick-pickled red onions for a tangy contrast to the sweet BBQ sauce.
Nutrition Information
While I believe in enjoying food without obsessing over every calorie, I know nutrition information is helpful for many people. Here’s the approximate nutritional breakdown for one serving of this recipe (based on using chicken thighs and a typical BBQ sauce):
| Nutrient | Amount per Serving |
|---|---|
| Calories | 320 |
| Protein | 28g |
| Carbohydrates | 12g |
| Sugar | 10g |
| Fat | 18g |
| Saturated Fat | 4.5g |
| Fiber | 0g |
| Sodium | 580mg |
*Note: This is based on a serving size of approximately 5 oz of cooked chicken with sauce. Values will vary based on specific ingredients and portion sizes.
Cost Breakdown
Another reason I love this recipe is its budget-friendly nature. Here’s a rough cost breakdown (prices may vary by location):
| Ingredient | Approximate Cost |
|---|---|
| 2 lbs chicken thighs | $6.00 |
| Olive oil | $0.20 |
| Spices (combined) | $0.50 |
| BBQ sauce | $1.00 |
| Total | $7.70 |
| Cost per serving (4 servings) | $1.93 |
This makes it an incredibly economical meal option, especially when paired with simple, affordable sides like rice or potatoes.
Why Air Fryer BBQ Chicken Works So Well
There’s some fascinating culinary science behind why chicken cooks so beautifully in an air fryer. The rapid air circulation creates a convection effect that cooks food faster than a conventional oven while still achieving that desirable exterior texture.
With BBQ chicken specifically, the air fryer offers three key advantages:
- Perfect Caramelization: The concentrated heat helps the sugars in the BBQ sauce caramelize quickly without burning, creating that sticky-sweet exterior.
- Fat Rendering: For skin-on chicken pieces, the air fryer effectively renders the fat from the skin, creating a crispy exterior while basting the meat underneath.
- Moisture Retention: Unlike grilling, where it’s easy to lose track and overcook chicken, the air fryer’s controlled environment helps lock in moisture, resulting in juicier meat.

Frequently Asked Questions
Over the years, I’ve received many questions about this recipe. Here are answers to the most common ones:
Can I use frozen chicken? While fresh chicken yields the best results, you can use frozen chicken in a pinch. Add approximately 50% more cooking time for the first air fryer cycle (before adding BBQ sauce), and ensure the internal temperature reaches 165°F before consuming.
My air fryer is smoking. What’s happening? This usually happens when fat from the chicken drips onto the heating element. To prevent this, add a tablespoon of water to the bottom of your air fryer drawer before cooking, or line the bottom with a piece of bread to absorb dripping fat.
Can I use boneless, skinless chicken breasts? Absolutely! They’ll cook faster than bone-in pieces, so reduce the first cooking cycle to 8 minutes, then continue with the sauce application and final cooking steps. Be careful not to overcook, as breasts can dry out quickly.
What if I don’t have an air fryer? You can adapt this recipe for the oven. Preheat to 425°F, place the seasoned chicken on a rack over a baking sheet, and bake for about 20-25 minutes. Brush with BBQ sauce, then broil for 3-5 minutes until caramelized.
Is it necessary to flip the chicken? Yes, flipping ensures even cooking and allows both sides to get that delicious caramelization from the BBQ sauce. If you skip this step, one side may be significantly less flavorful.
Can I make this recipe for a crowd? Yes, but you’ll need to work in batches. Keep the first batches warm in a 200°F oven while you finish the rest. For very large gatherings, you might consider using the oven method mentioned above.
How do I know when the chicken is done without a thermometer? Without a thermometer, you can check doneness by cutting into the thickest part of a piece – the juices should run clear with no pinkness in the meat. However, I strongly recommend using a thermometer for food safety and optimal texture.
Final Thoughts
This air fryer BBQ chicken recipe has genuinely changed my weeknight dinner game. It delivers all the flavor of slow-cooked BBQ in a fraction of the time, with minimal cleanup and consistent results. It’s become my go-to option when I need something delicious but don’t have hours to spend in the kitchen.
I hope you love this recipe as much as my family does! Remember, the beauty of cooking is making it your own, so don’t hesitate to adjust the seasonings, sauce, or cooking time to suit your preferences. Whether you’re a busy parent looking for quick dinner solutions or someone who just appreciates good food without the fuss, this recipe won’t disappoint.
Happy cooking!