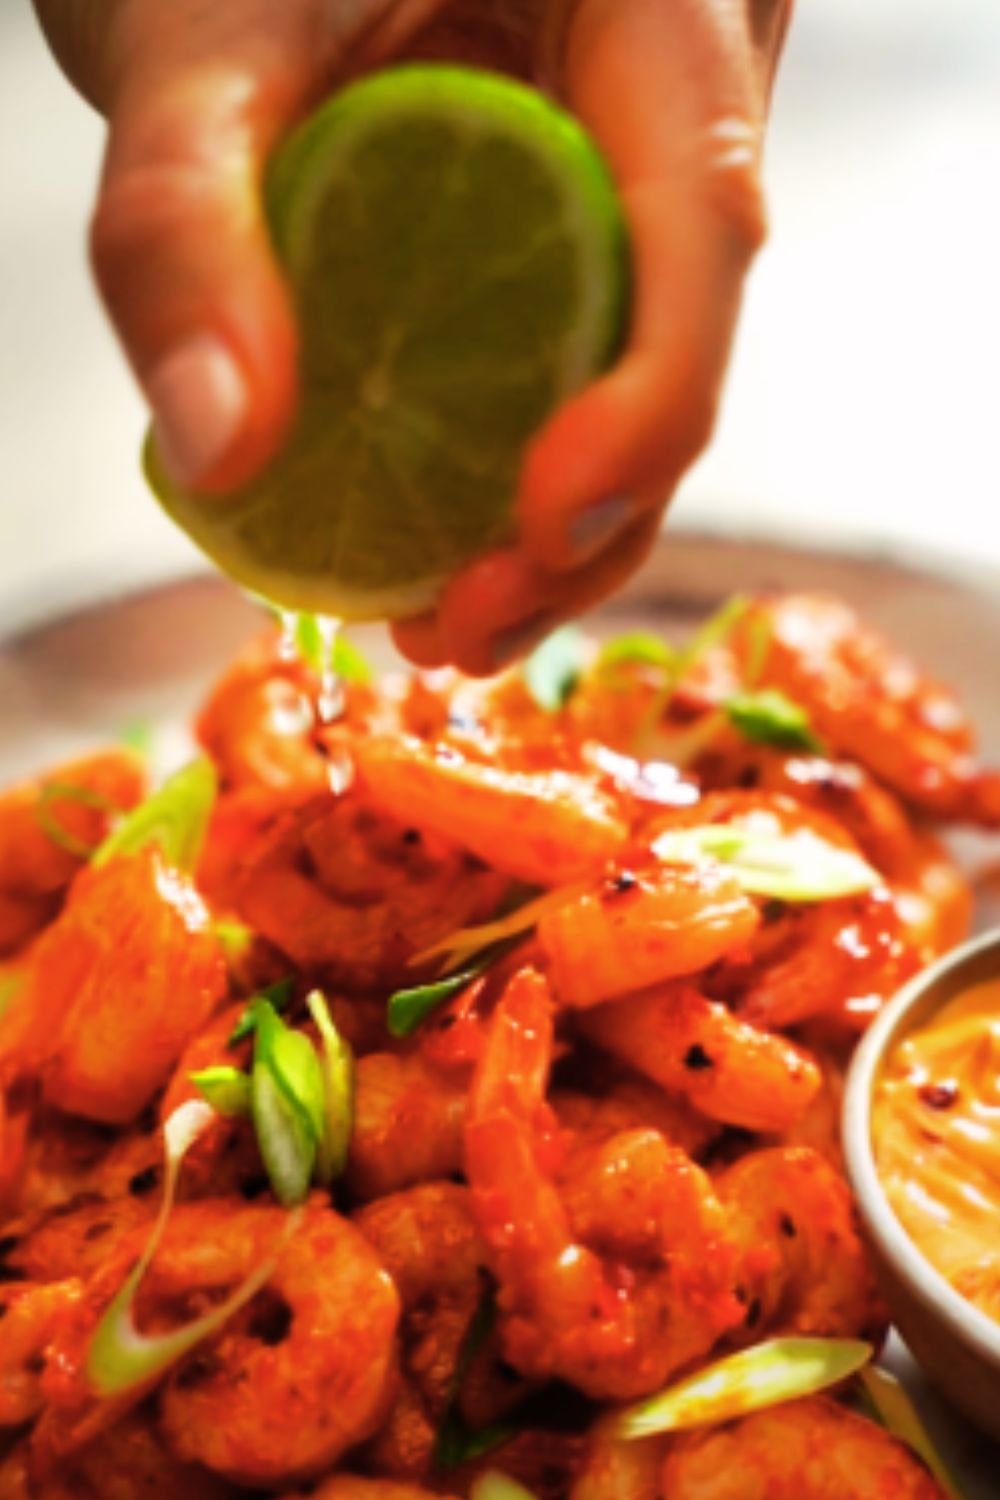
I’ve been cooking Indo-Chinese cuisine for over 15 years, and if there’s one dish that consistently earns rave reviews at my dinner parties, it’s Chilli Chicken. This fiery, tangy, and slightly sweet dish perfectly balances protein and vegetables in a sauce that’s almost impossible to resist. Today, I’m sharing my perfected recipe that strikes the ideal balance between restaurant-quality flavor and home-kitchen simplicity.
The Origins of Chilli Chicken
Chilli Chicken isn’t truly Chinese – it’s a brilliant Indo-Chinese fusion created by Chinese immigrants who settled in Kolkata, India. They adapted their cooking techniques to local ingredients and tastes, resulting in this spicy, tangy wonder that’s now beloved throughout India and beyond.
I first discovered this dish during my travels through Kolkata’s vibrant Chinatown (Tangra), where tiny restaurants serve some of the most flavorful Indo-Chinese food you’ll ever taste. The memory of that first bite – crispy chicken coated in a sauce that was simultaneously spicy, tangy, and slightly sweet – stayed with me for years.
Why You’ll Love This Recipe
Before diving into the ingredients and steps, let me tell you why this particular recipe stands out:
- It delivers restaurant-quality taste with simple home cooking techniques
- The chicken stays crispy even after tossing in sauce (a common challenge!)
- It’s adaptable to your spice preference (I’ll show you how)
- The recipe includes tips for both dry and gravy versions
- It pairs beautifully with rice, noodles, or can stand alone as an appetizer
Ingredients Breakdown
Let’s take a closer look at what makes this dish special:
For the Chicken Marinade
| Ingredient | Quantity | Notes |
|---|---|---|
| Boneless chicken thighs | 500g | Cut into 1-inch cubes; thighs stay juicier than breast meat |
| Egg | 1 large | Helps create an ultra-crispy coating |
| Cornstarch | 3 tablespoons | The secret to that signature crispiness |
| All-purpose flour | 2 tablespoons | Works with cornstarch for perfect texture |
| Ginger paste | 1 tablespoon | Fresh is dramatically better than pre-packaged |
| Garlic paste | 1 tablespoon | Use freshly minced for best results |
| Soy sauce | 1 tablespoon | I prefer low-sodium for better control of saltiness |
| White pepper | ½ teaspoon | Provides subtle heat without changing color |
| Salt | ½ teaspoon | Fine sea salt works best |
For the Sauce
| Ingredient | Quantity | Notes |
|---|---|---|
| Bell peppers | 1 each (red & green) | Julienned; adds color and crunch |
| Onion | 1 medium | Cut into petals; maintains some texture |
| Green chilies | 3-5 | Adjust based on heat preference; slit lengthwise |
| Spring onions | 3 stalks | Separate whites and greens; whites for cooking, greens for garnish |
| Garlic | 6 cloves | Finely minced, not crushed |
| Ginger | 1-inch piece | Julienned into thin matchsticks |
| Soy sauce | 2 tablespoons | Dark soy provides better color |
| Chilli sauce | 1 tablespoon | Look for Sriracha or authentic Chinese chilli sauce |
| Tomato ketchup | 1 tablespoon | Adds subtle sweetness and tanginess |
| Rice vinegar | 1 tablespoon | Provides authentic tanginess; white vinegar works too |
| Sugar | ½ teaspoon | Balances the heat and acidity |
| Cornstarch slurry | 1 tablespoon cornstarch + 2 tablespoons water | Only needed for gravy version |
| Sesame oil | ½ teaspoon | Added at the end for amazing aroma |
| Vegetable oil | For frying | Peanut oil works wonderfully if available |

Step-by-Step Cooking Process
I’ve refined this process over hundreds of attempts to ensure you get perfect results every time. Let’s break it down:
Preparing the Chicken
- Pat the chicken pieces dry with paper towels (this is crucial for crispiness)
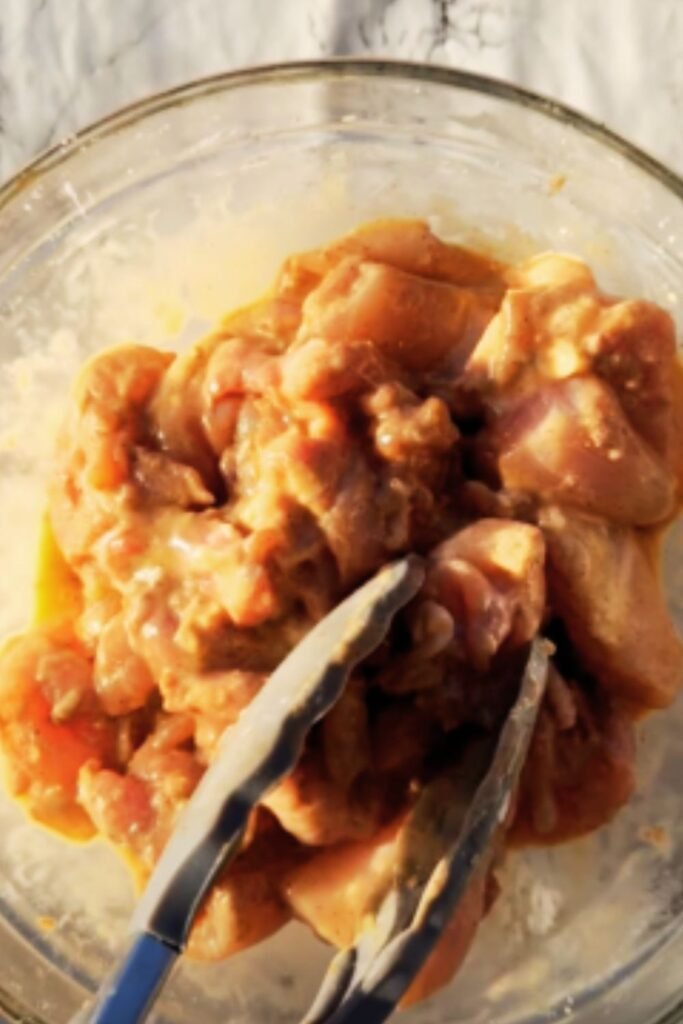
- In a large bowl, combine chicken with egg, ginger paste, garlic paste, soy sauce, white pepper, and salt
- Mix thoroughly and let marinate for at least 30 minutes (I’ve found 2 hours is ideal)
- Just before frying, add cornstarch and flour to the marinated chicken, coating each piece evenly
Frying the Chicken (Double-Fry Technique)
The double-fry method is my secret weapon for chilli chicken that stays crispy even after saucing:
- Heat oil in a wok or deep pan to 325°F (165°C)
- Fry chicken in small batches (overcrowding lowers oil temperature) for 3 minutes until lightly golden
- Remove and drain on paper towels
- Increase oil temperature to 375°F (190°C)
- Refry chicken for 1-2 minutes until deeply golden and ultra-crispy
- Drain well and set aside
This double-fry technique creates a protective crust that maintains crispiness even after the chicken is tossed in sauce.
Preparing the Sauce
- In a clean wok, heat 2 tablespoons of oil until smoking
- Add ginger and garlic, stir-frying for just 15 seconds until fragrant (but not brown!)
- Add white parts of spring onions, stir for 30 seconds
- Add onion petals and bell peppers, stir-frying on high heat for 1 minute (they should retain some crunch)
- Add green chilies
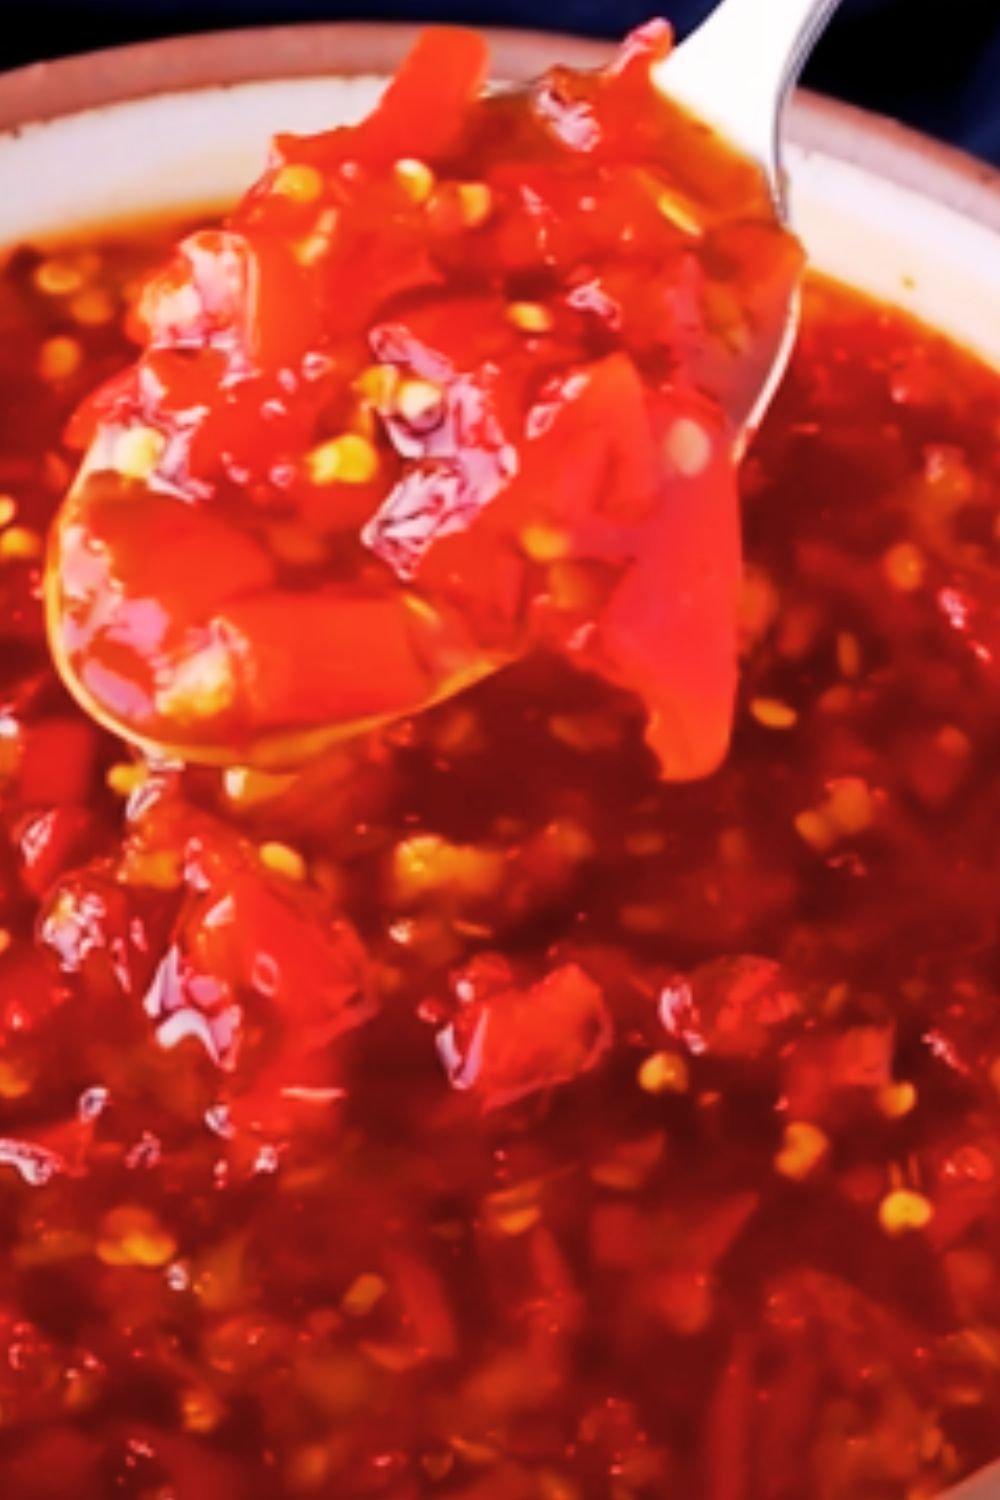
- Mix soy sauce, chilli sauce, ketchup, vinegar, and sugar in a small bowl
- Pour sauce mixture into the wok and stir quickly to combine
The Final Toss
Here’s where the magic happens:
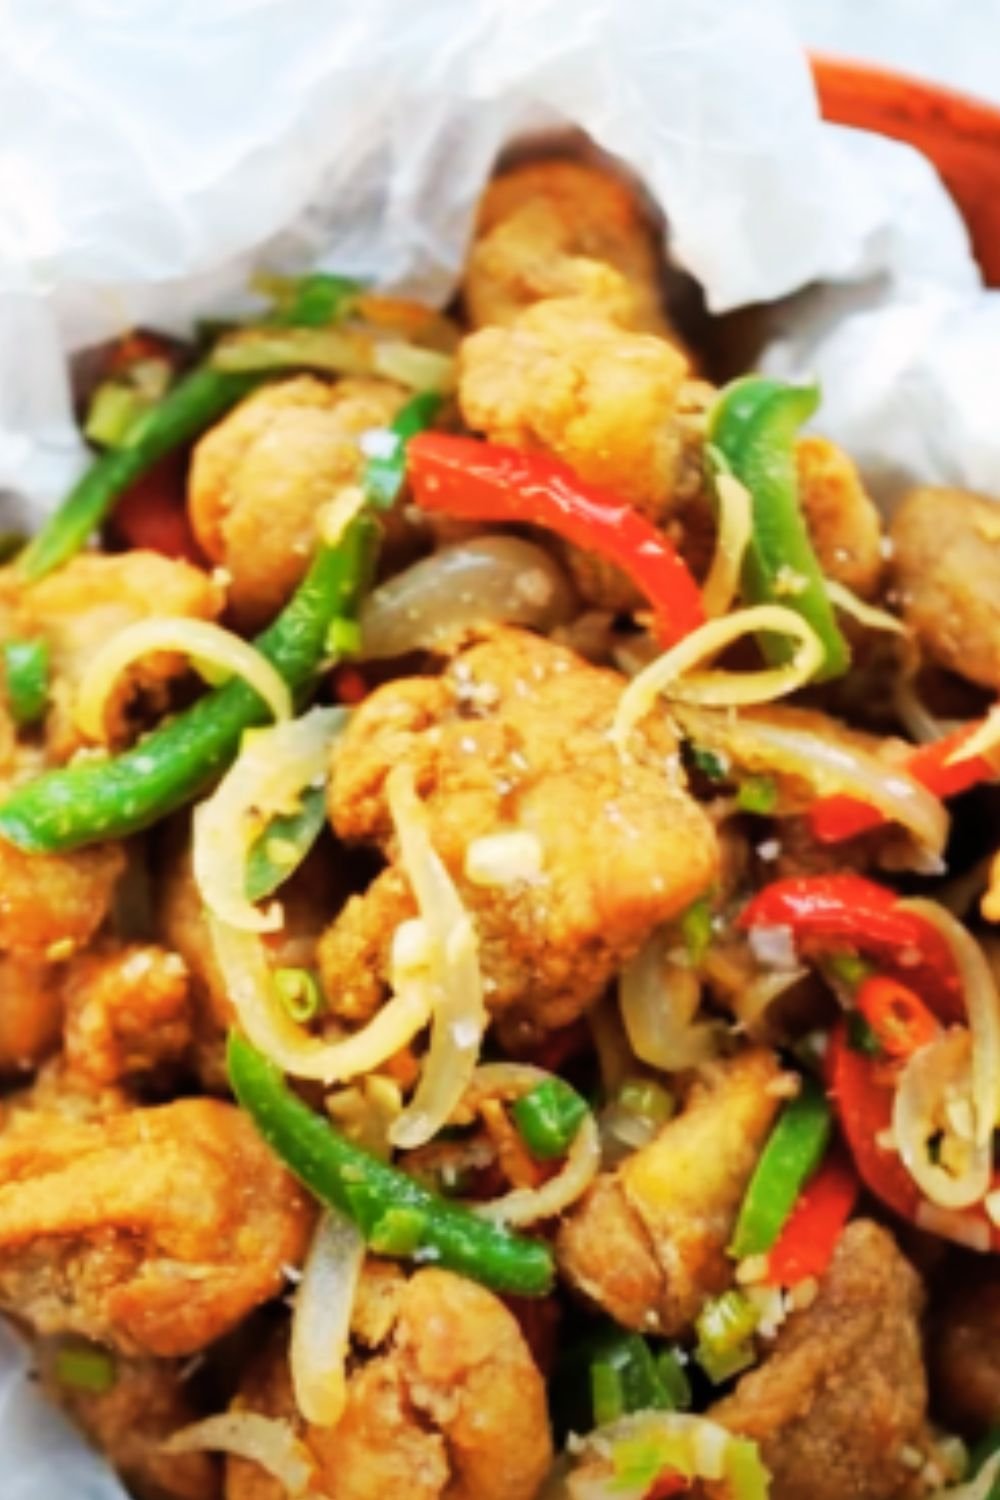
- Add the fried chicken to the wok
- Toss vigorously for 30 seconds, ensuring every piece gets coated
- For dry version: continue tossing until sauce clings to the chicken (about 1 minute)
- For gravy version: add cornstarch slurry and stir until sauce thickens slightly
- Finish with a drizzle of sesame oil and green parts of spring onions
- Serve immediately while still hot and fragrant
Pro Tips From My Kitchen to Yours
After years of perfecting this dish, I’ve gathered some invaluable insights:
- The chicken must be thoroughly dried before marinating – moisture is the enemy of crispiness
- Always fry in small batches to maintain oil temperature
- Don’t skip the double-fry technique – it’s what separates good chilli chicken from great chilli chicken
- Keep all sauce ingredients prepped and ready before heating the wok – the cooking process moves quickly
- For extra flavor, add 1 teaspoon of MSG (if you don’t avoid it) – it enhances the umami qualities dramatically
- Cook with the highest heat your stove can manage – wok hei (breath of the wok) is crucial for authentic flavor
Nutritional Information
Here’s the nutritional breakdown per serving (assuming 4 servings total):
| Nutrient | Amount | % Daily Value |
|---|---|---|
| Calories | 385 | |
| Protein | 28g | 56% |
| Carbohydrates | 18g | 6% |
| Dietary Fiber | 2g | 8% |
| Sugars | 4g | |
| Fat | 22g | 34% |
| Saturated Fat | 4g | 20% |
| Sodium | 780mg | 32% |
| Potassium | 520mg | 15% |
| Iron | 2.5mg | 14% |
| Vitamin C | 65mg | 72% |
Note: These values are approximations and may vary based on specific ingredients used.
Serving Suggestions
I’ve served this dish countless times, and these accompaniments always complement it beautifully:
Perfect Pairings
- Steamed jasmine rice: The subtle floral notes balance the dish’s intensity
- Vegetable fried rice: Adds more vegetables and makes a complete meal
- Hakka noodles: The combination of chilli chicken with these stir-fried noodles is divine
- Cucumber salad: The cool crispness provides welcome contrast
- Hot and sour soup: If serving chilli chicken as part of a larger meal
- Lemon soda: The citrusy effervescence cuts through the richness perfectly
Variations to Try
One thing I love about chilli chicken is how adaptable it is. Here are some variations I’ve experimented with:
Chilli Chicken 65
Add 2 teaspoons of curry leaves and 1 teaspoon of mustard seeds to the oil when preparing the sauce for a South Indian twist.
Honey Chilli Chicken
Replace the sugar with 1 tablespoon of honey and add an extra teaspoon of vinegar for balance. The result is beautifully glossy with a sweet-sour profile.
Schezwan Chilli Chicken
Add 2 tablespoons of Schezwan sauce to the sauce mixture for an extra spicy version with complex flavor notes.
Lemon Chilli Chicken
Add the zest and juice of one lemon at the final stage for a bright, citrusy variation.
Troubleshooting Common Issues
Even experienced cooks sometimes encounter challenges. Here’s how to solve common problems:
Soggy Chicken
- Cause: Oil temperature too low or chicken wasn’t dried properly
- Solution: Ensure oil reaches proper temperature; thoroughly pat chicken dry; don’t skip double-frying
Too Spicy
- Solution: Increase ketchup to 2 tablespoons; add 1 teaspoon of honey; serve with cooling yogurt raita
Too Mild
- Solution: Add 1 teaspoon of red chilli powder to marinade; increase green chilies; add 1 teaspoon of chilli oil at the end
Sauce Too Thick
- Solution: Add 2-3 tablespoons of chicken stock or water
Sauce Too Thin
- Solution: Mix additional 1 teaspoon cornstarch with 2 teaspoons cold water and add gradually
Storage and Reheating Tips
While chilli chicken is best enjoyed fresh, sometimes we have leftovers:
- Refrigeration: Store in an airtight container for up to 2 days
- Freezing: Not recommended as texture deteriorates significantly
- Reheating: For best results, separate chicken from vegetables if possible
- Chicken: Reheat in oven at 375°F (190°C) for 7-10 minutes to restore some crispness
- Sauce/vegetables: Reheat in wok or microwave separately, then combine with crispy chicken
Questions & Answers
After teaching this recipe in cooking classes, these are the most common questions I receive:
Q: Can I use chicken breast instead of thighs?
Yes, you can, but reduce the initial frying time by 30 seconds as breast meat cooks faster and can dry out. I still recommend thighs for juicier results.
Q: Is there a way to make this dish less spicy for kids?
Absolutely! Omit the green chilies, reduce chilli sauce to ½ teaspoon, and increase ketchup to 2 tablespoons. The flavor profile will shift slightly sweeter, which kids typically enjoy.
Q: Can this be made gluten-free?
Yes! Use tamari instead of soy sauce and ensure your vinegar is gluten-free (most rice vinegars are). The cornstarch is already gluten-free.
Q: What’s the difference between “dry” and “with gravy” versions?
The dry version has sauce that clings to the chicken pieces without excess liquid, making it perfect as an appetizer. The gravy version has more sauce, ideal for mixing with rice.
Q: Can I prepare any components ahead of time?
Yes! Marinate the chicken up to 24 hours in advance. You can also chop all vegetables and mix sauce ingredients earlier in the day. The actual cooking should be done just before serving.
Q: What makes restaurant chilli chicken so red in color?
Most restaurants use food coloring. For a natural alternative, add ½ teaspoon of paprika or Kashmiri red chilli powder to your sauce.
Q: Can I make this in an air fryer?
Yes! Spray the marinated chicken with oil and air fry at 400°F (200°C) for 12-15 minutes, flipping halfway through. The texture won’t be identical to deep-fried, but it’s a healthier alternative.
Why This Recipe Works
After years of experimentation, I’ve identified the key techniques that make this recipe foolproof:
- The cornstarch-flour combination in the marinade creates the perfect crispy exterior
- Double-frying ensures the chicken stays crispy even after saucing
- High-heat stir-frying preserves the crunch and color of vegetables
- The balanced sauce combines five essential flavor profiles: spicy, sweet, sour, salty, and umami
- Adding sesame oil at the end provides aromatic complexity that can’t be achieved by cooking with it

Final Thoughts
Chilli Chicken represents the beautiful marriage of Chinese cooking techniques with Indian flavor sensibilities. When done right, it’s an explosion of textures and tastes – crispy exterior giving way to tender chicken, all enveloped in a sauce that’s simultaneously spicy, tangy, and slightly sweet.
What I love most about this dish is its versatility. It can be an impressive appetizer at parties, a quick weeknight dinner with rice, or the star of an Indo-Chinese feast. The techniques you’ll learn making it – from double-frying to high-heat wok cooking – will serve you well across many Asian cuisines.
I hope you enjoy making this recipe as much as I’ve enjoyed perfecting it over the years. Remember that cooking is as much about the journey as the destination – so have fun with it, adjust to your preferences, and make it your own!